If you’re looking for DIY chicken coop ideas that are practical, simple, and actually work for your backyard, this is the place to start!
We built our coop when we were brand new chicken owners. Now our flock has really expanded and we’ve learned A LOT about chicken keeping.
So I’m sharing our original DIY Chicken coop along with all the things I’d do differently.
Our 8X8 DIY Chicken Coop at a Glance
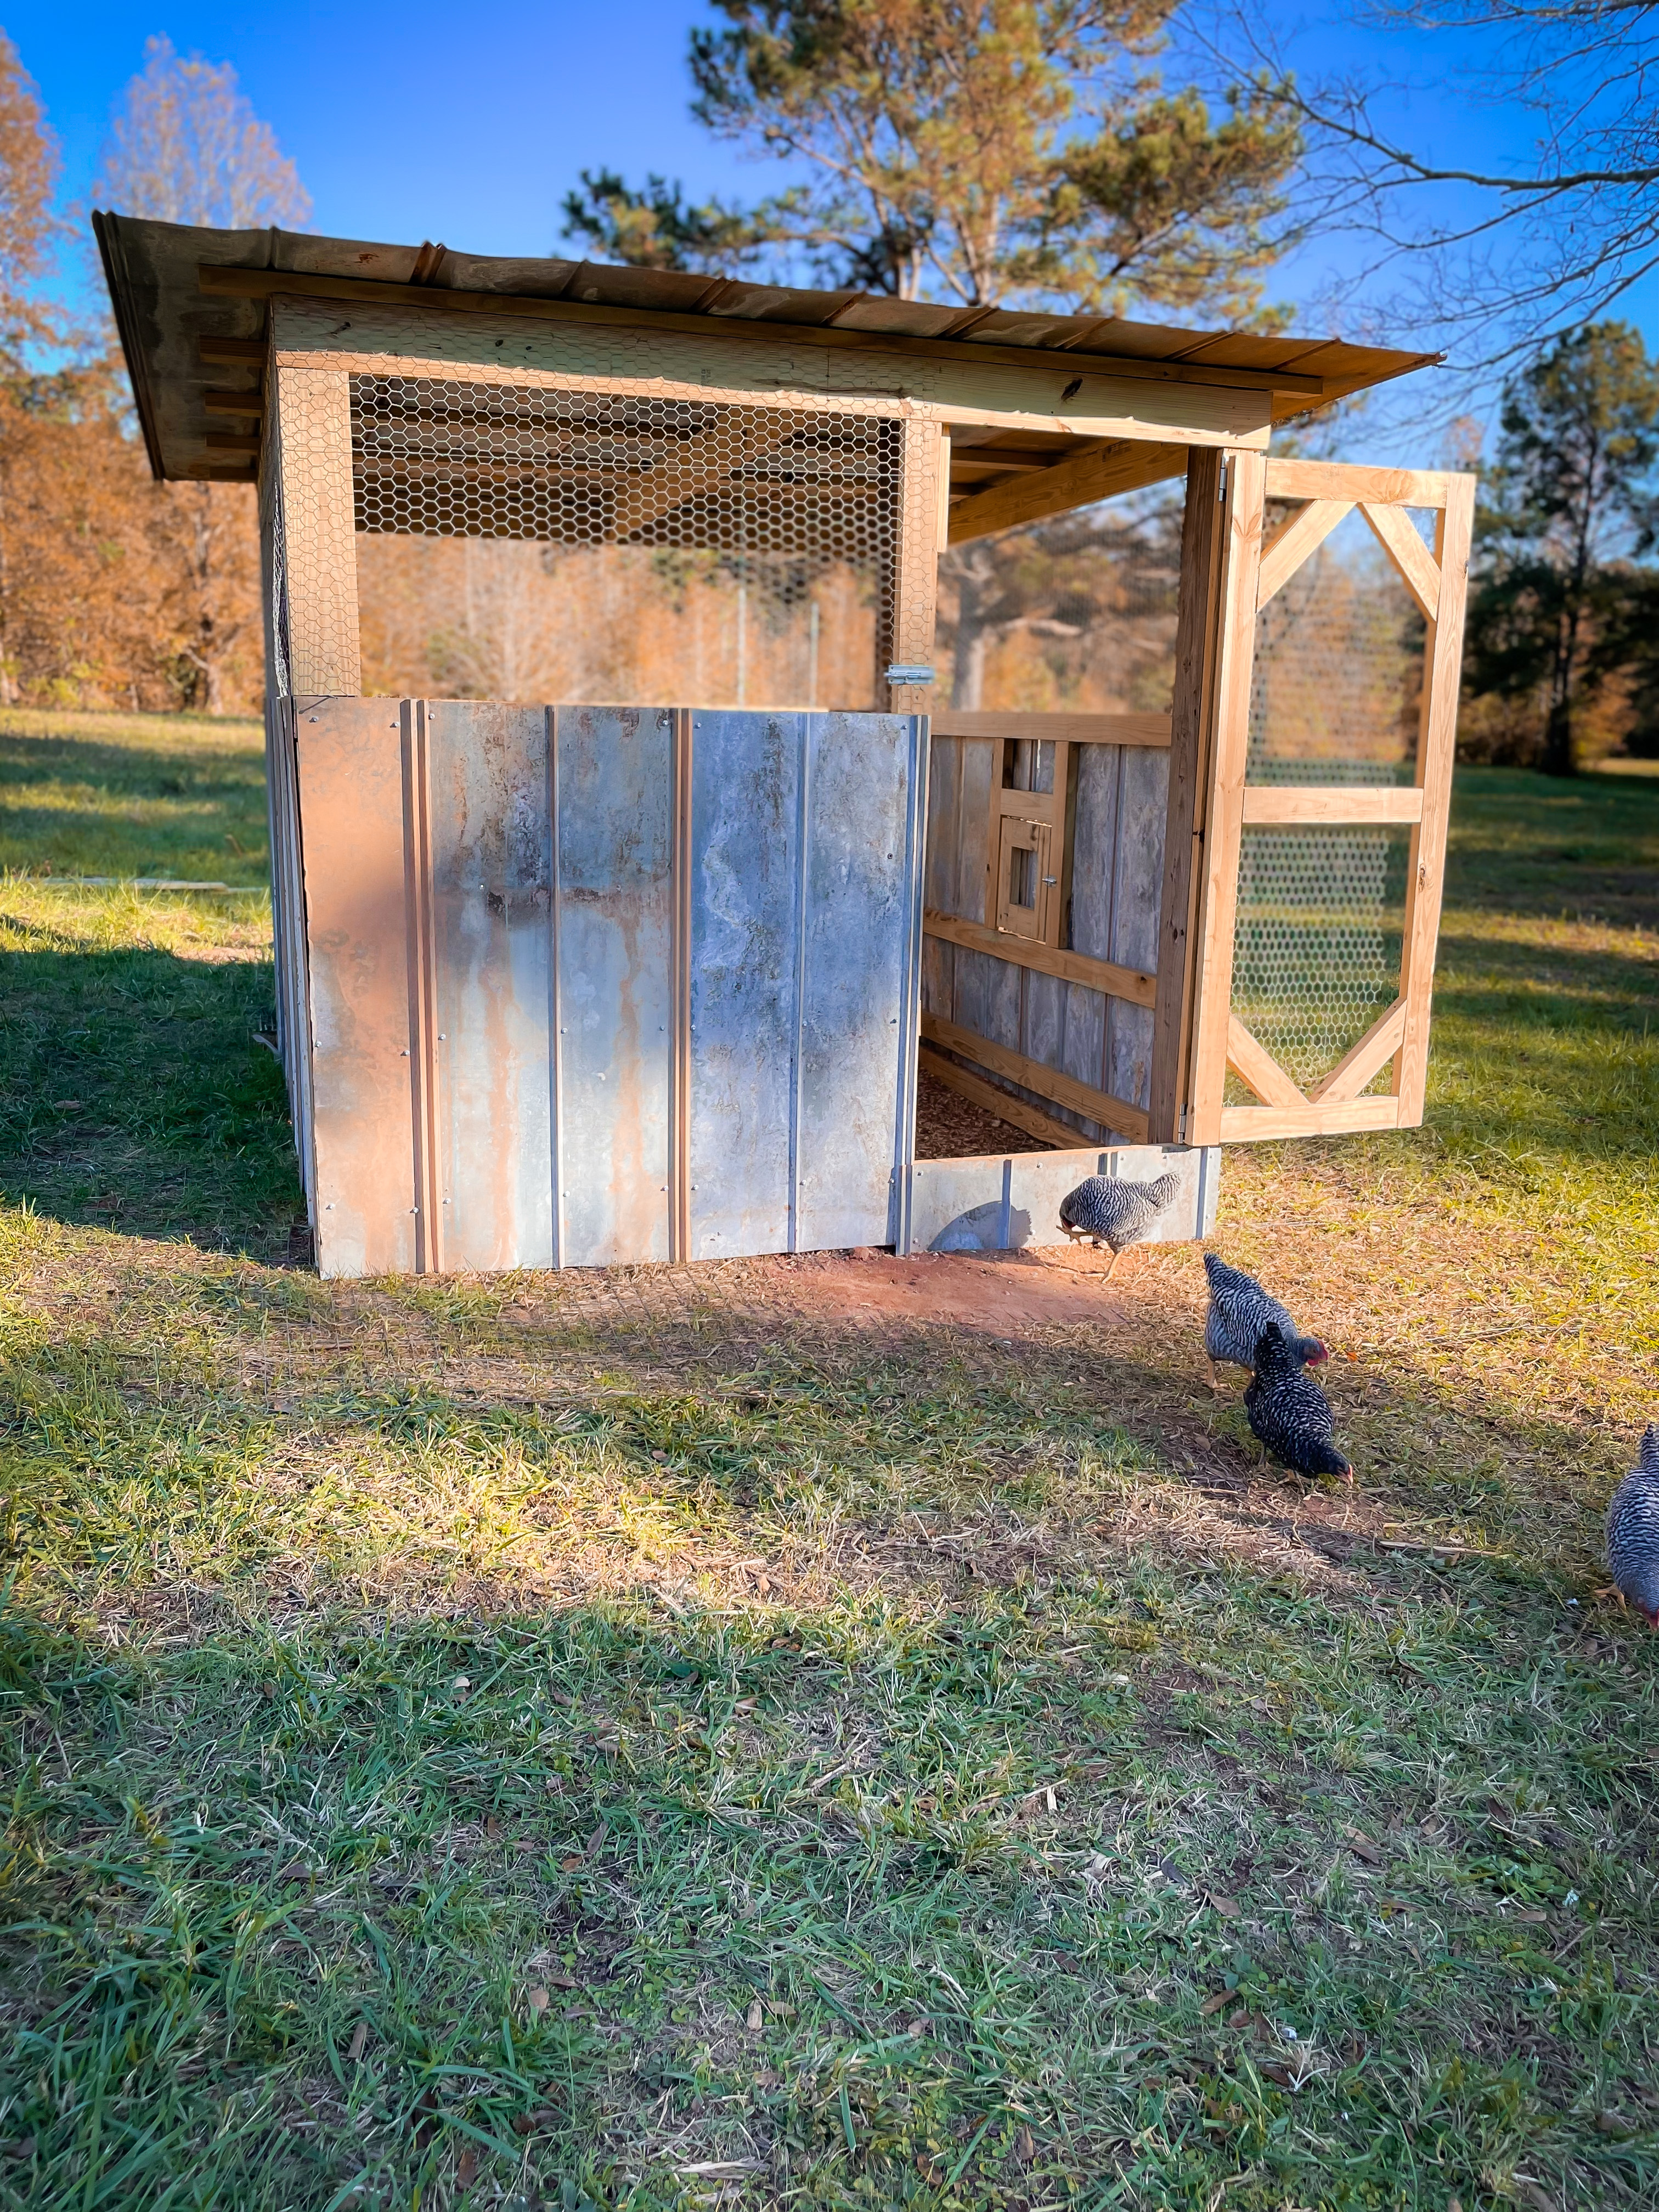
| Feature | Our Chicken Coop |
| Size | 8 × 8 feet |
| Floor | Dirt |
| Roof | Sloped metal/tin roof |
| Lower walls | Tin roofing |
| Upper walls | Wire screening |
| Roosts | 2 |
| Nesting boxes | 3 |
| Nesting boxes | 5-gallon buckets |
| Feed & water | Hung from the ceiling |
| Climate | Alabama / Deep South |
| Bedding | Deep litter method |
| Chicken access | Small door leading to the run |
We used a lot of material we already had on hand around our farm, so I don’t have an accurate cost for this project.
That’s actually one of the reasons I like this project so much. It’s functional and used what we had available.
How We Started Our DIY Chicken Coop
*This post may contain affiliate links which means I make a small commission at no extra cost to you. Read my full disclosure here.*
When we first got chickens, I had no idea what I was doing. Read about my chicks here.
We received our first flock of straight-run chicks in September, 2021.
Nine of them ended up being roosters. As you can imagine this was a quick introduction to the realities of keeping chickens.
We also didn’t have a chicken coop.
Thankfully, my husband Brent is pretty handy. I had some ideas about what I wanted, we talked through the basic design, and he turned those ideas into an actual coop.
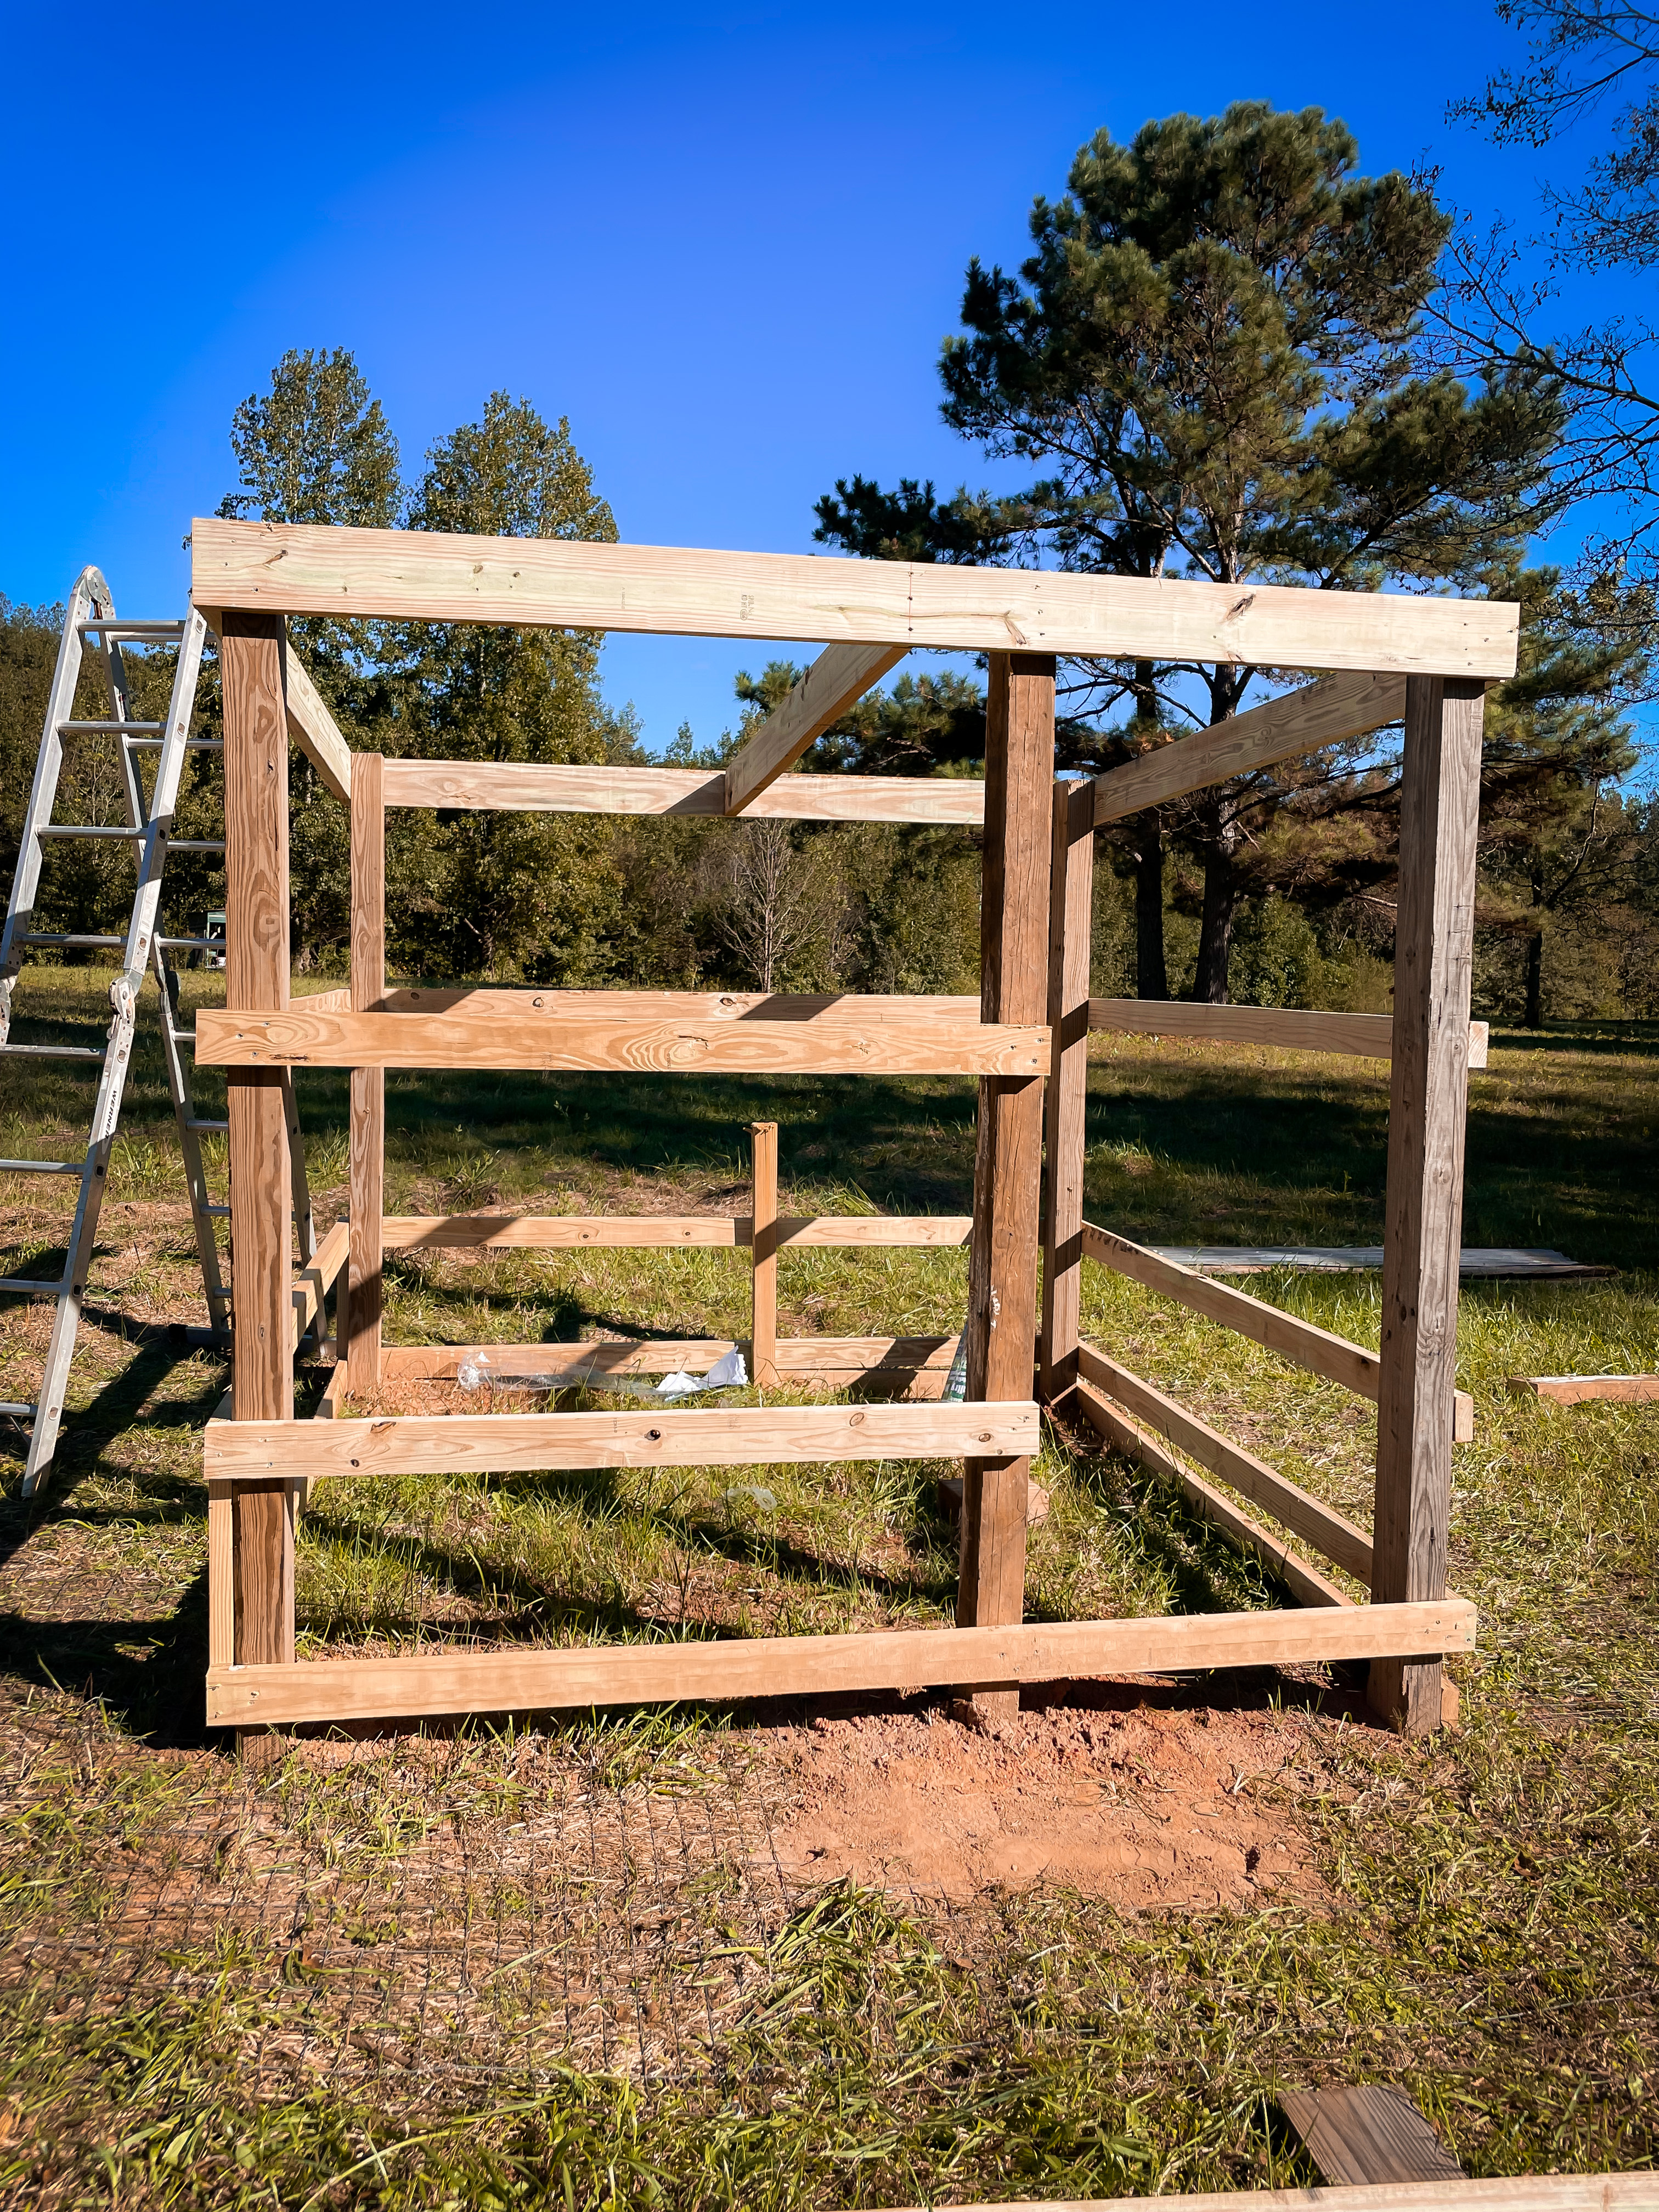
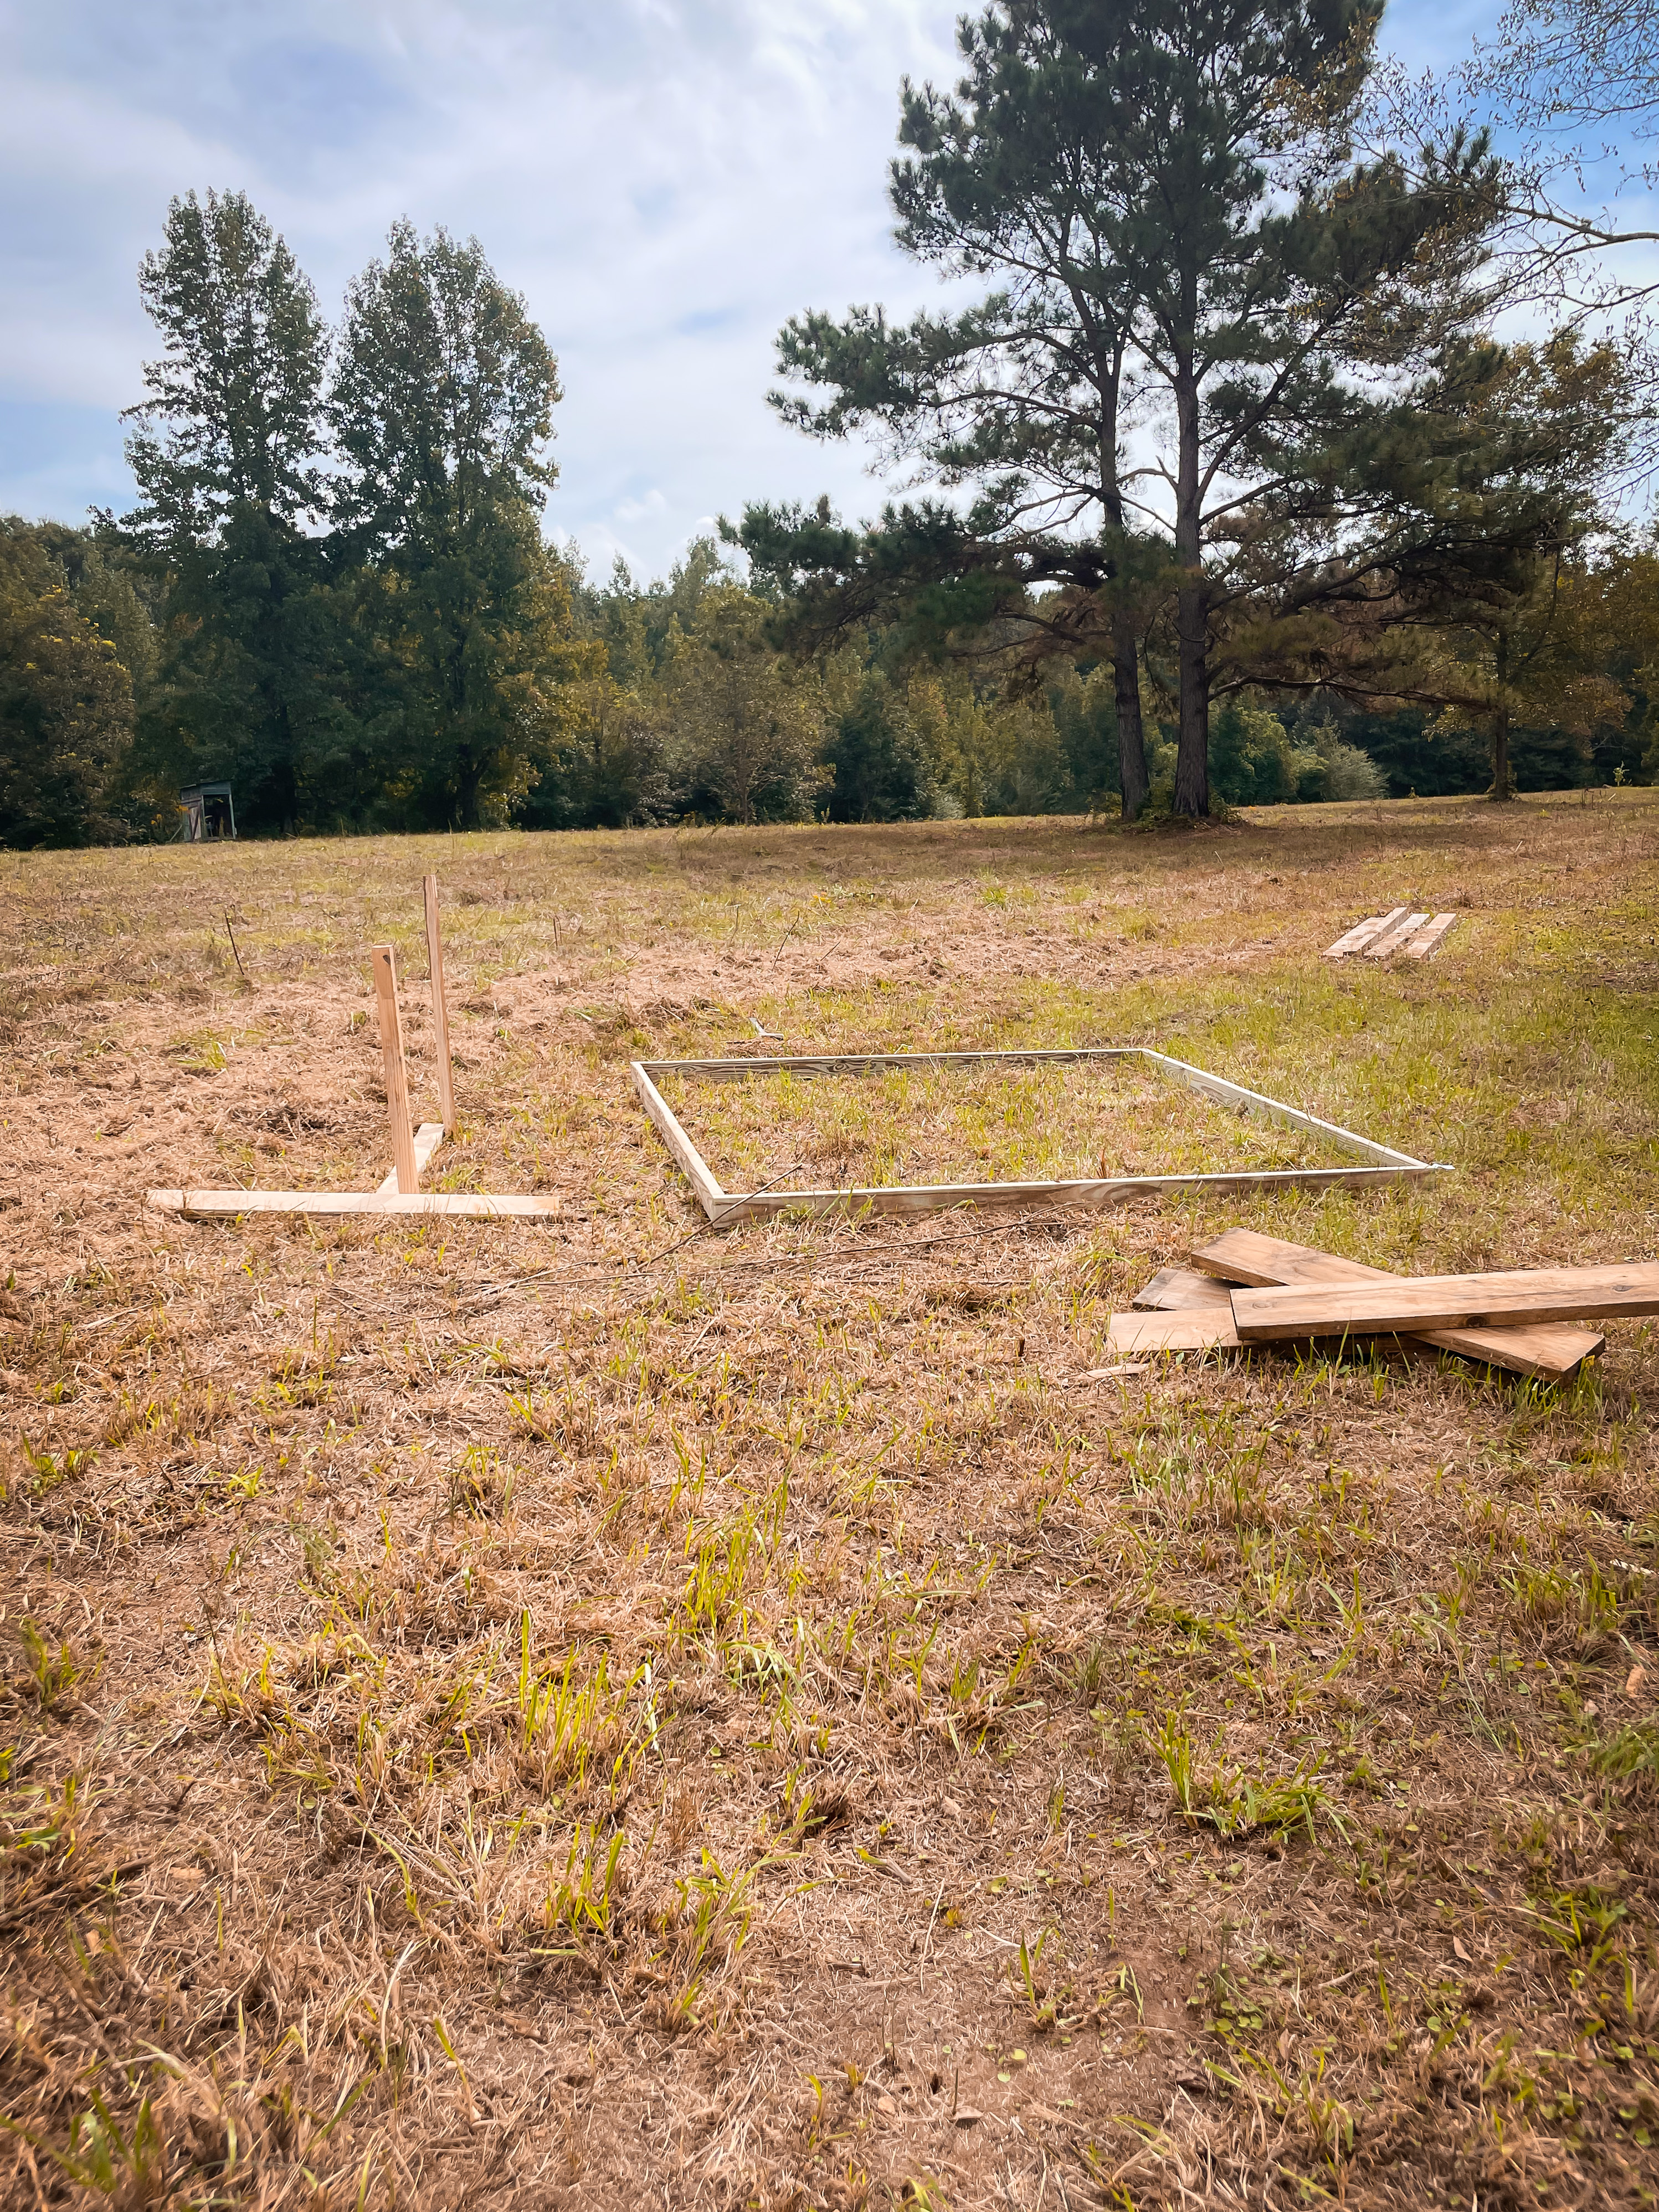
We started with an 8×8 footprint.
Our goal wasn’t to build something fancy. We wanted a coop that would:
- give the chickens plenty of room
- allow good airflow
- provide protection from predators
- give us somewhere to collect eggs
- make feeding and watering easy
- work in our hot Alabama summers
- and use materials we already had whenever possible
That last part is pretty important when you’re starting a farm.
There are always about 47 things you need to buy, so saving money wherever you can is a good thing.
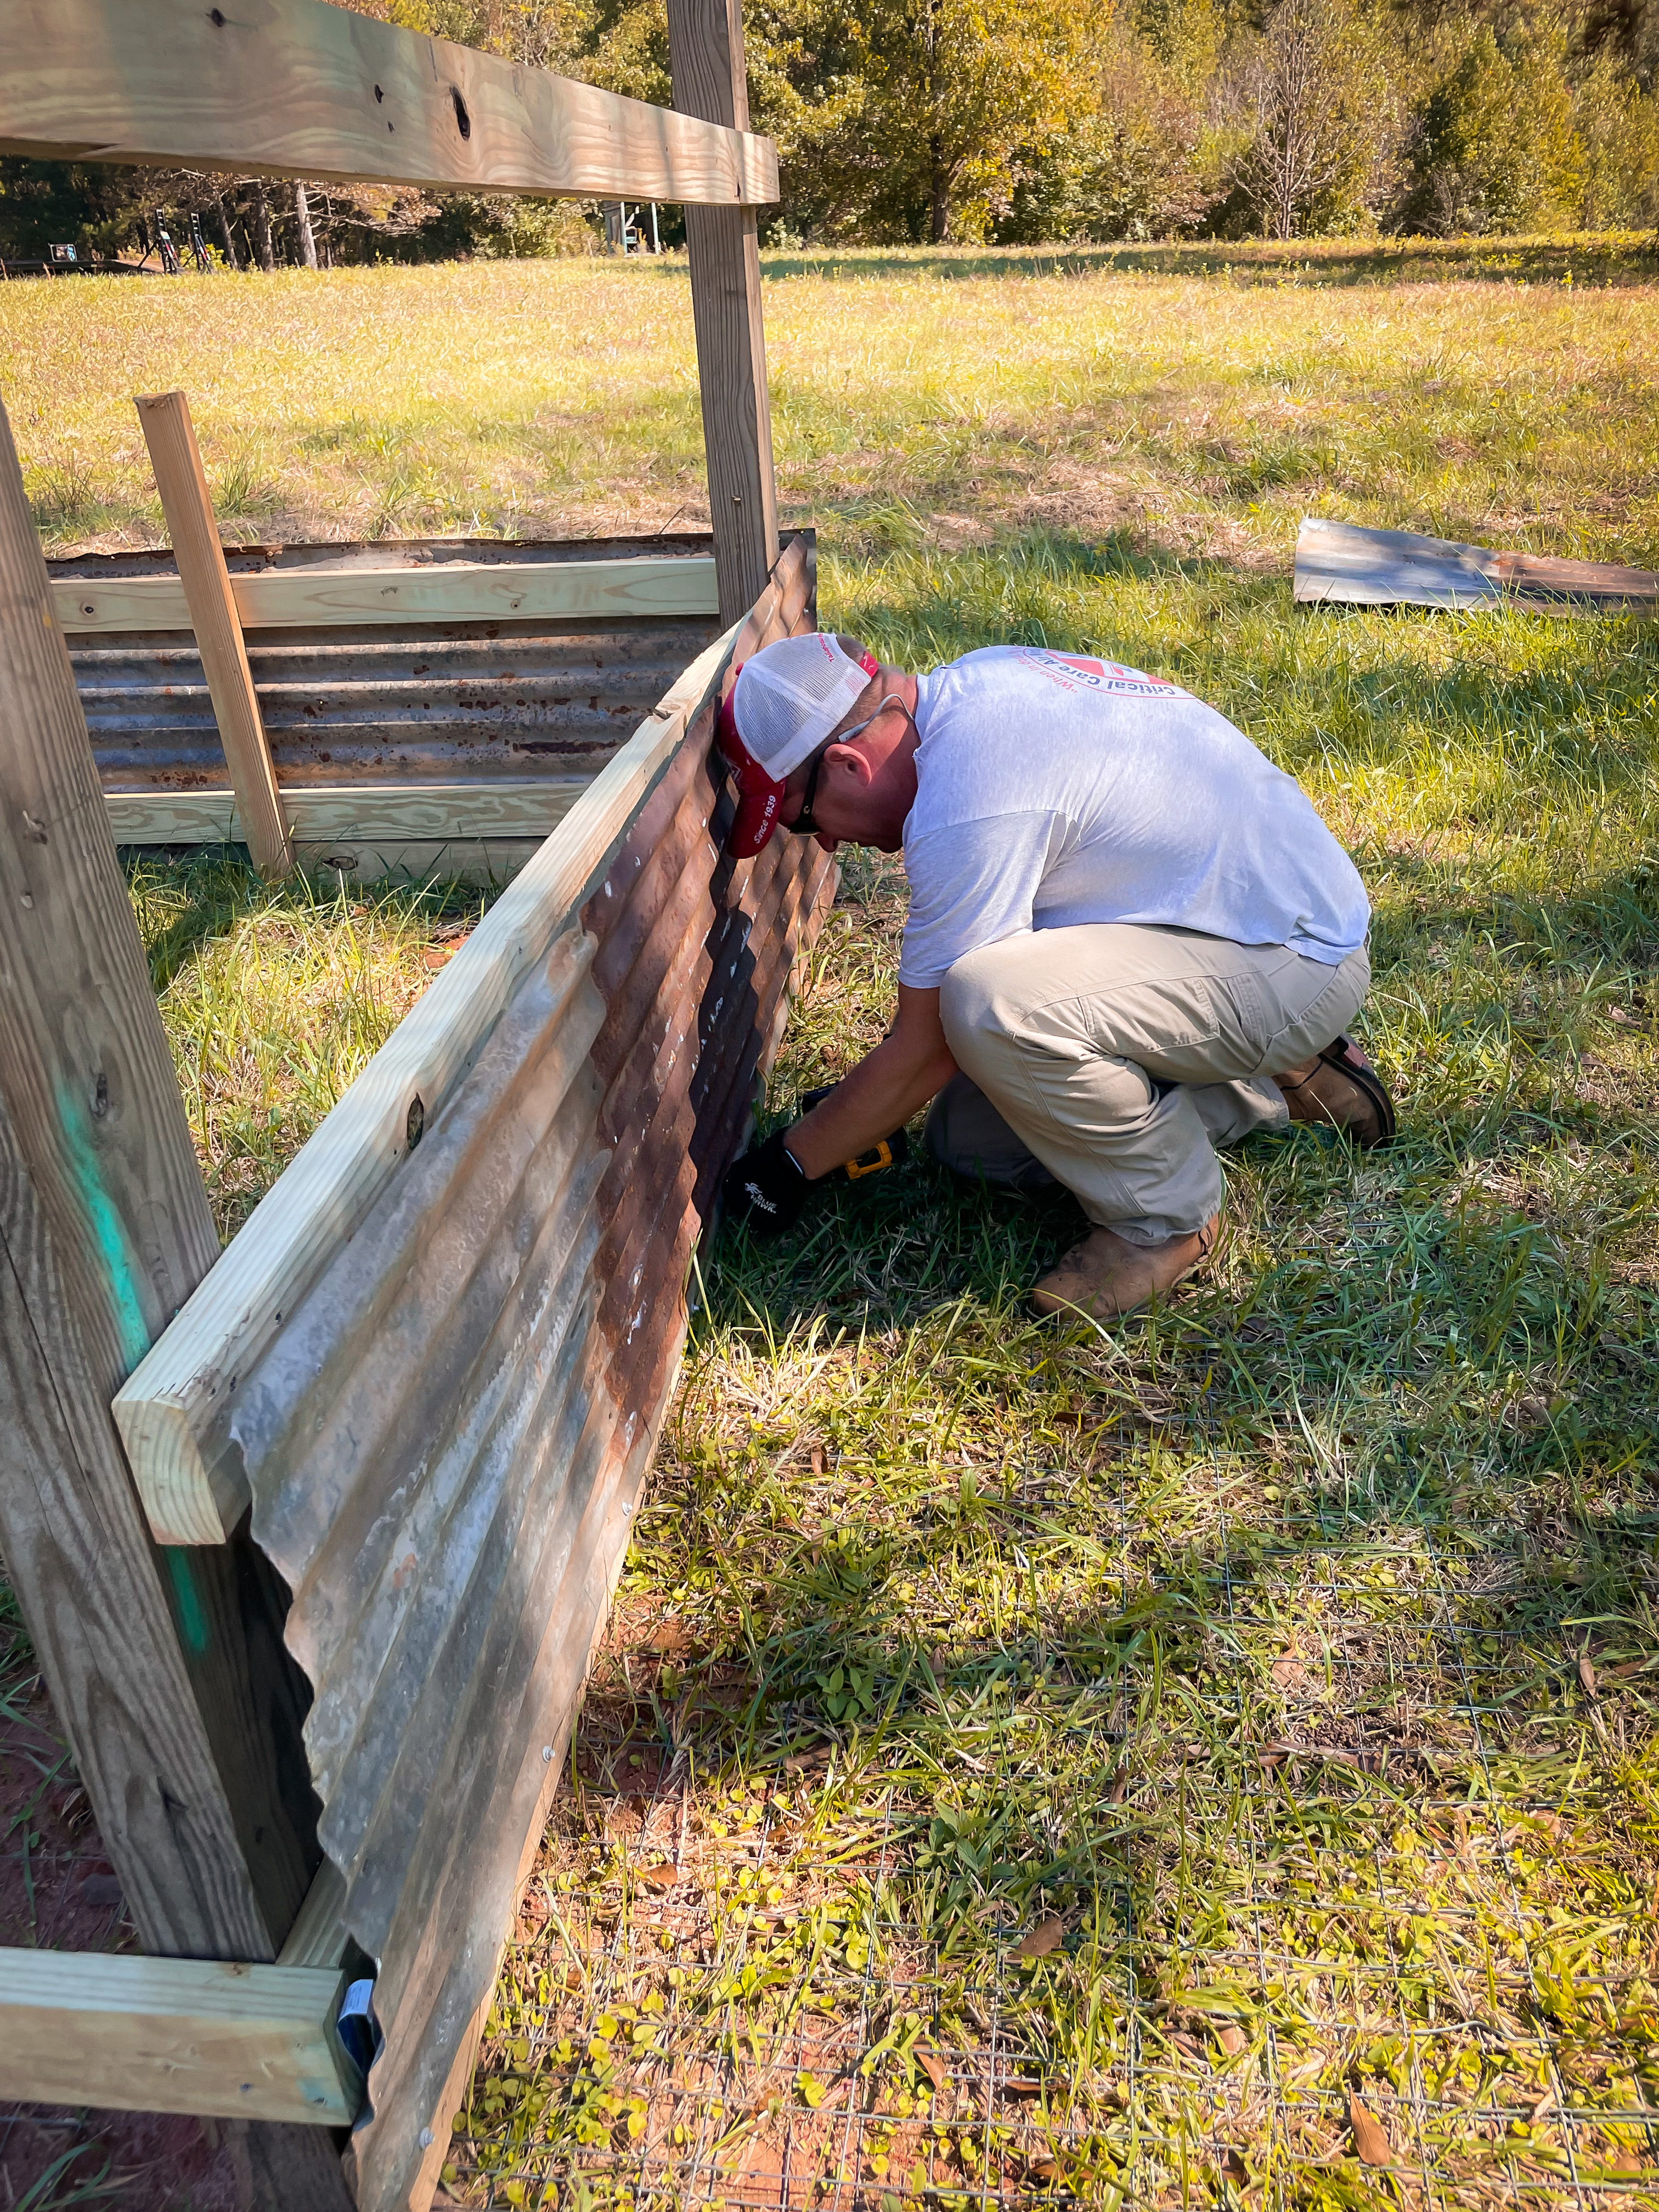
Building the 8×8 Coop
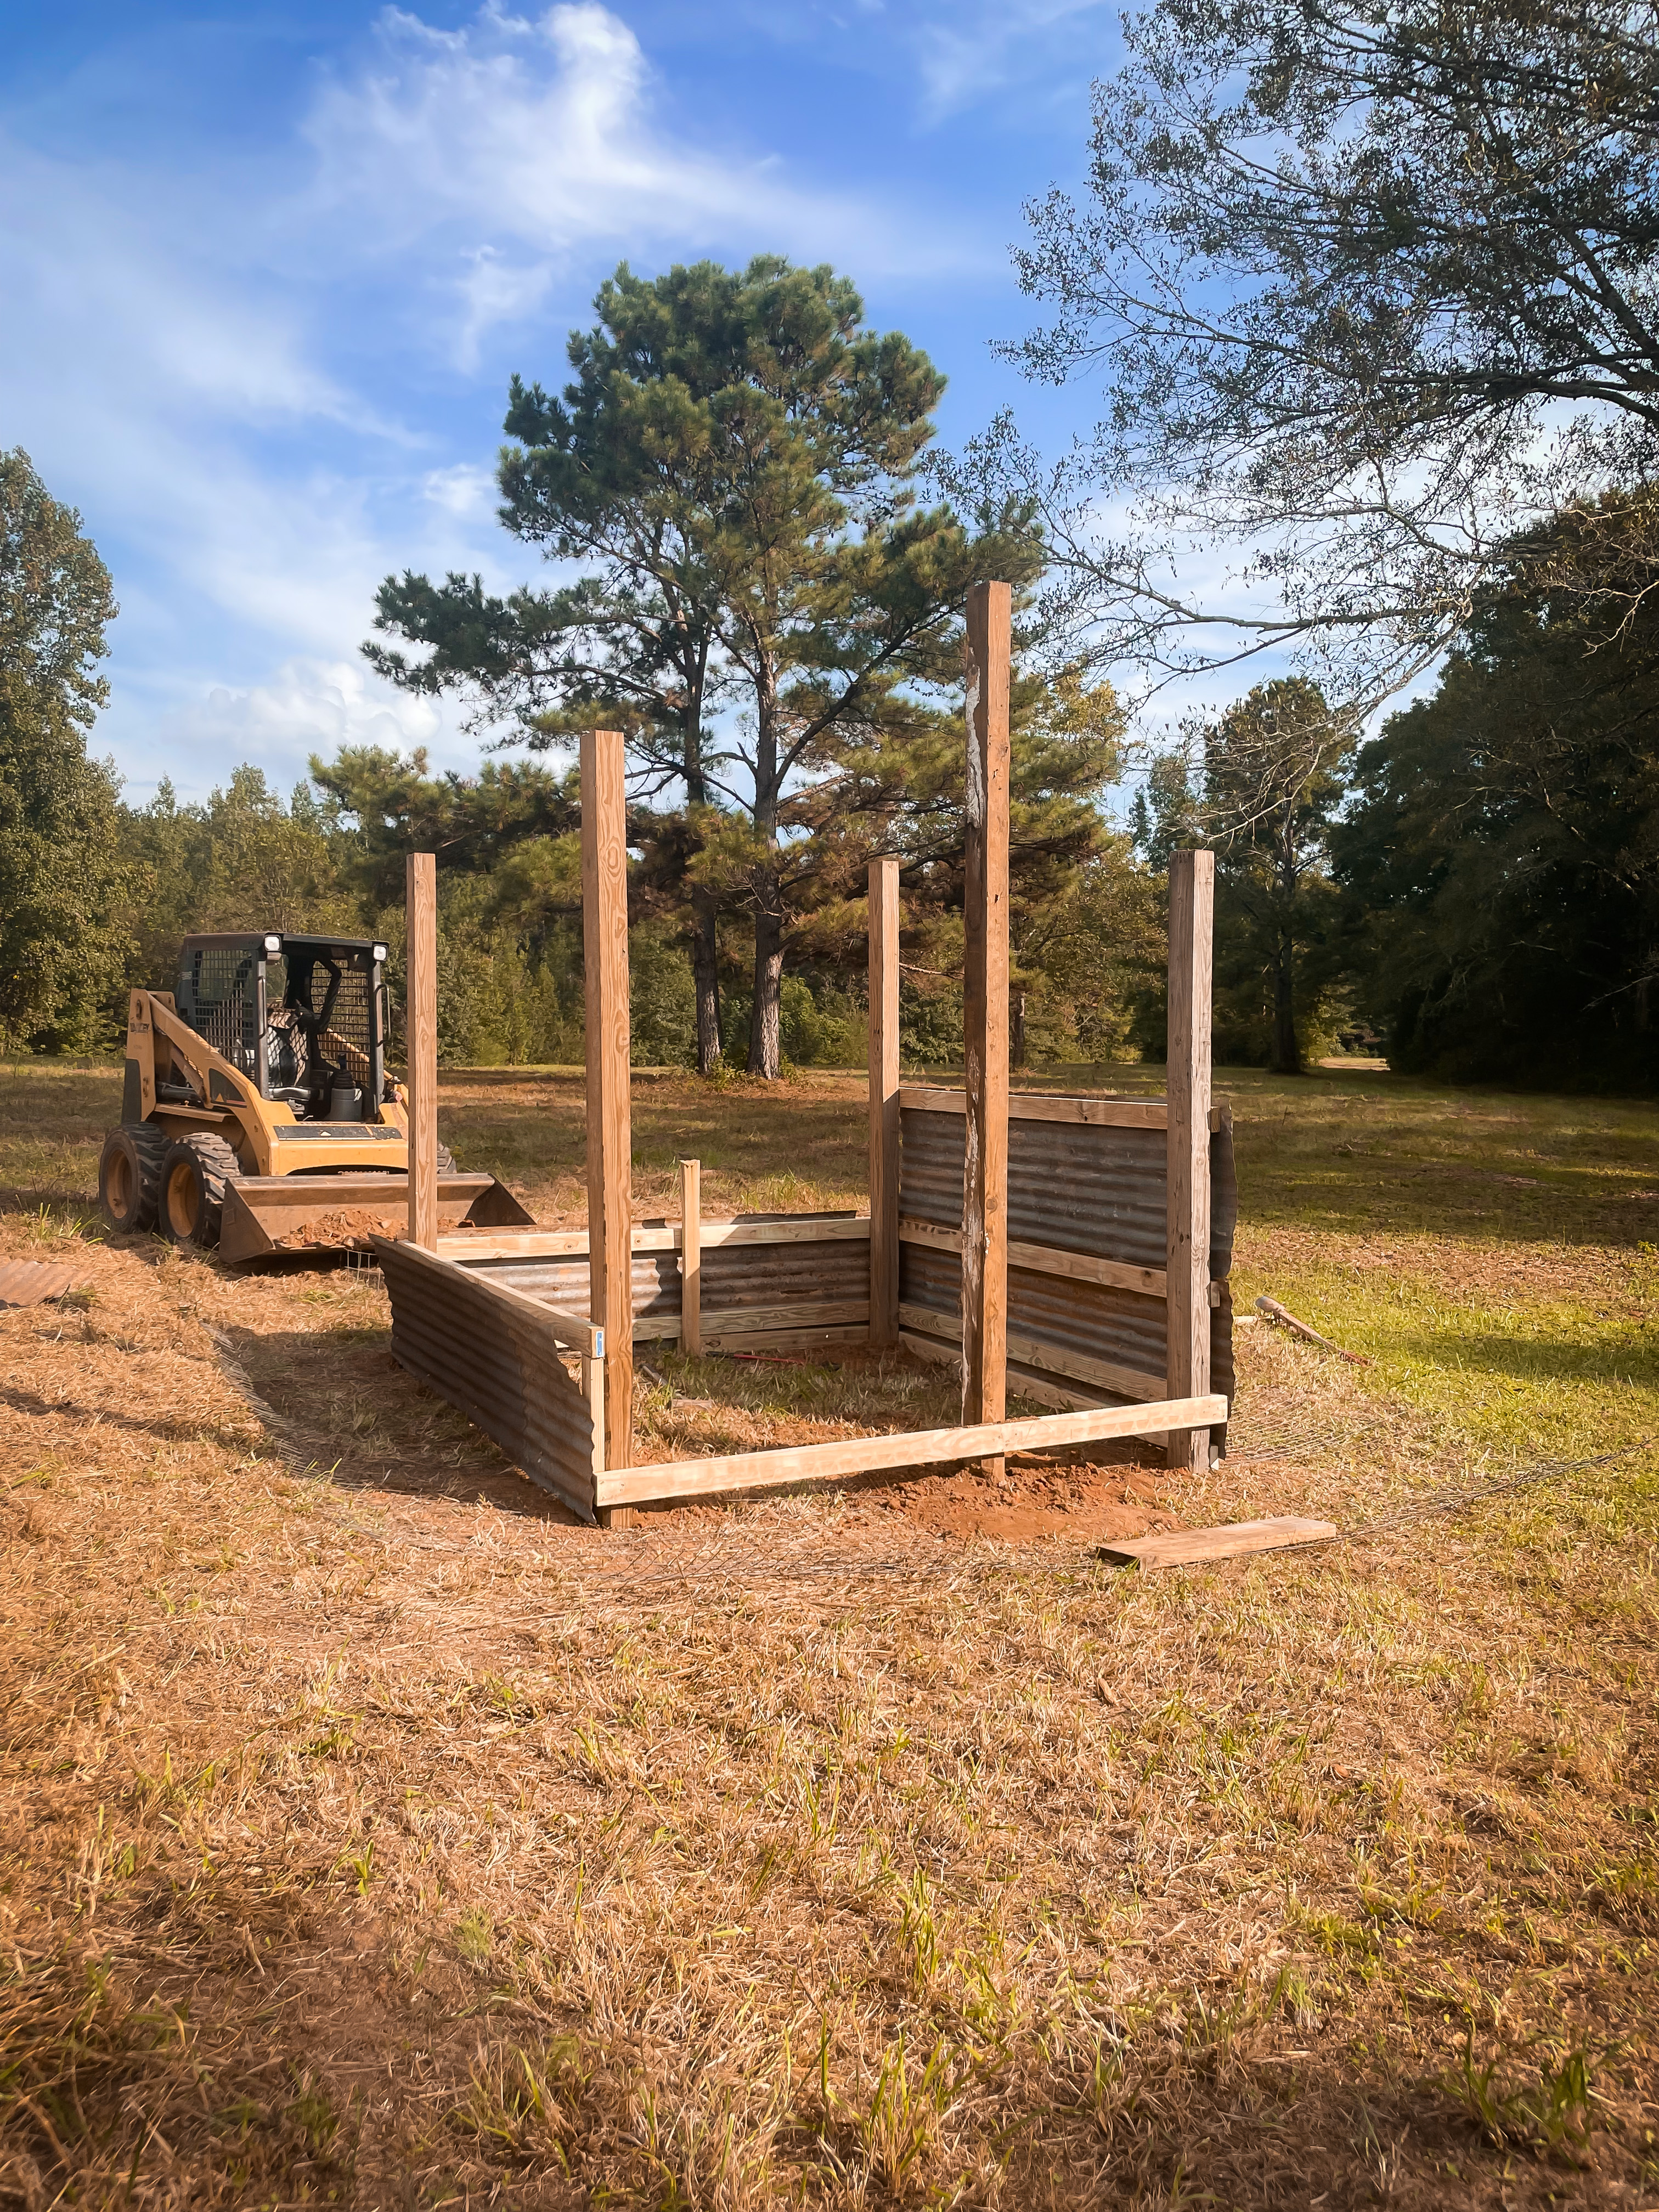
We started by setting the four corner posts for the 8×8 coop.
Brent and the boys pulled straight lines, dug the holes, and set the corner posts.
Before building the walls, we added wire screening along the bottom to help prevent predators from digging underneath the coop.
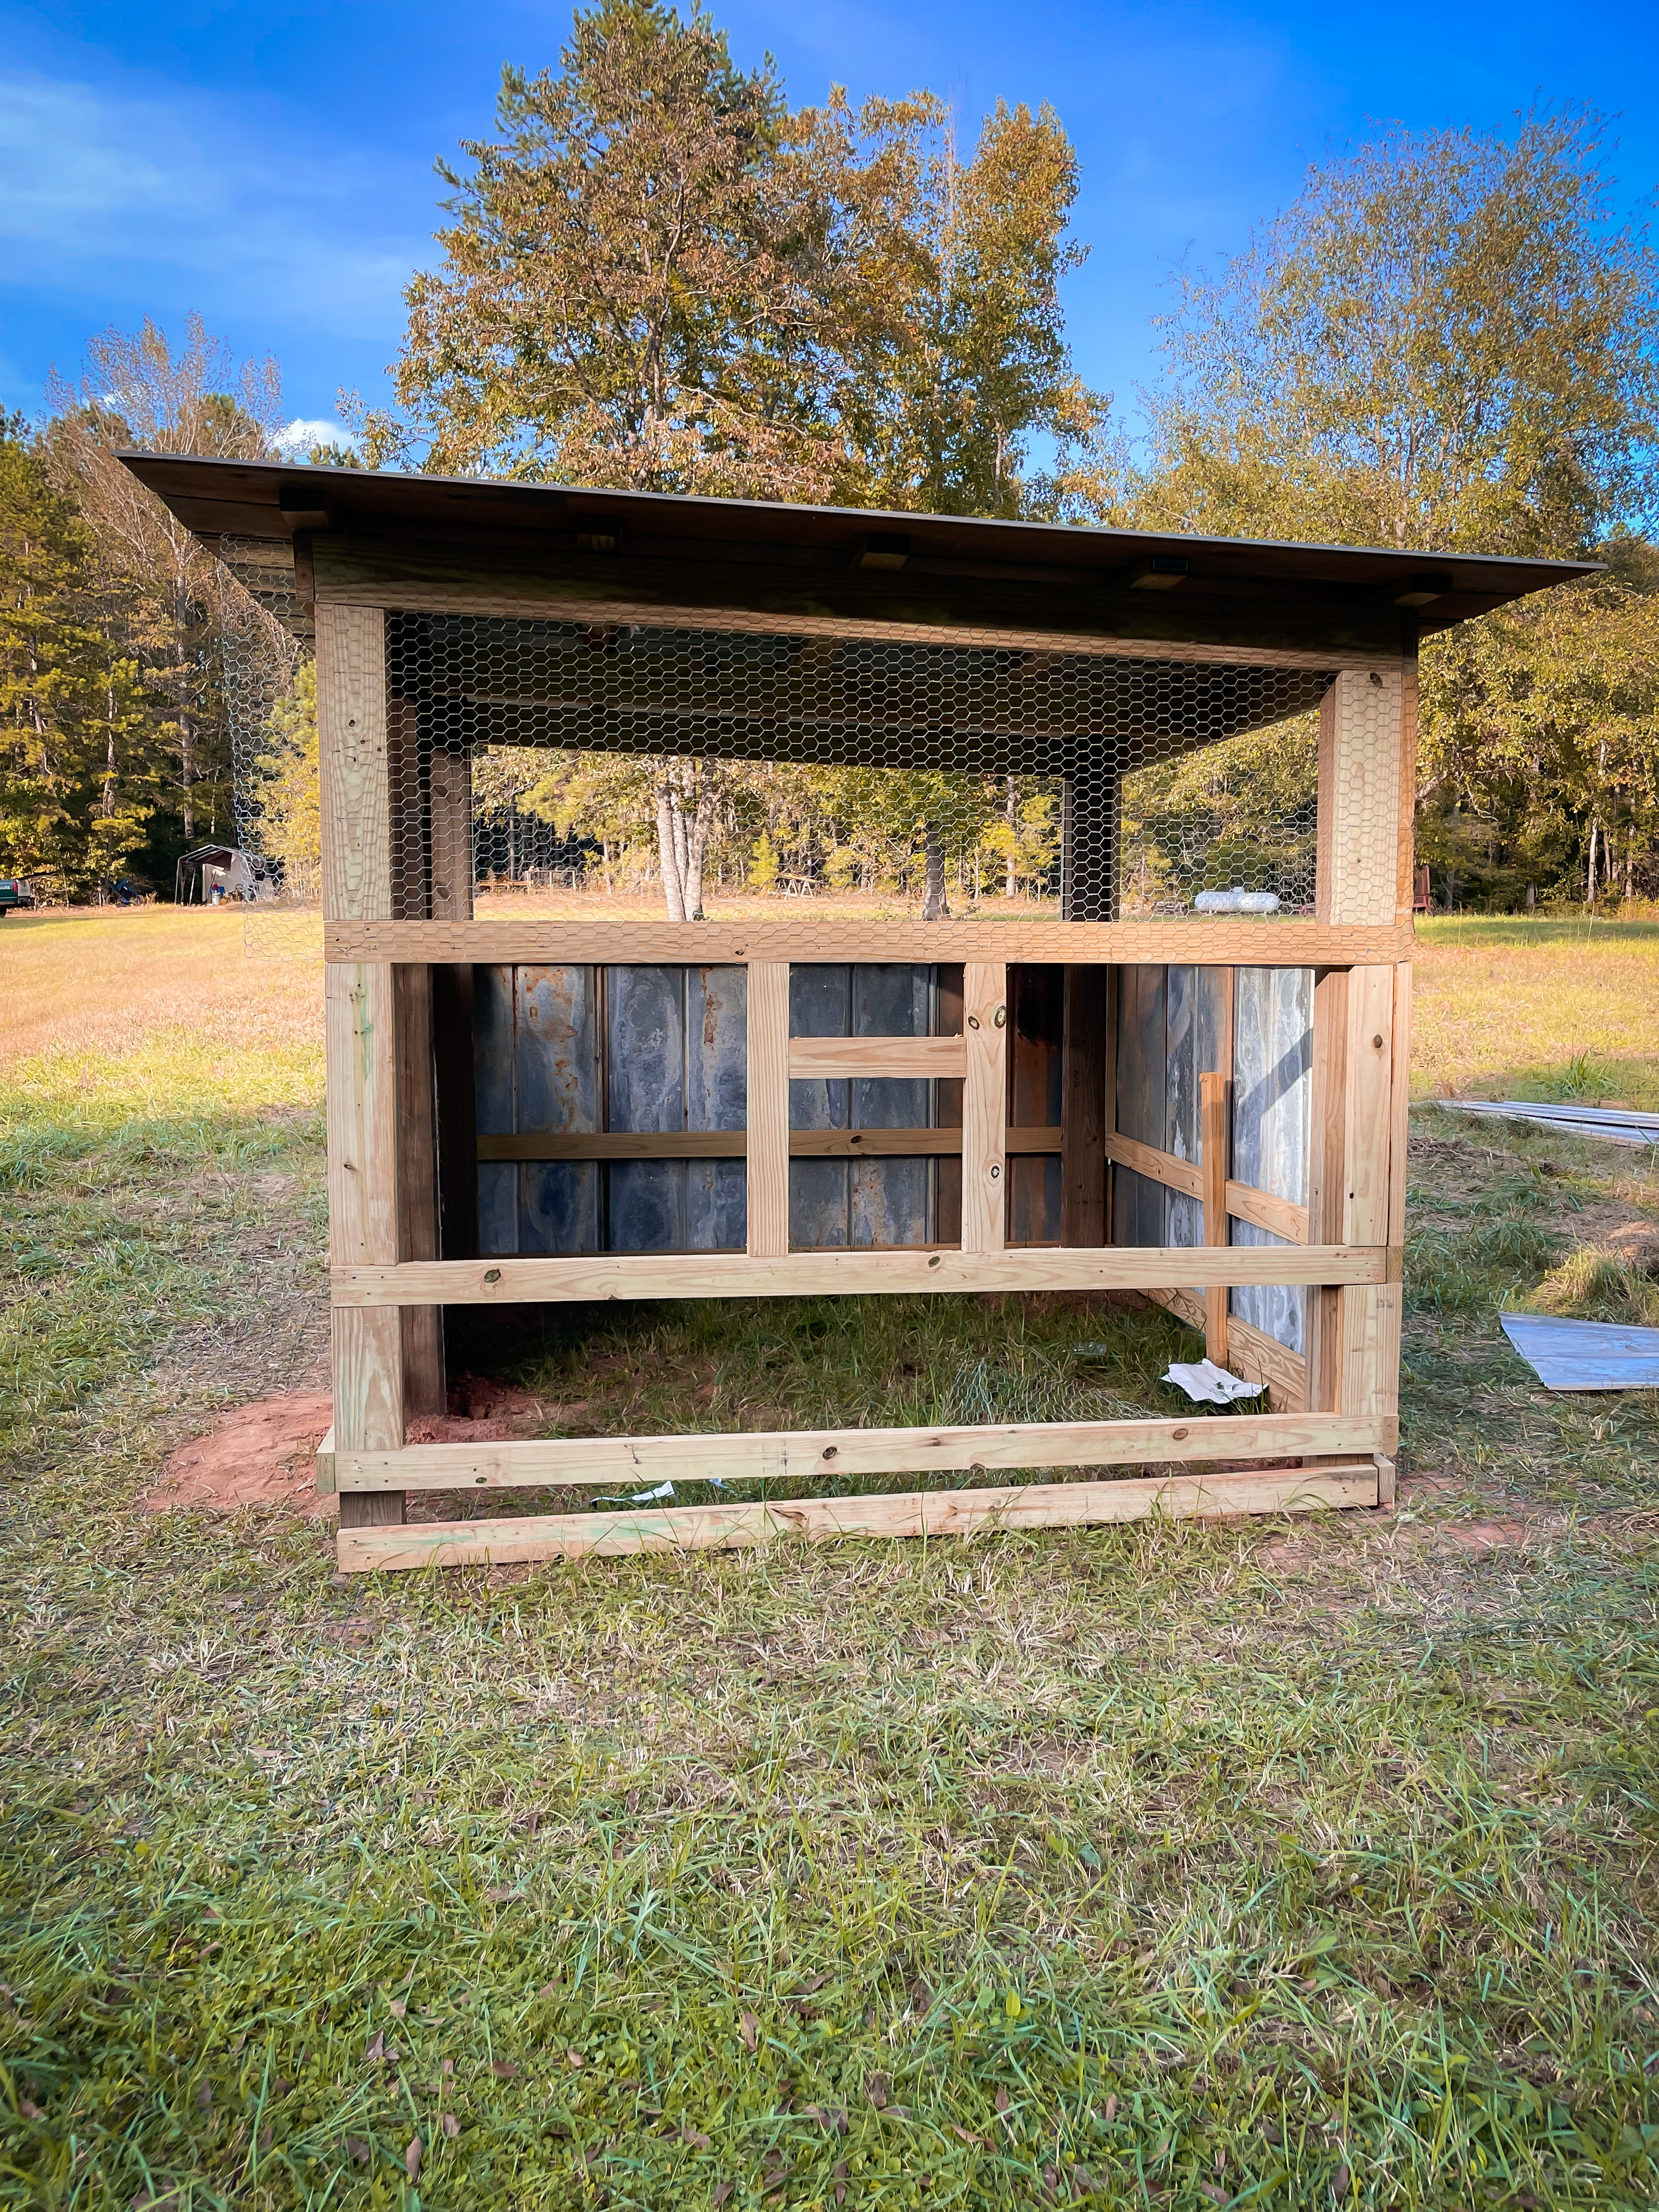
The supporting posts were then added to the front of the coop to support the roof and the door.
From there, we bridged the walls with 2×4s so we had something to attach the exterior materials to.
This is where the basic shape of the coop really started to come together.
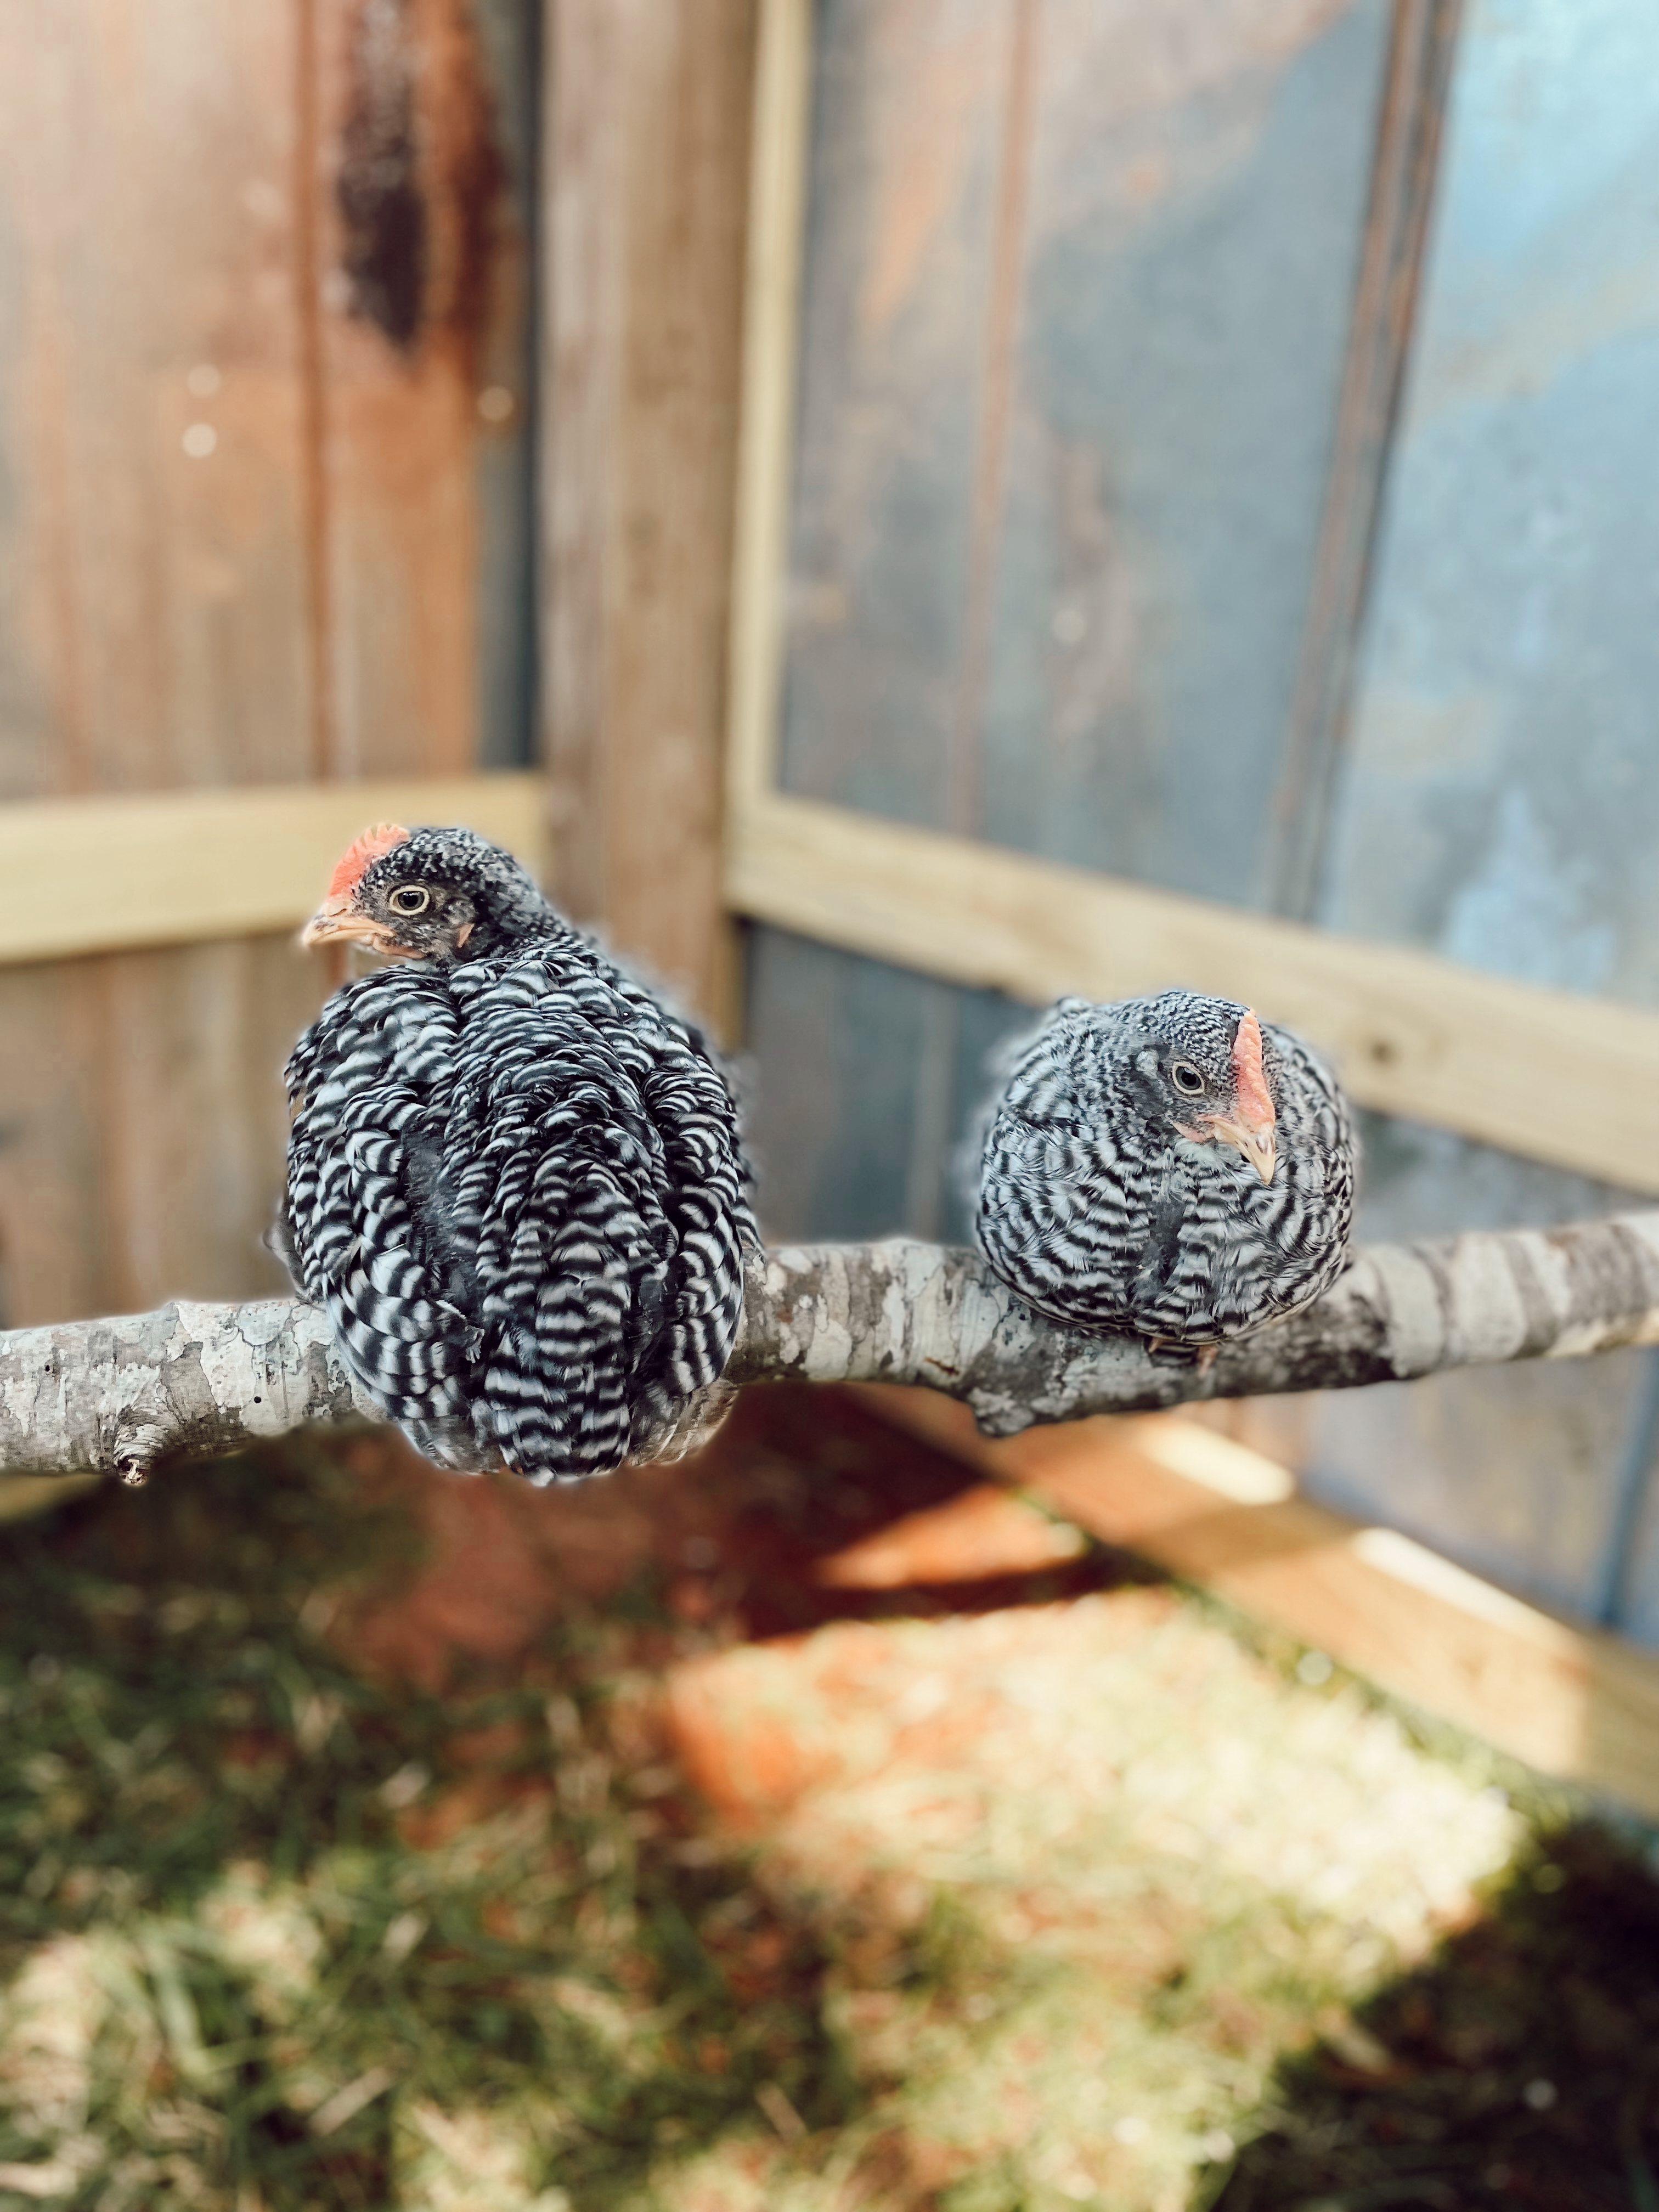
Inside the coop Brent added two boards for roosting.
Learn more about how to heat a coop without electricity HERE!
Building The 8X8 Chicken Coop
We started this build by setting the four corner posts.
Brent and the boys went through and pulled straight lines with the strings. Then, they dug the corner posts holes, and set the corner posts with concrete.
In order to make the coop predator proof, we added a mesh wire screen along the bottom of the walls. This will help prevent predators from digging under the walls.
The four corner posts were bridged with 2x4s so we had something to attach the exterior materials to.
From there the shape of the coop came together.
We Designed the Coop for Hot Alabama Summers
We knew ventilation was gong to be very important for our coop.
If you are familiar with Alabama, you know that it is very hot and humid during the summer. Actually, that is an understatement.
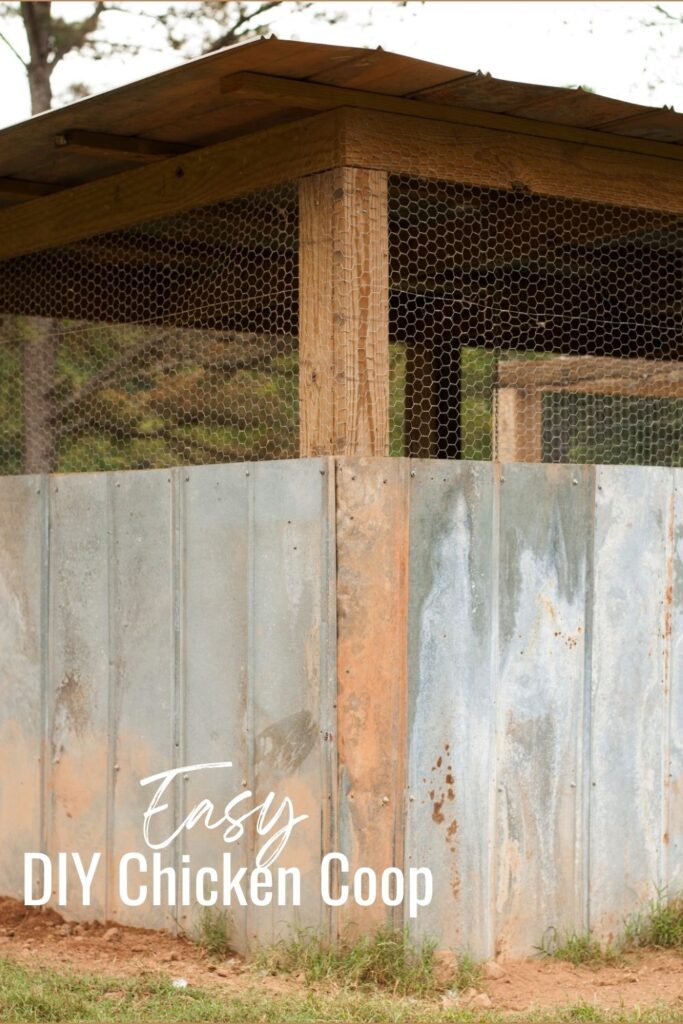
Chickens will not do well if they are trapped in a coop that doesn’t have ventilation. So, instead of completely closing our coop in, we used wire mesh across the top third of the coop.
Our door is also screened. This allows air to move through the coop.
Our winters tend to be very mild so I wasn’t that worried about a draft when it’s cold. I’d much rather have a coop that is ventilated well rather than sealed up.
Chickens can handle cold better than extreme heat.
Why We Used a Dirt Floor
We chose to leave the floor of our coop dirt.
There are several ways you could build a floor in your coop, but dirt just makes sense for us since we wanted to use the deep litter method.
The deep litter method allows bedding and chicken manure to compost inside the coop rather than requiring you to completely clean everything out more often.
It is a lot less maintenance and makes keeping up the coop easier.
We also add bedding throughout the year as needed.
The Tin Around the Bottom of the Coop
We used tin roofing around the bottom two-thirds of the coop.
It is durable, and easy to clean.
We originally tried to install the tin horizontally, but eventually changed it to vertical because it was easier to install that way.
If you’re building your own coop, I encourage you to use what you already have on hand, as well as what makes sense for your budget.
The Chicken Door and Run
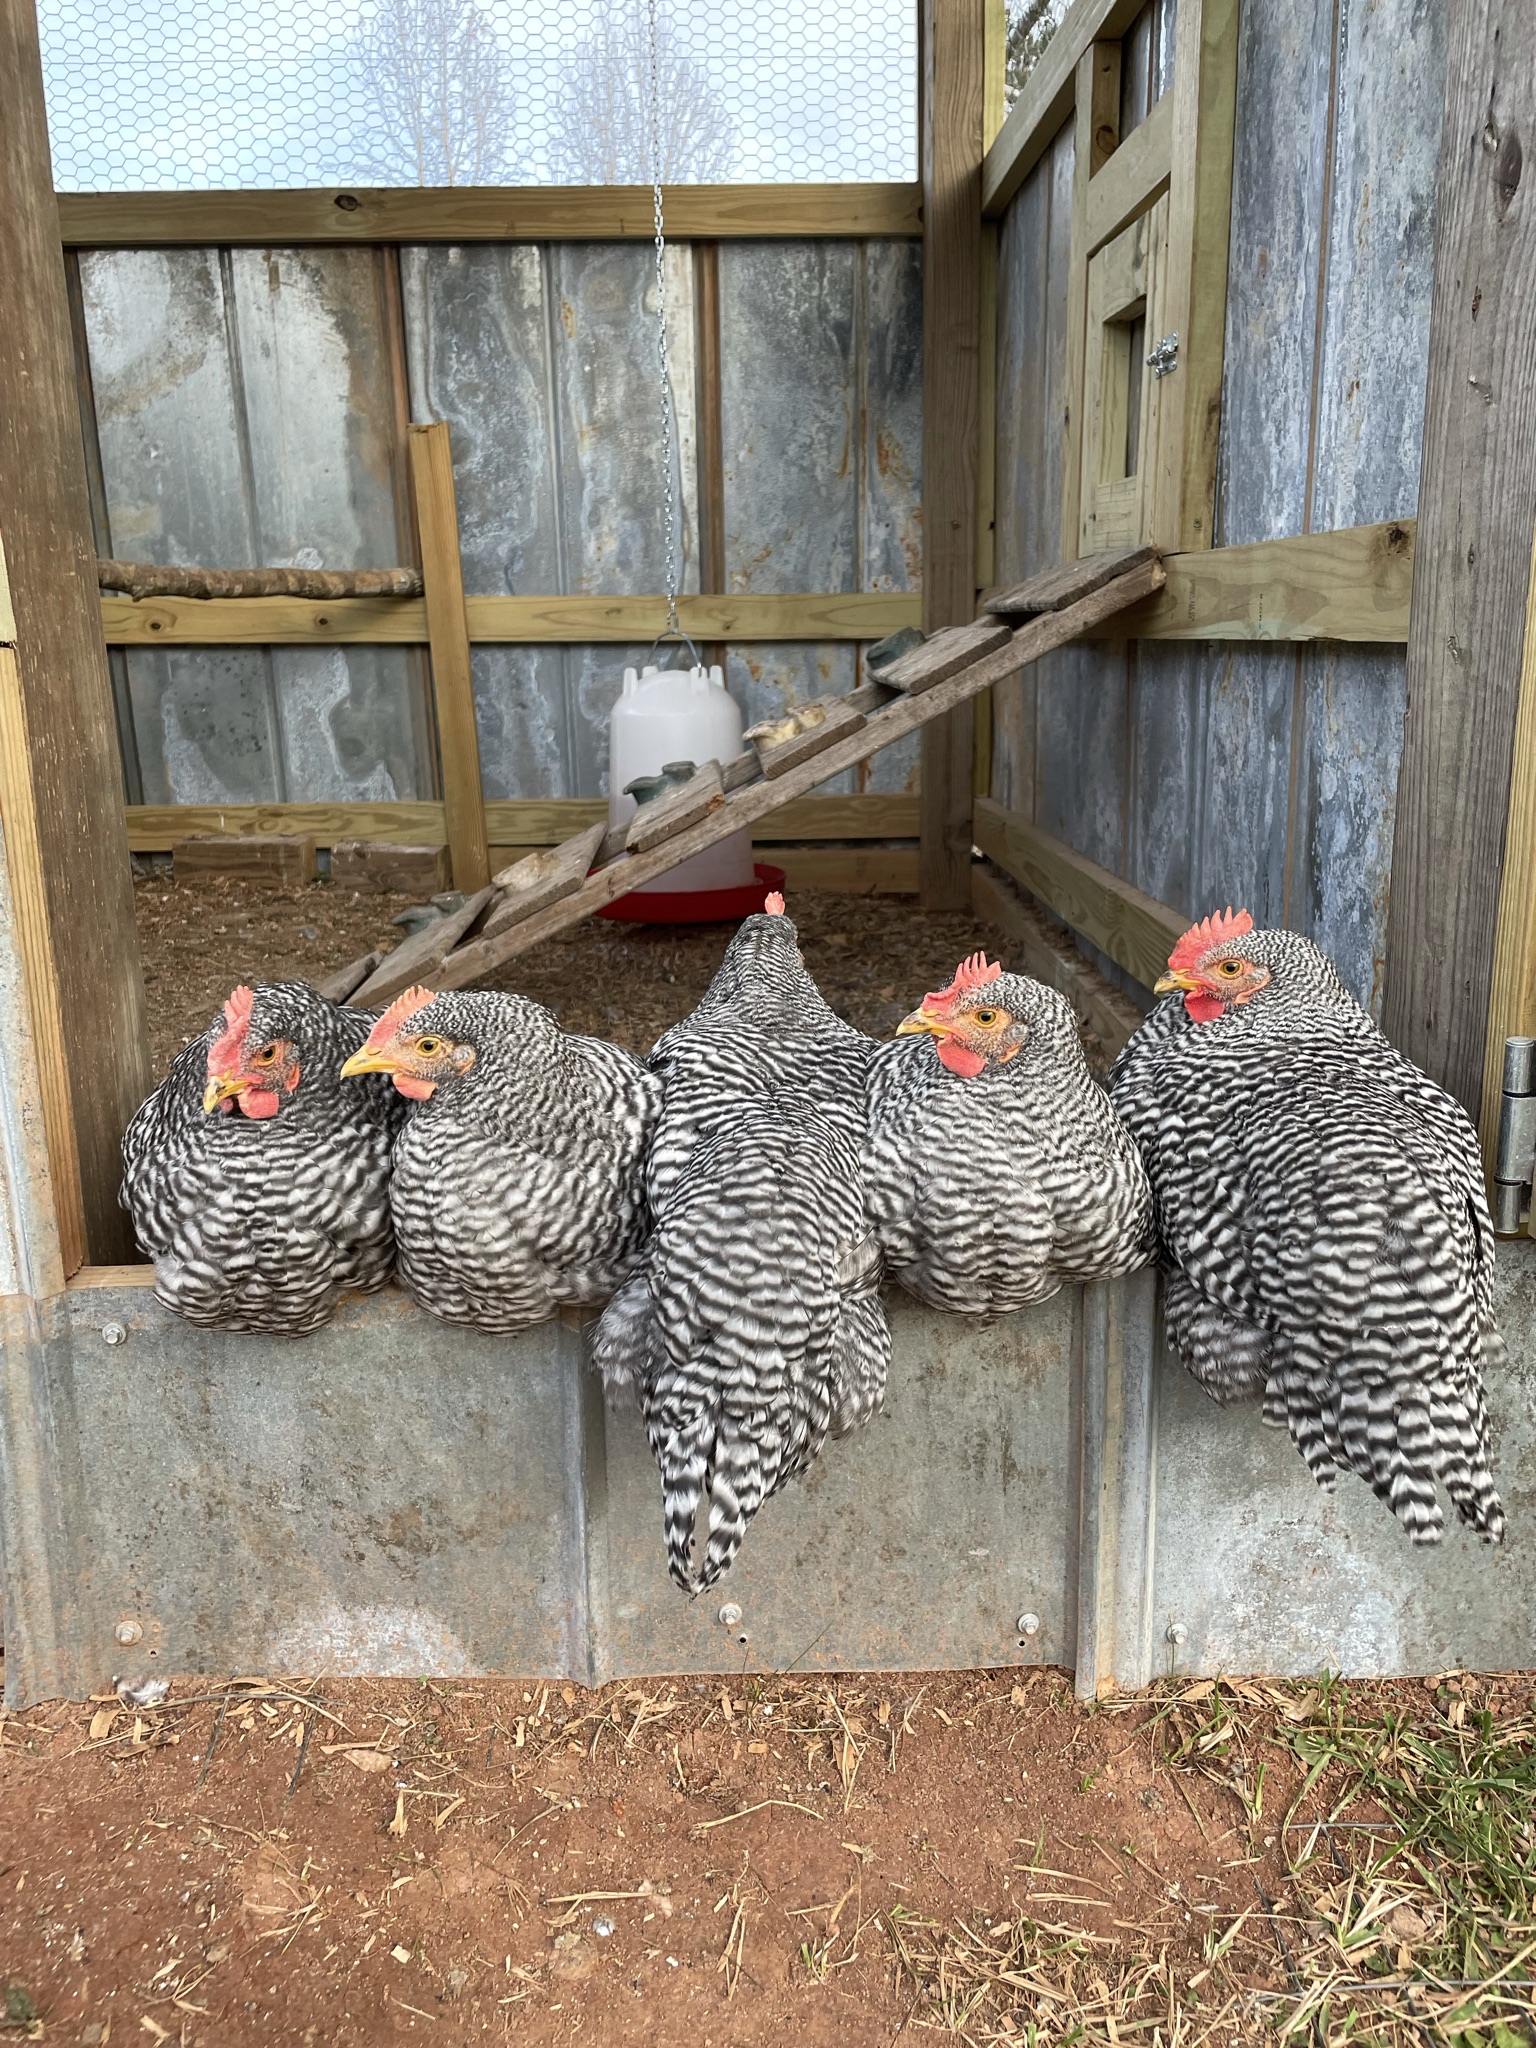
We added a small door to the side of the coop that allows the chickens to move between the coop and their run.
Our chickens spend a lot of time free-ranging, so the run wasn’t initially the primary place they’d spend their time.
That has changed some over the years as we have lost birds to aerial predators.
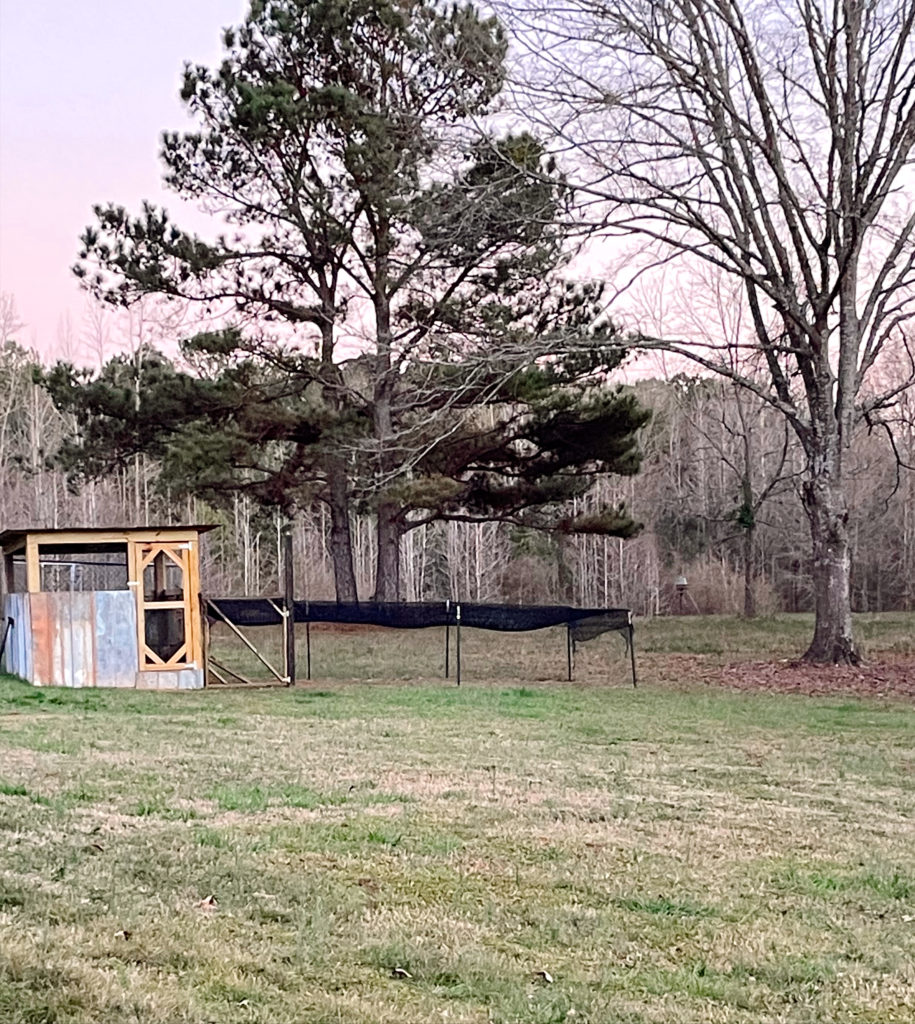
At one point, we added golf netting over the top of the run after losing a hen to a dog.
We’ve also added on to the original coop.
This is the one thing I’d tell anyone getting chickens: Your chicken coop will probably evolve over time.
Don’t feel like you have to build the perfect setup immediately.
Roosting Space
Inside the coop, Brent installed roosting areas.
Check out my chicken ladder build !
The roosts were positions below the screened portion of the coop so the chickens wouldn’t directly be exposed to drafts and wind.
When you are designing your coop and roosting area, think about how the chickens will actually use the coop rather than where they would physically fit
You want the roosts positioned higher than the nesting boxes so your chickens are less likely to decide that the nesting boxes are good for sleeping.
Winterizing the Chicken Coop
Although Alabama winters are very mild compared to other parts of the country, the temperatures can will dip down to freezing.
During the winter we add plastic sheeting to help block some of the wind.
The deep litter method also helps to keep the coop warm.
One important thing to remember is that blocking the wind doesn’t mean eliminating ventilation. Chickens still need a lot of fresh air year round.
You don’t want to seal the coop up so tightly that the moisture and ammonia build up inside.
More Articles You’ll Love
How Many Chickens Will This DIY Chicken Coop Hold?
This DIY coop will comfortable hold around 36 standard size chickens. If you’re raising bantam chickens, you cold hold even more. Chickens need around 2 square feet of coop space if they’re allowed to free-range.
If your chickens are going to live exclusively in the coop, they will need around 4 square feet per bird. This coop would hold around 16 standard size chickens in this scenario.
To learn more about what size chicken coop you’ll need, check out my post on how big should a coop be for 20 birds.
What Type of Coop is Needed For Meat Birds?
Meat chickens are breeds that grow to a large size and have thicker muscles mass for eating. If you’re raising dual purpose or heritage breeds, this coop would work great! It provides adequate space and nesting areas for these types of meat birds.
However, if you’re raising a breed of meat chickens like the Cornish Cross, you’ll need a much different coop set up.
Cornish Cross chickens are notoriously messy. They eat a high protein diet, and create a lot of waste. I have found it best to rotationally graze Cornish Cross chickens in a chicken tractor coop instead of a traditional style.
Learn more about raising meat chickens here!
What About Bantam Chickens?
Bantams are a lot smaller than a standard-size chicken so they need a lot less space.
However, it’s still important not to overcrowd the coop.
More space is a better idea when you can provide it.
Crowding will contribute to:
- bullying
- feather picking
- stress
- dirty bedding
- poor air quality
- competition for food and water
- problems around roosting
If you have the room, give them the room.
Other DIY Chicken Coop Ideas
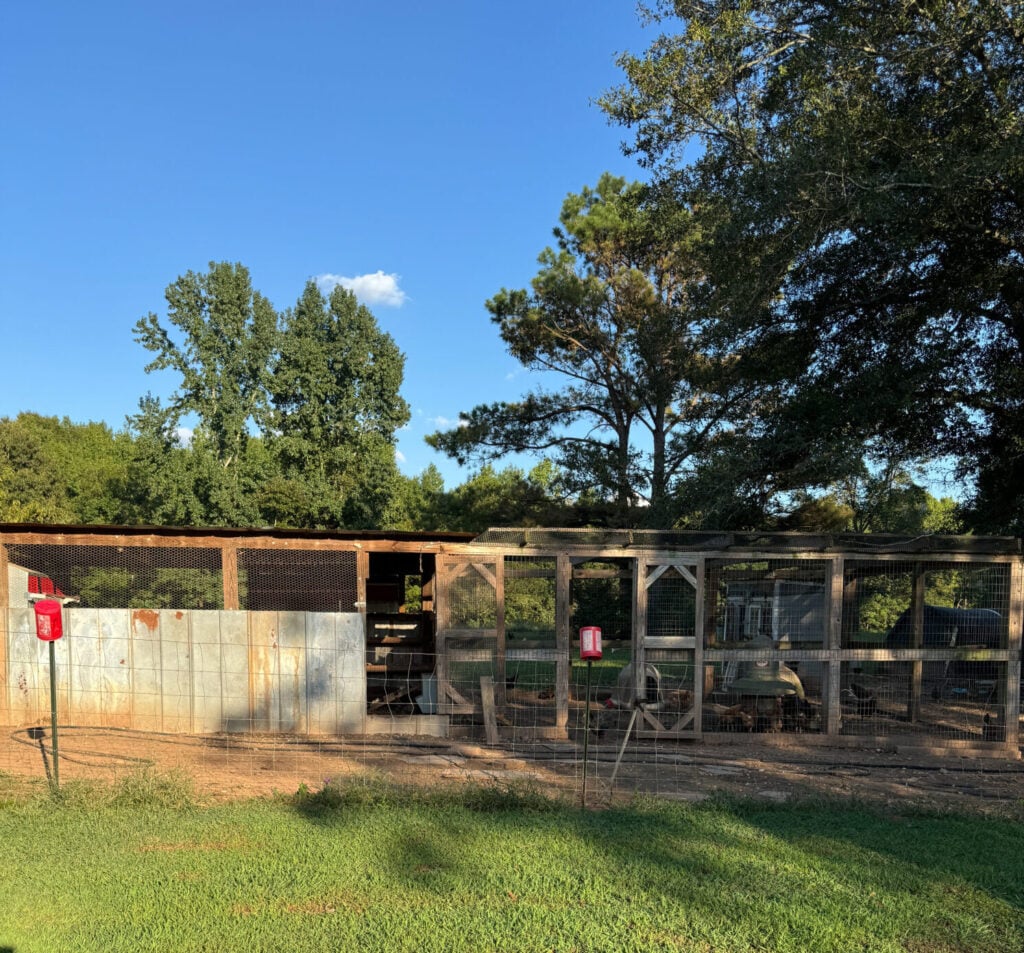
There are some things I wish I’d done differently with the diy chicken coop. I’ll share those with you in case you’re in the process of planning your own coop in the future.
- Paint the boards first– I didn’t paint our wood prior to building the coop. Painting it is going to be a lot more challenging now with the wire and tin in place.
- Closing in the coop– The roof of the coop is slanted, which left a 2″ gap in the front near the top. I’m afraid this gap is large enough for wild birds, a snake, or another predator to get in. Brent has plans to cut a board to fill the gap soon.
- Hardware Cloth– We found a good deal on chicken wire when we were building our coop. However, I wish we would have chosen 1/4″ hardware cloth instead. The hardware cloth is stronger than the chicken wire. The smaller holes in the cloth will also help to keep out more critters. If you are starting from scratch building a coop I strongly suggest using something similar to hardware cloth instead of chicken wire.
- Access to nesting boxes from outside– Like I said earlier, we use 5 gallon buckets for laying boxes. I would prefer to have built in boxes with an access from the exterior. An exterior access point would reduced the amount of chicken poop I get on my shoes daily.
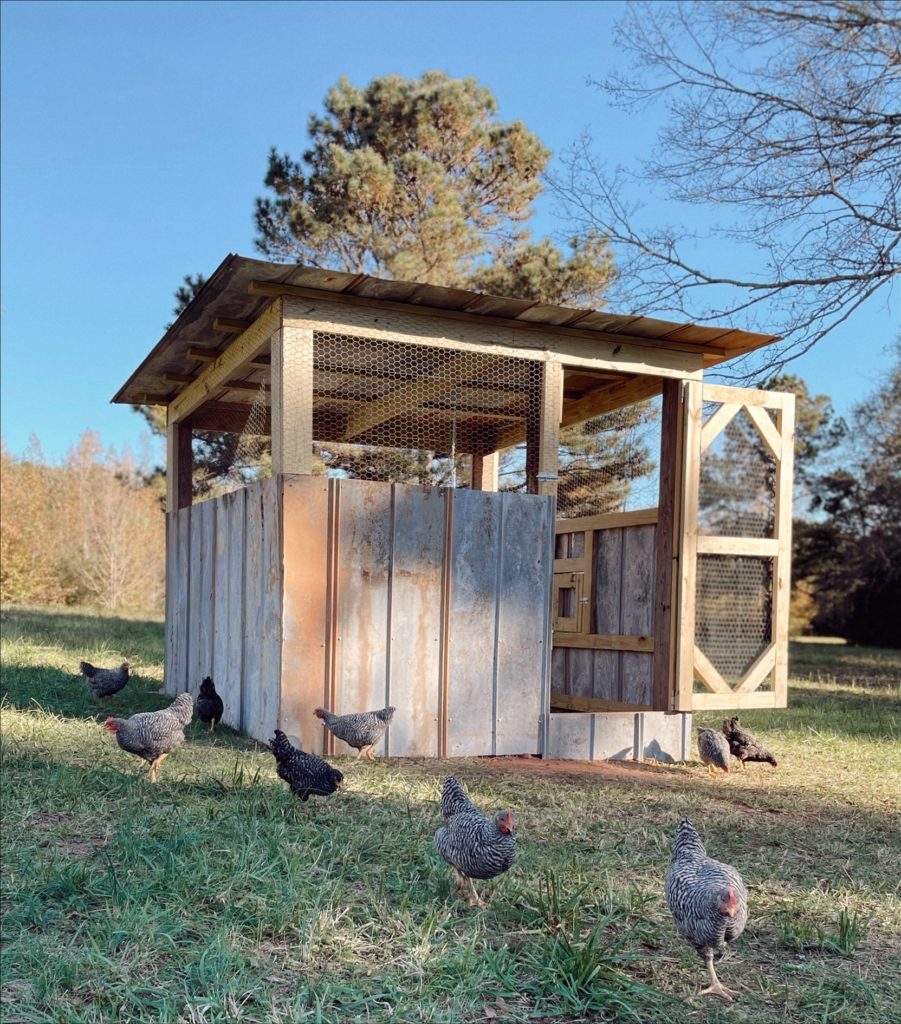
I would love to eventually add a chicken garden to the area around my coop. A place where the chickens can scratch and eat other than my actual garden. A chicken garden would cut down on the cost of feed.
I would also like to add a flowering vine to the coop like the one here. I feel like it would add a touch of whimsey to my little chicken haven. For now we added golf netting to the top of the run temporarily. Something we installed after recently losing a hen to our dog.
Soon we’ll be working on the run to make it more secure. I love the A frame run here. Our chickens free range a lot, so we’ve been slow about building it. I’ll share our run update when we get it completed.
This diy chicken coop has brought us so much joy. I love coming home to my little flock everyday, and laughing at their unique personalities. I hope you enjoyed reading about it too!
If you enjoyed this article, please share it!
More From The Farm
If you’re looking for the best chicken nesting boxes for your chickens, there are plenty of options to choose from. You can go for simple, cost-effective choices that get the job done without breaking the bank.
On the other hand, there are also fancier and more expensive nesting boxes that offer extra features and comfort for your hens. Whether you’re looking to save money or invest a little more, there’s a perfect nesting box out there for every chicken owner.

[…] DIY Chicken Coop […]