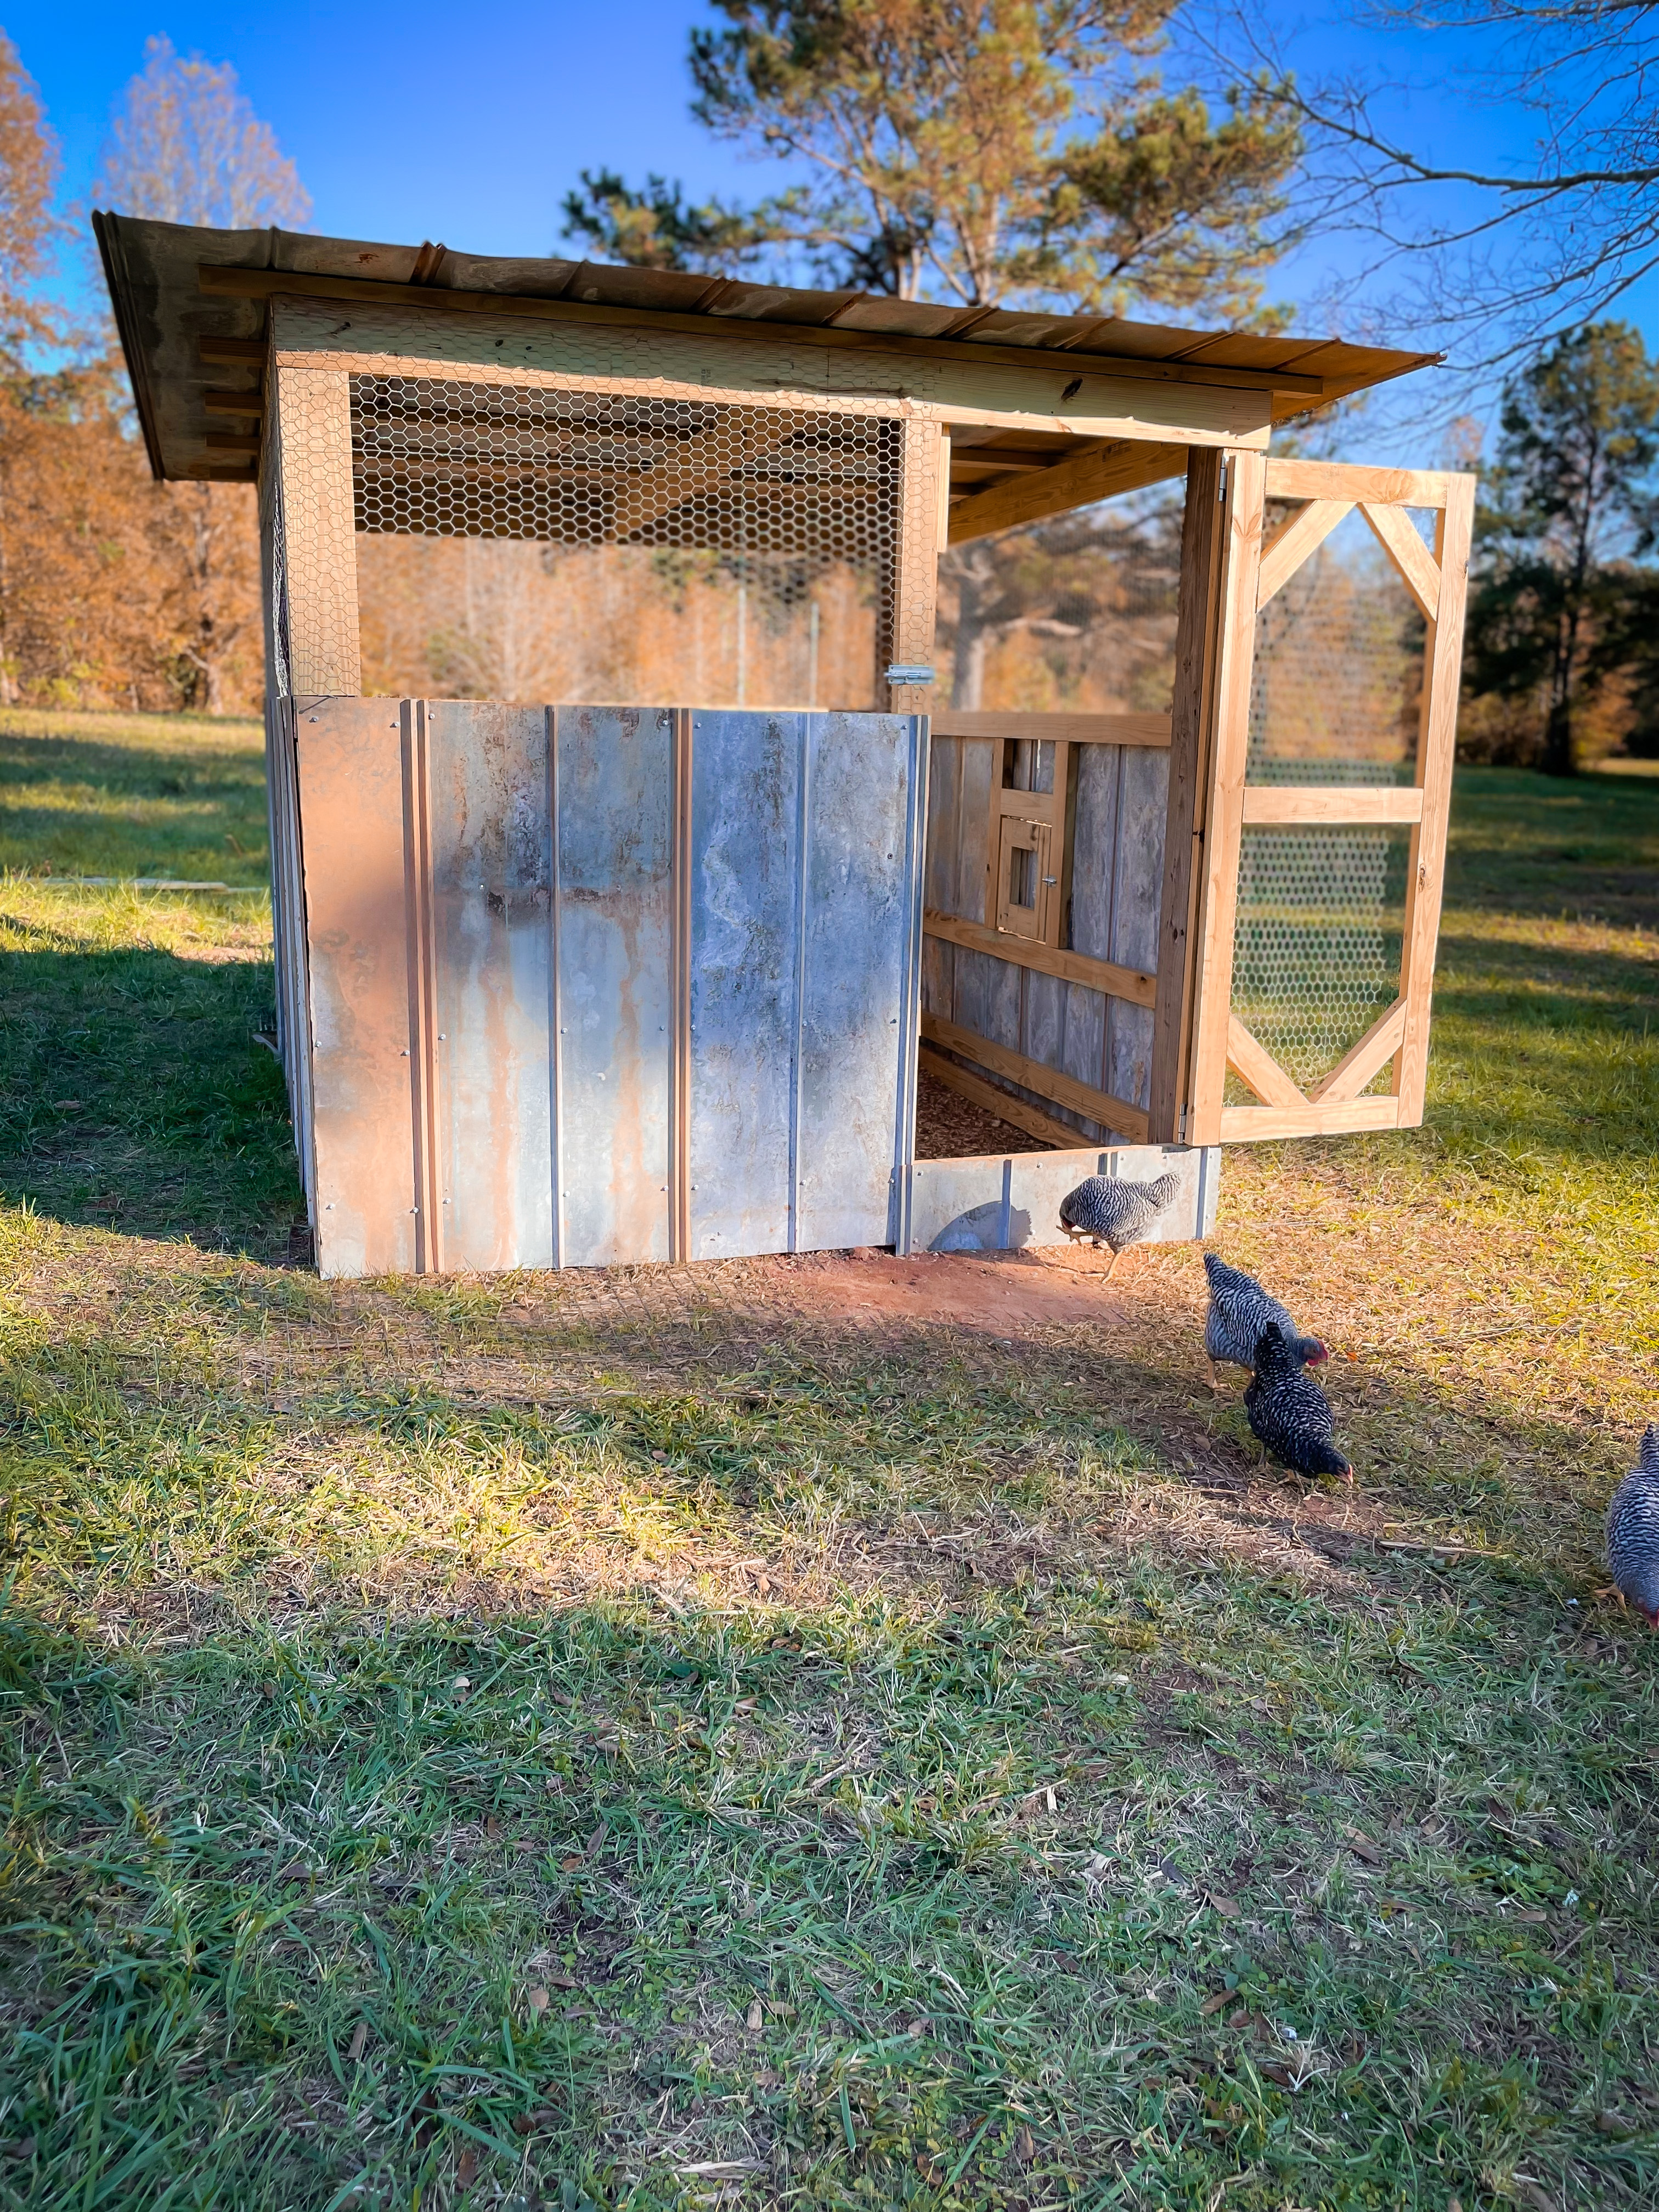
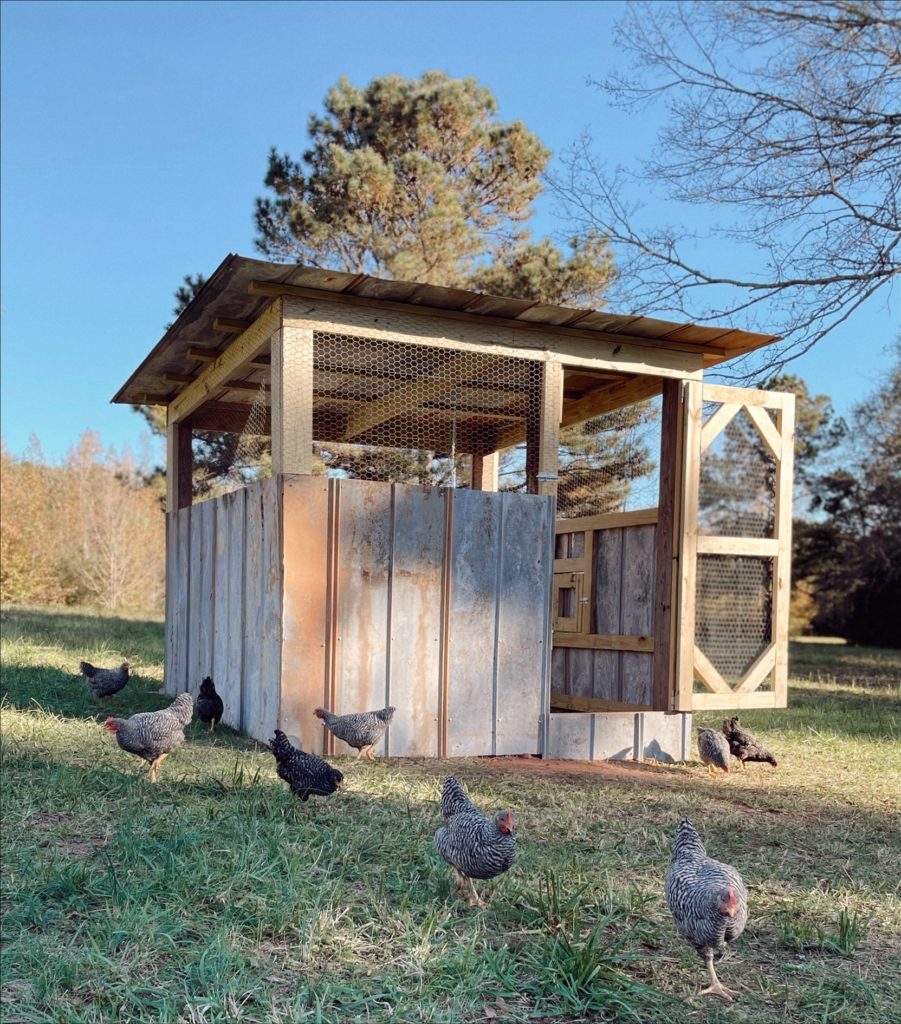
Our DIY chicken coop project turned out great. While it’s not as lovely as some of the other coops out there, it’s large and serves it’s purpose well. I also have a lot of ideas to make it pretty in the future.
DIY Chicken Coop
Last September we received our first flock of chickens. We acquired fifteen straight run barred rock chicks. Read about my chicks here.
Nine of them ended up being roosters, but that’s a different post for another day. I had to learn about chickens quickly.
We also didn’t have a chicken coop. Brent is pretty handy, and after a few discussions about what I wanted, he made it a reality.
I don’t have an estimate of the cost to build the coop. We already had most of the materials laying around the farm.
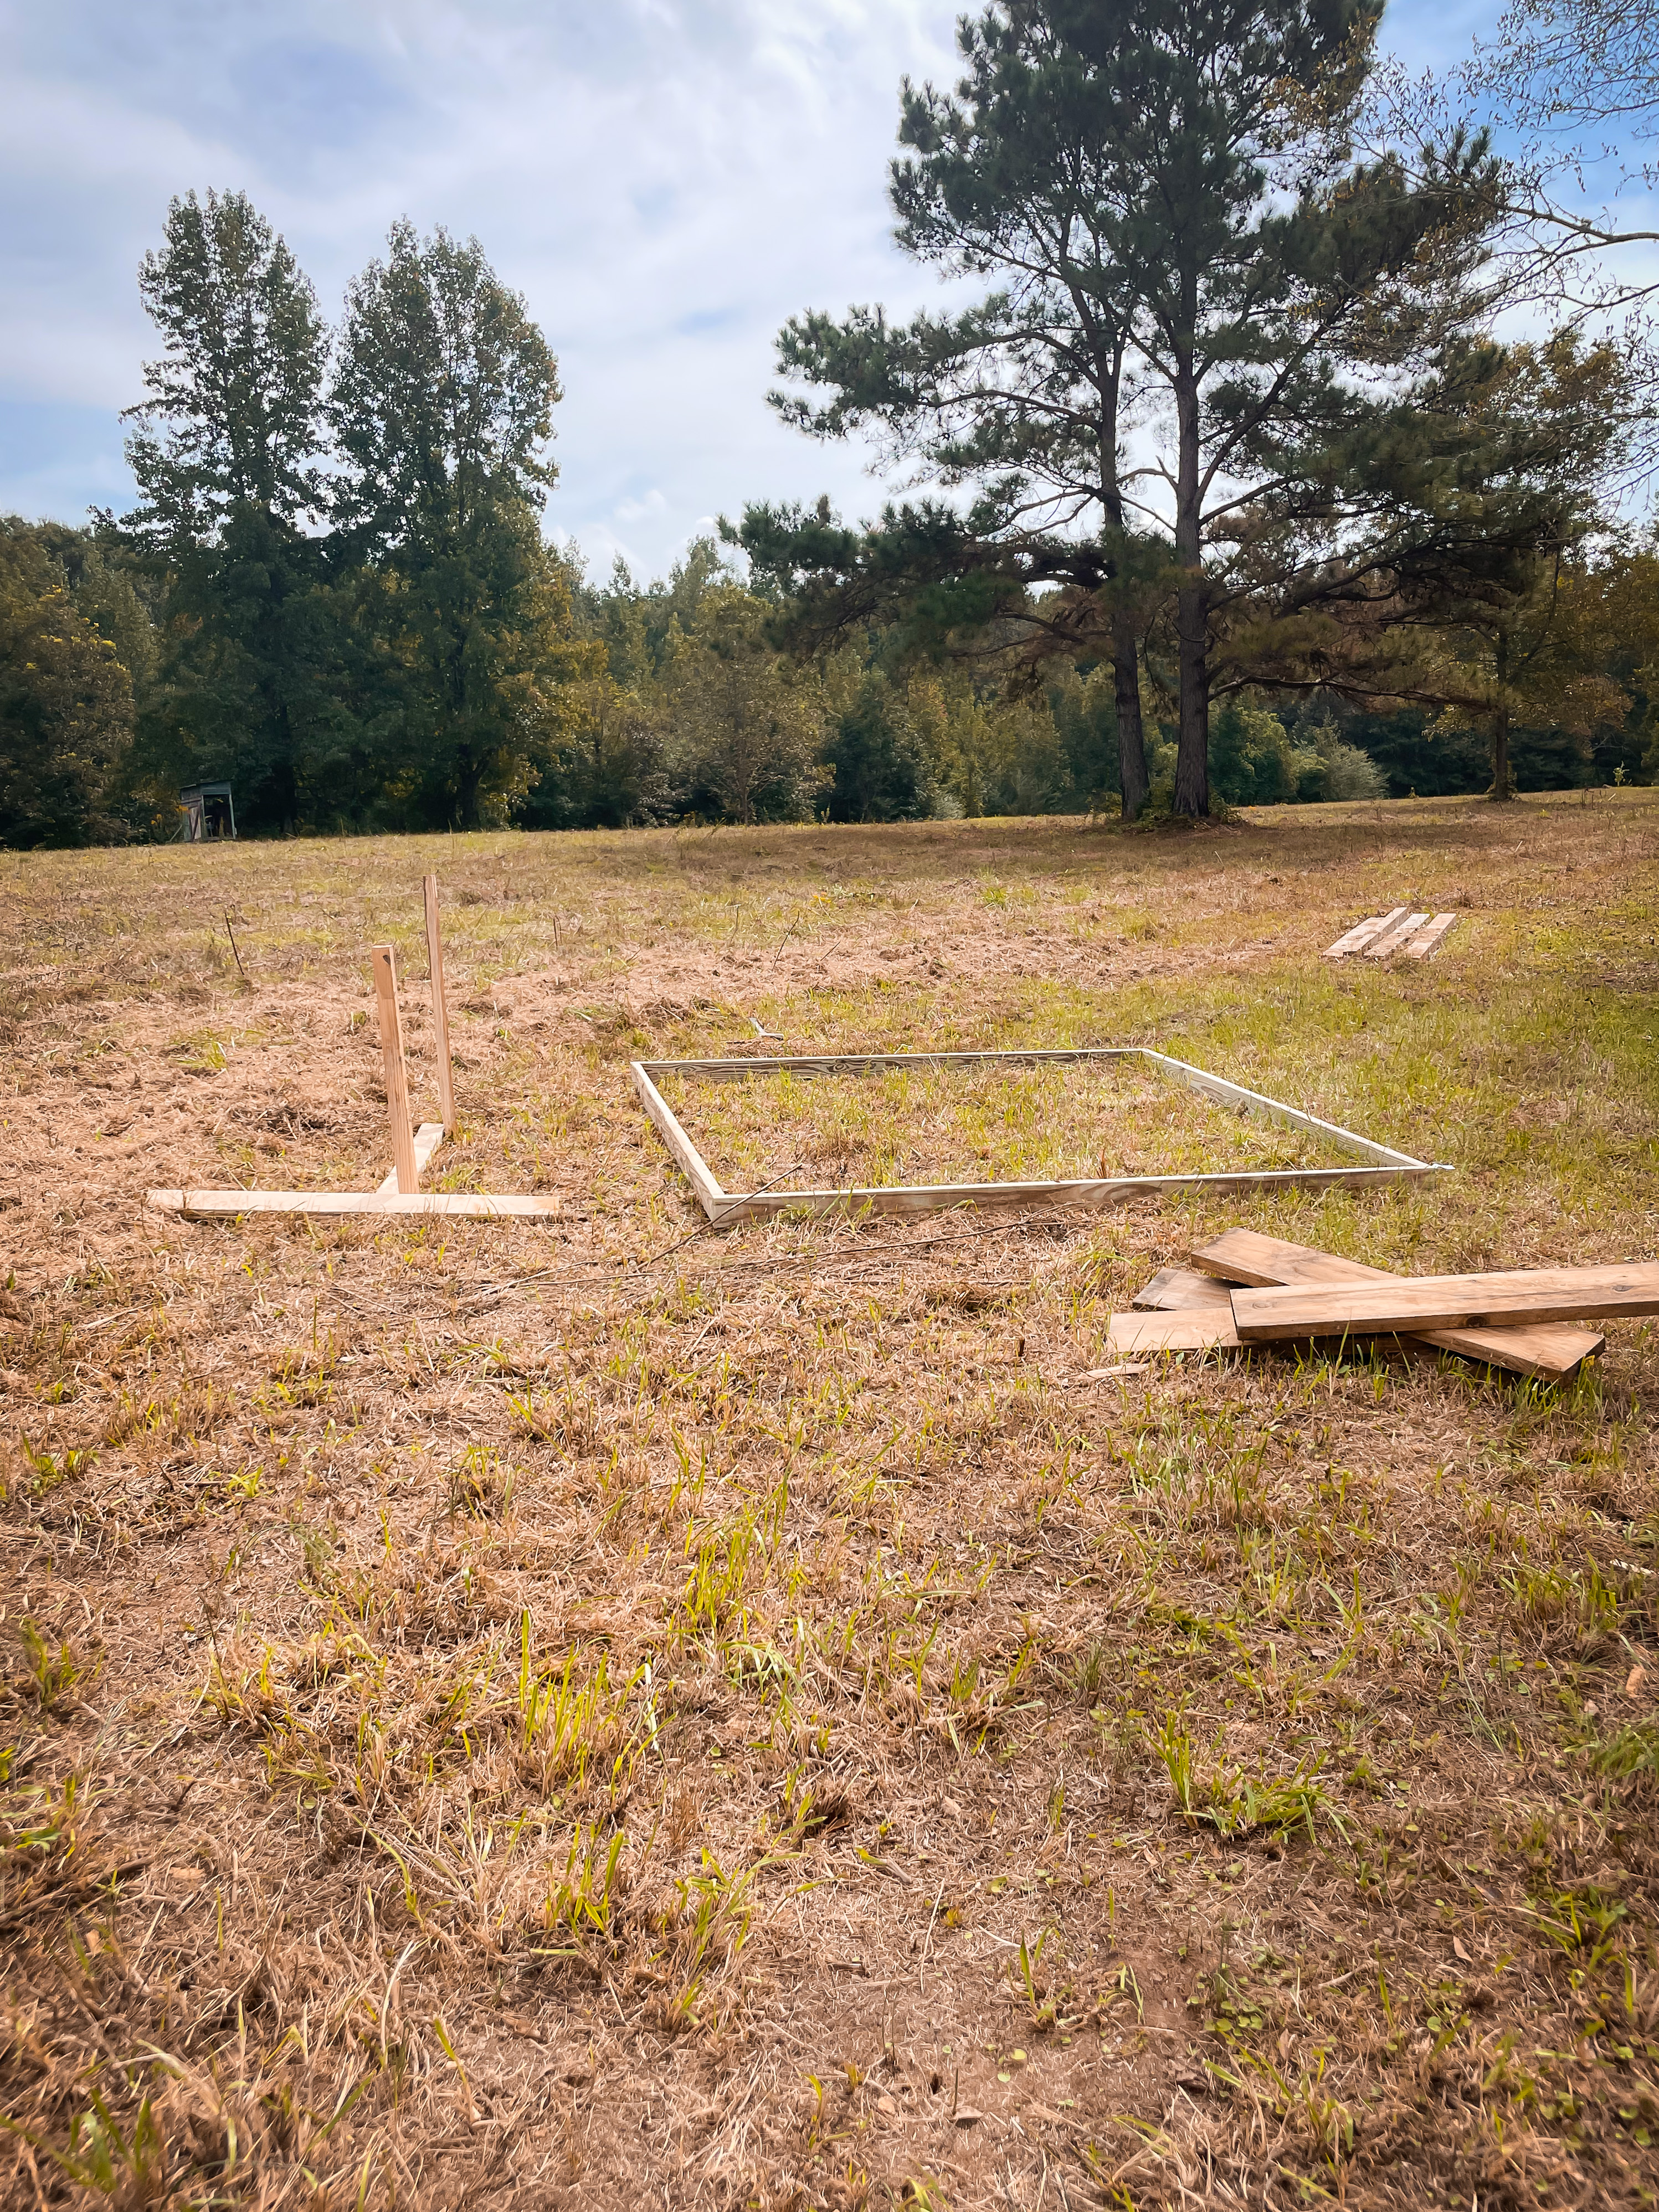
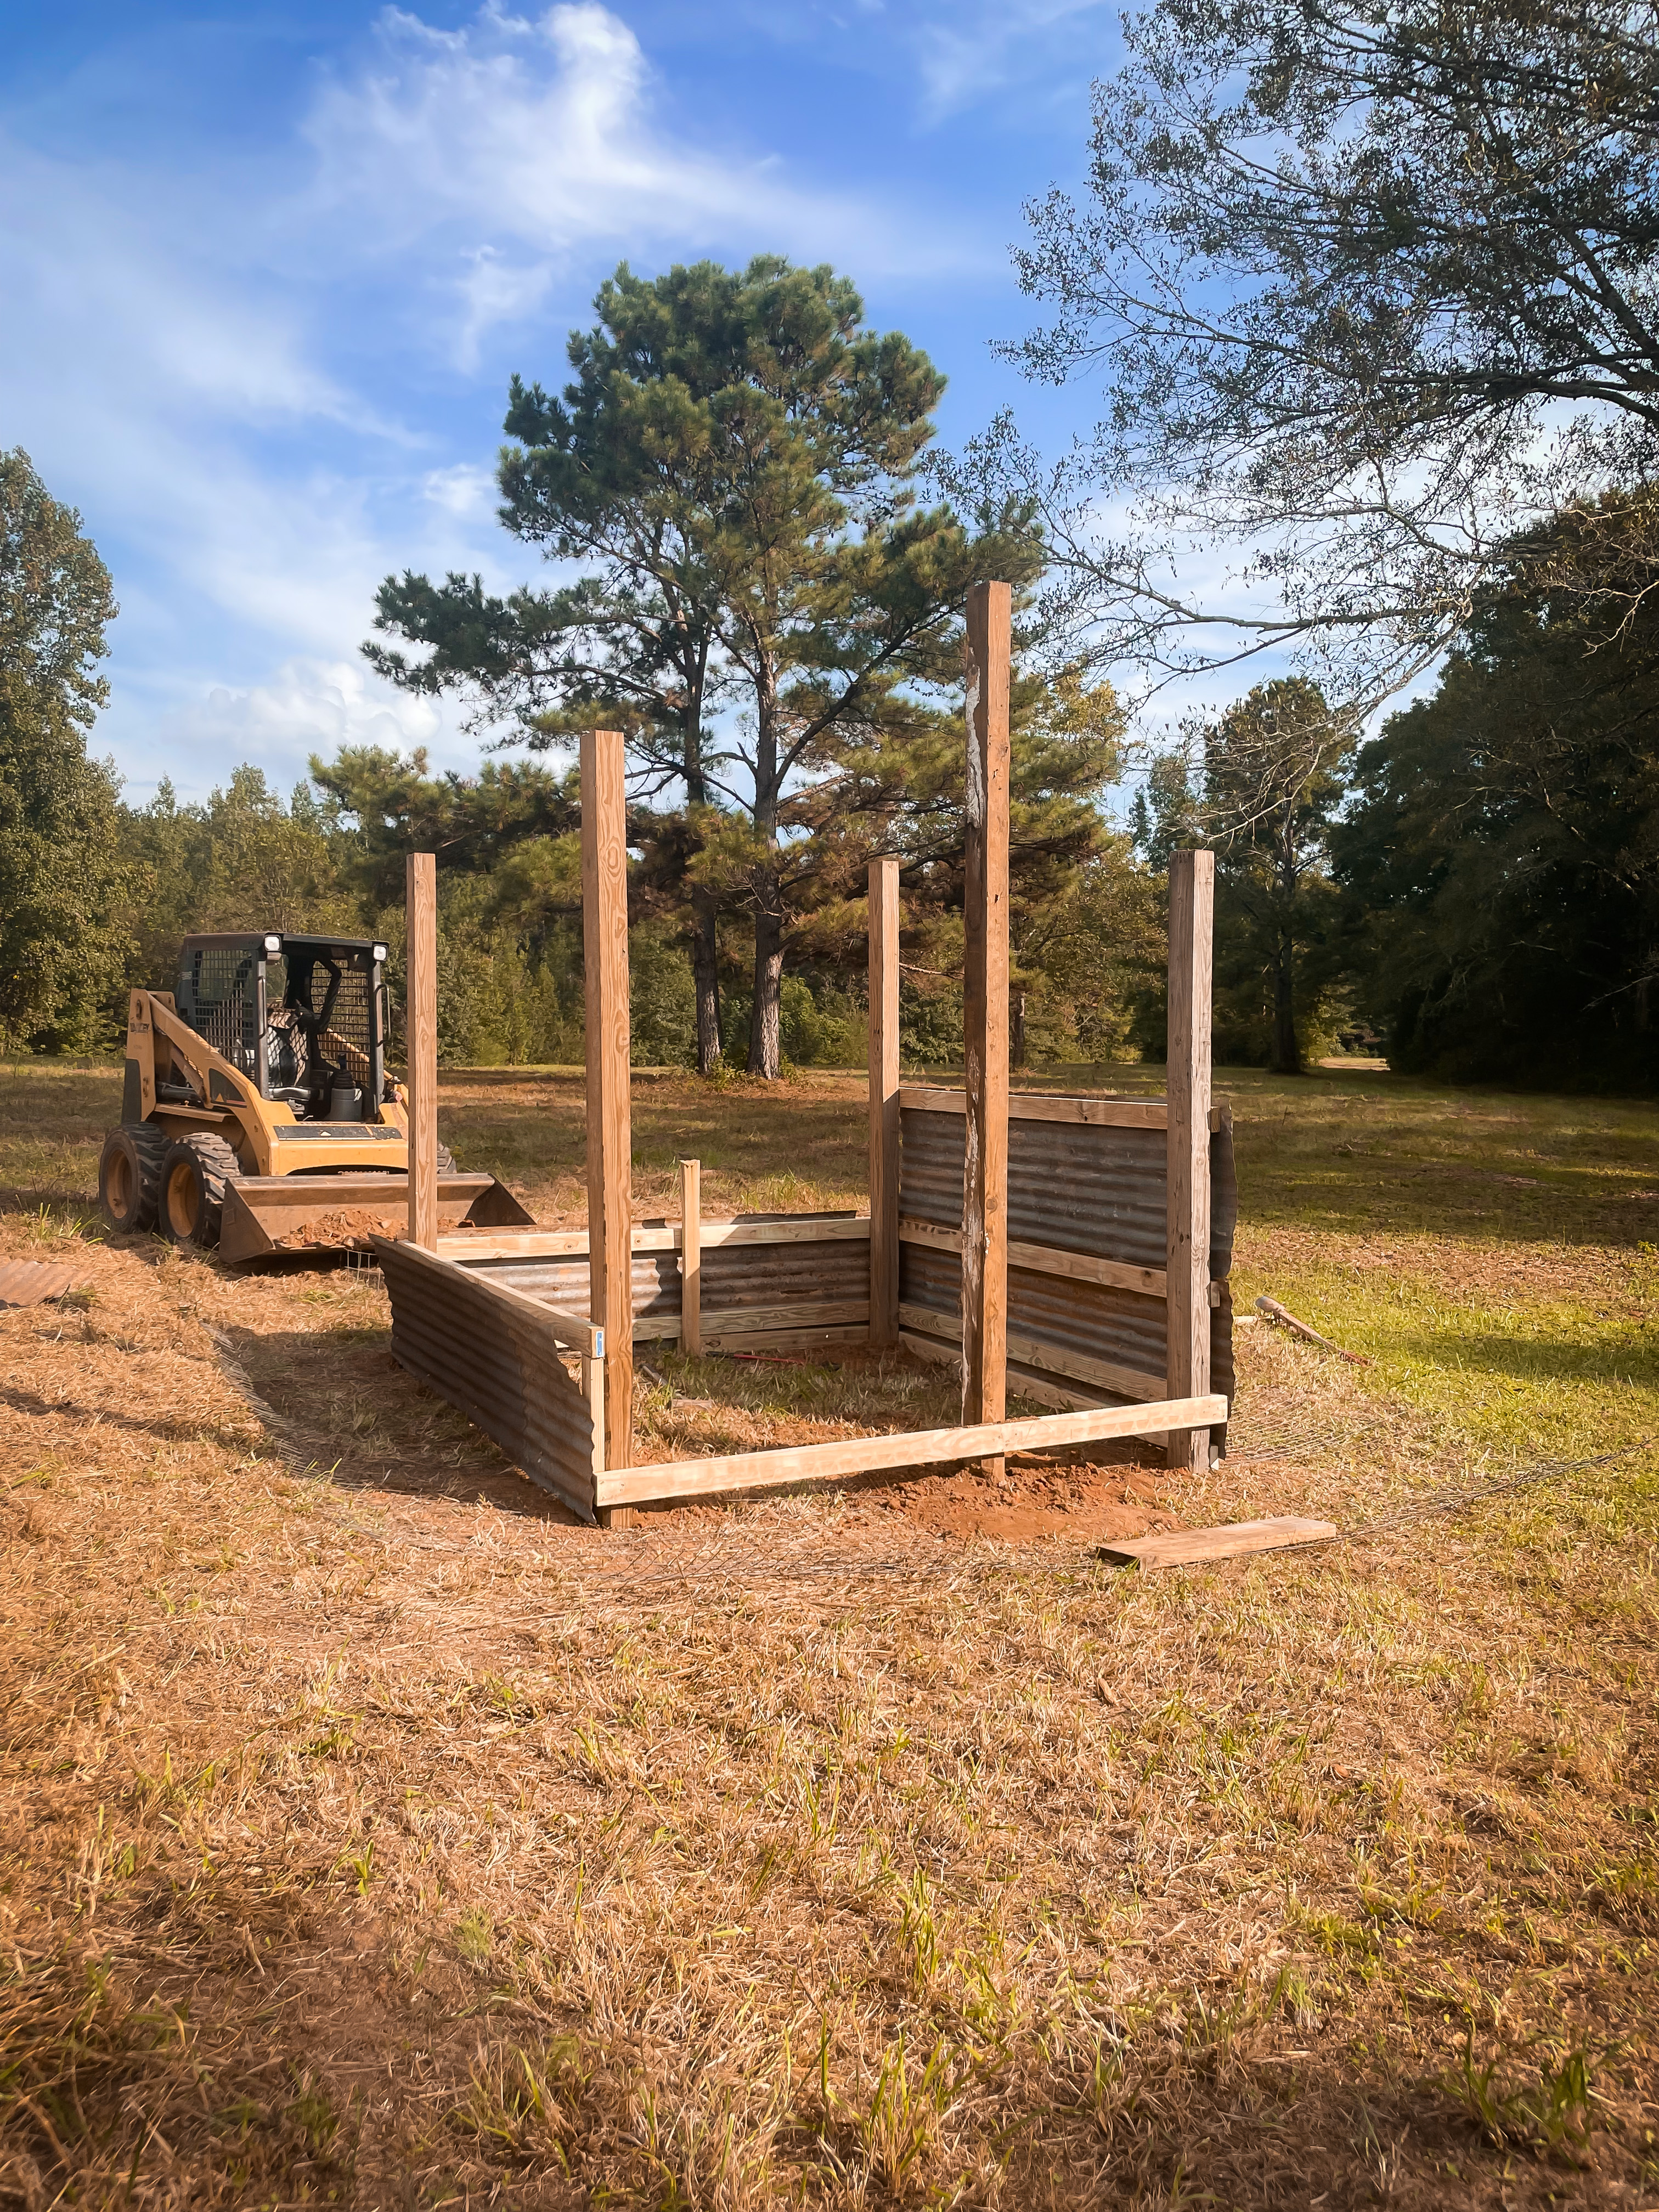
We started by setting the posts for an 8 x 8 coop. Brent and the boys pulled straight lines and dug the holes for the four corner posts.
We added wire screen under the walls to prevent predators from digging under and into the coop. Holes were cut in the wire screen for the posts.
After setting the corner posts, supporting posts were added to the front of the coop for the roof and the door.
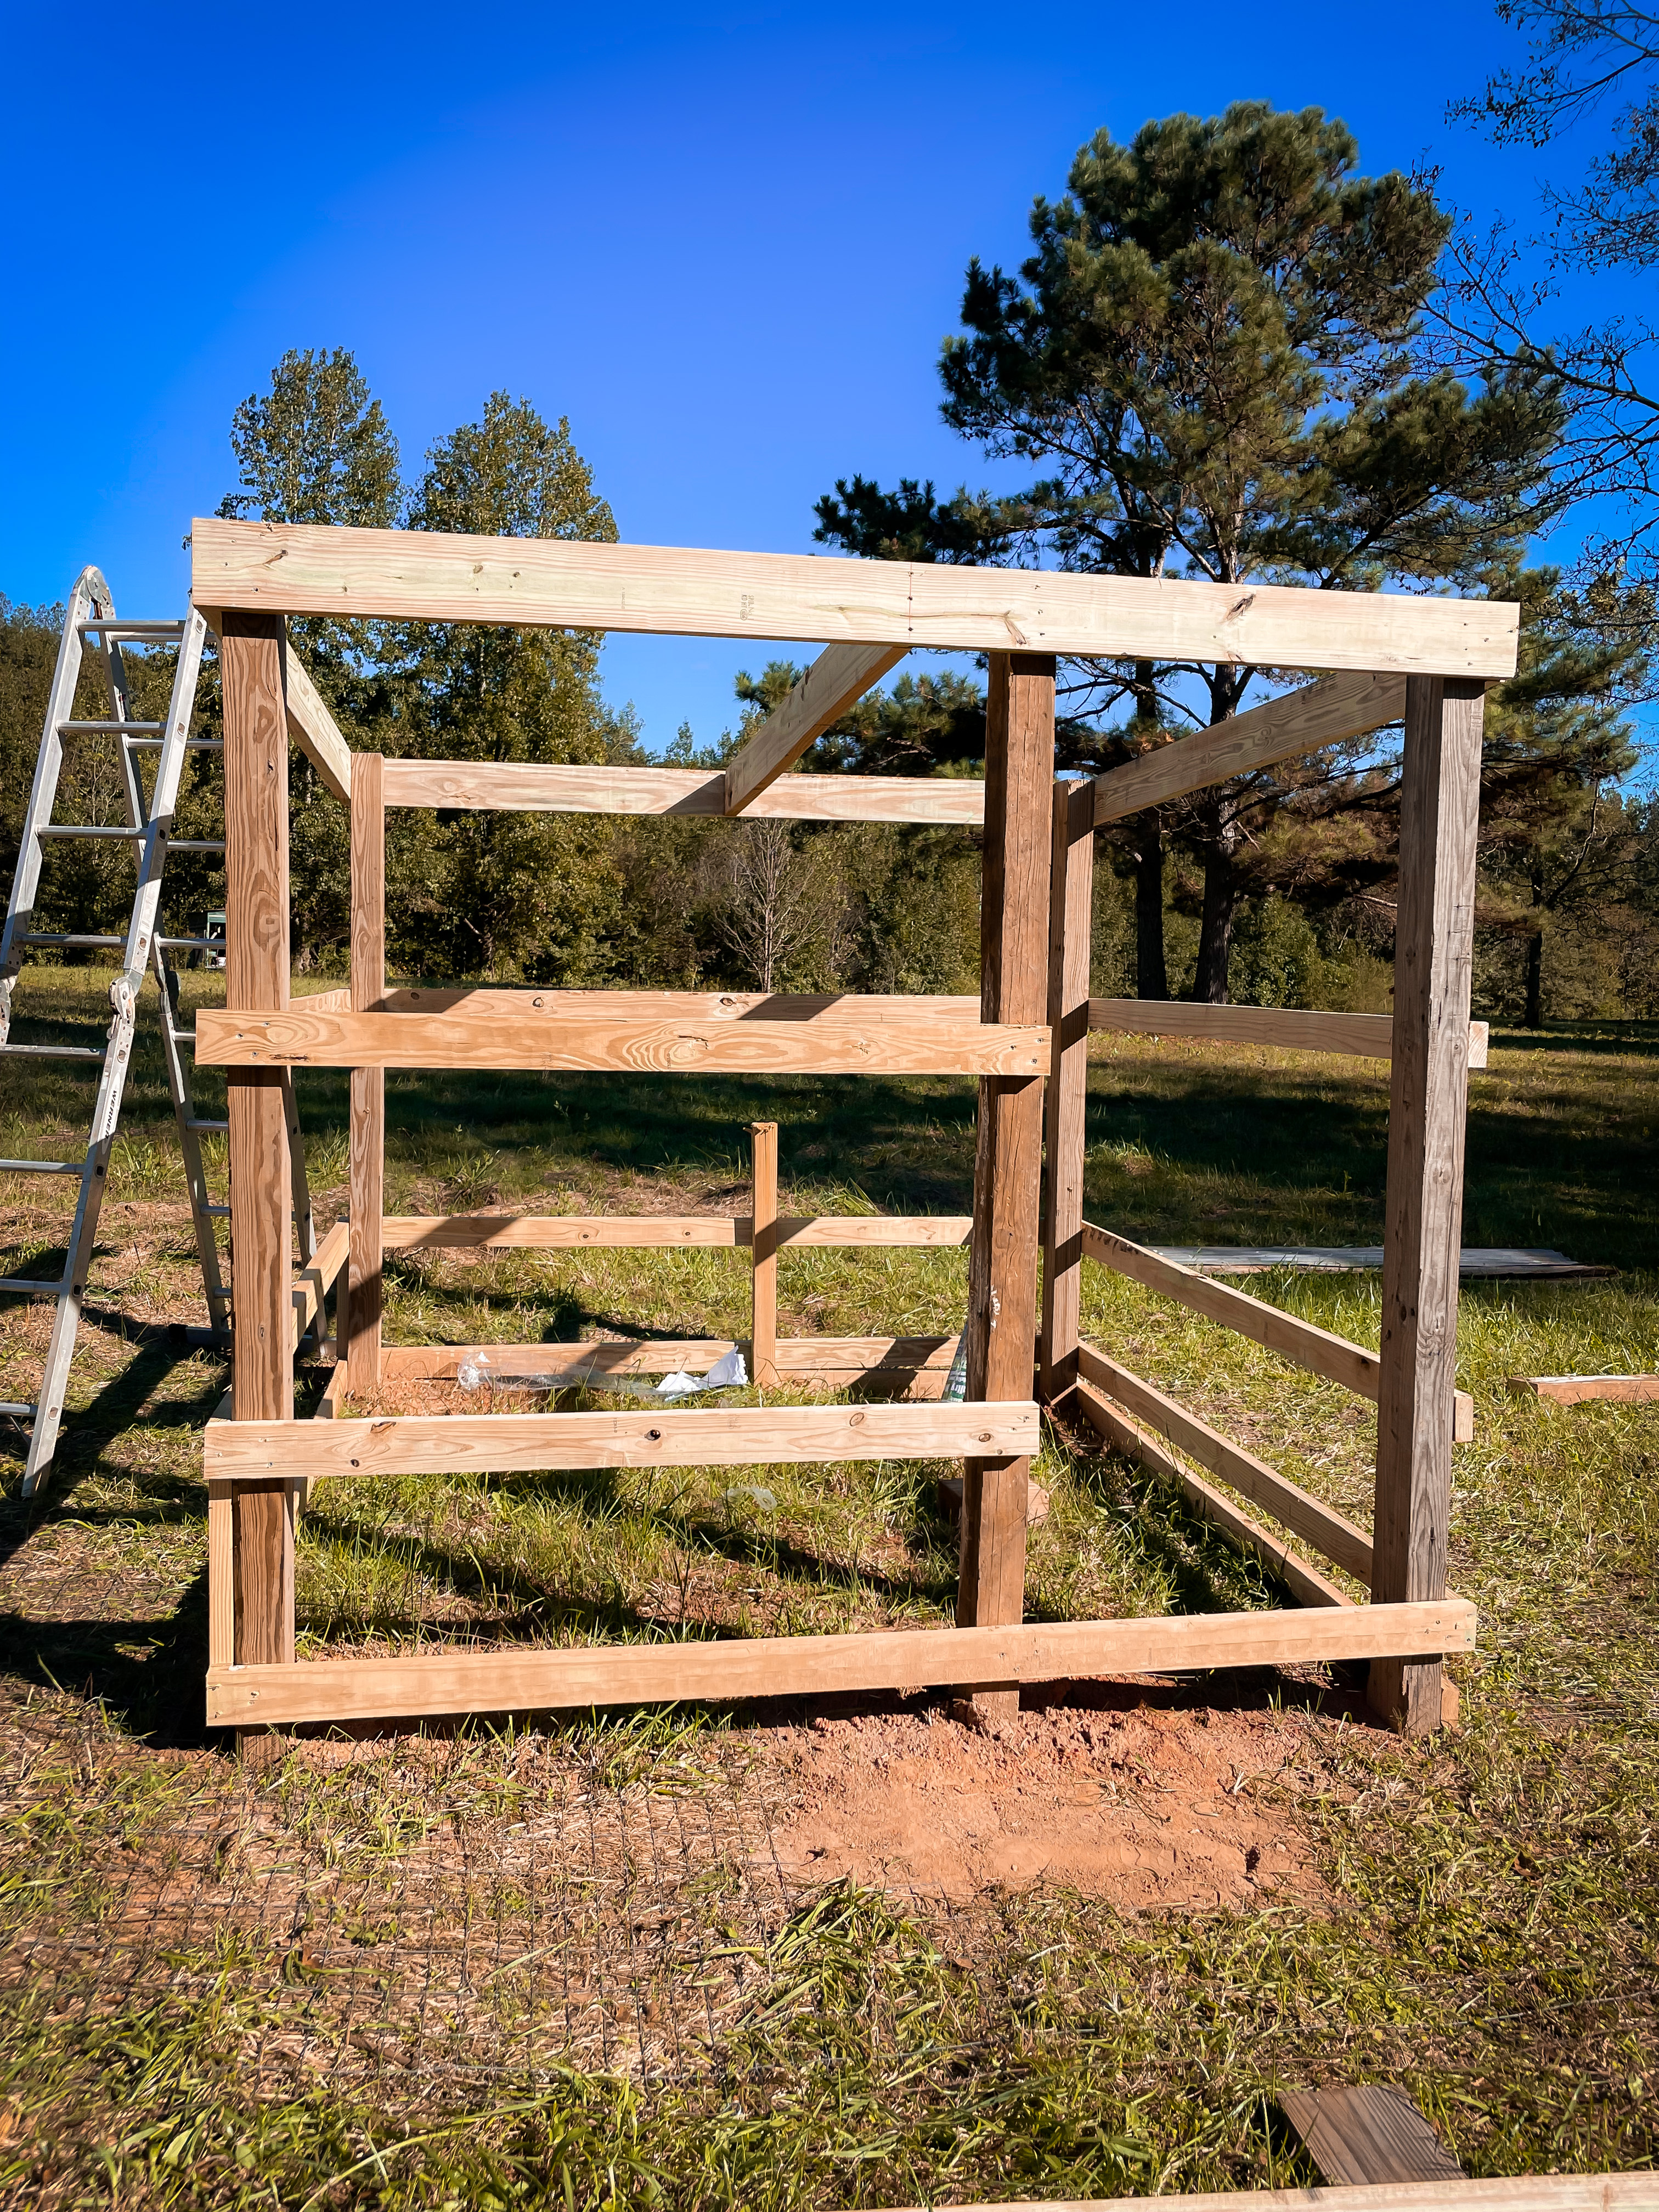
The coop walls were bridged with 2x4s to attach the exterior materials too. The coop needed to be well-ventilated because summers in the south are very hot.
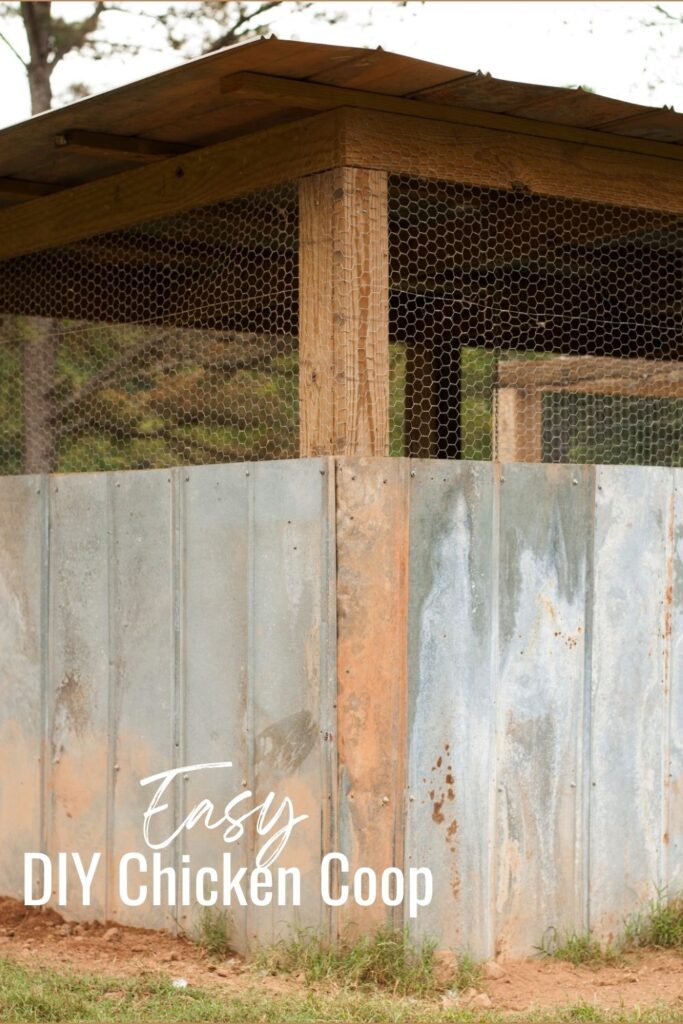
We decided to use chicken wire on the top third of the coop and the door. We left the floor dirt to make the deep-litter method easier.
On the bottom of the coop we used tin roofing. This is durable and will last a long time. He built a slanted tin roof as well. I hope to add a rain-water collection system in the future.
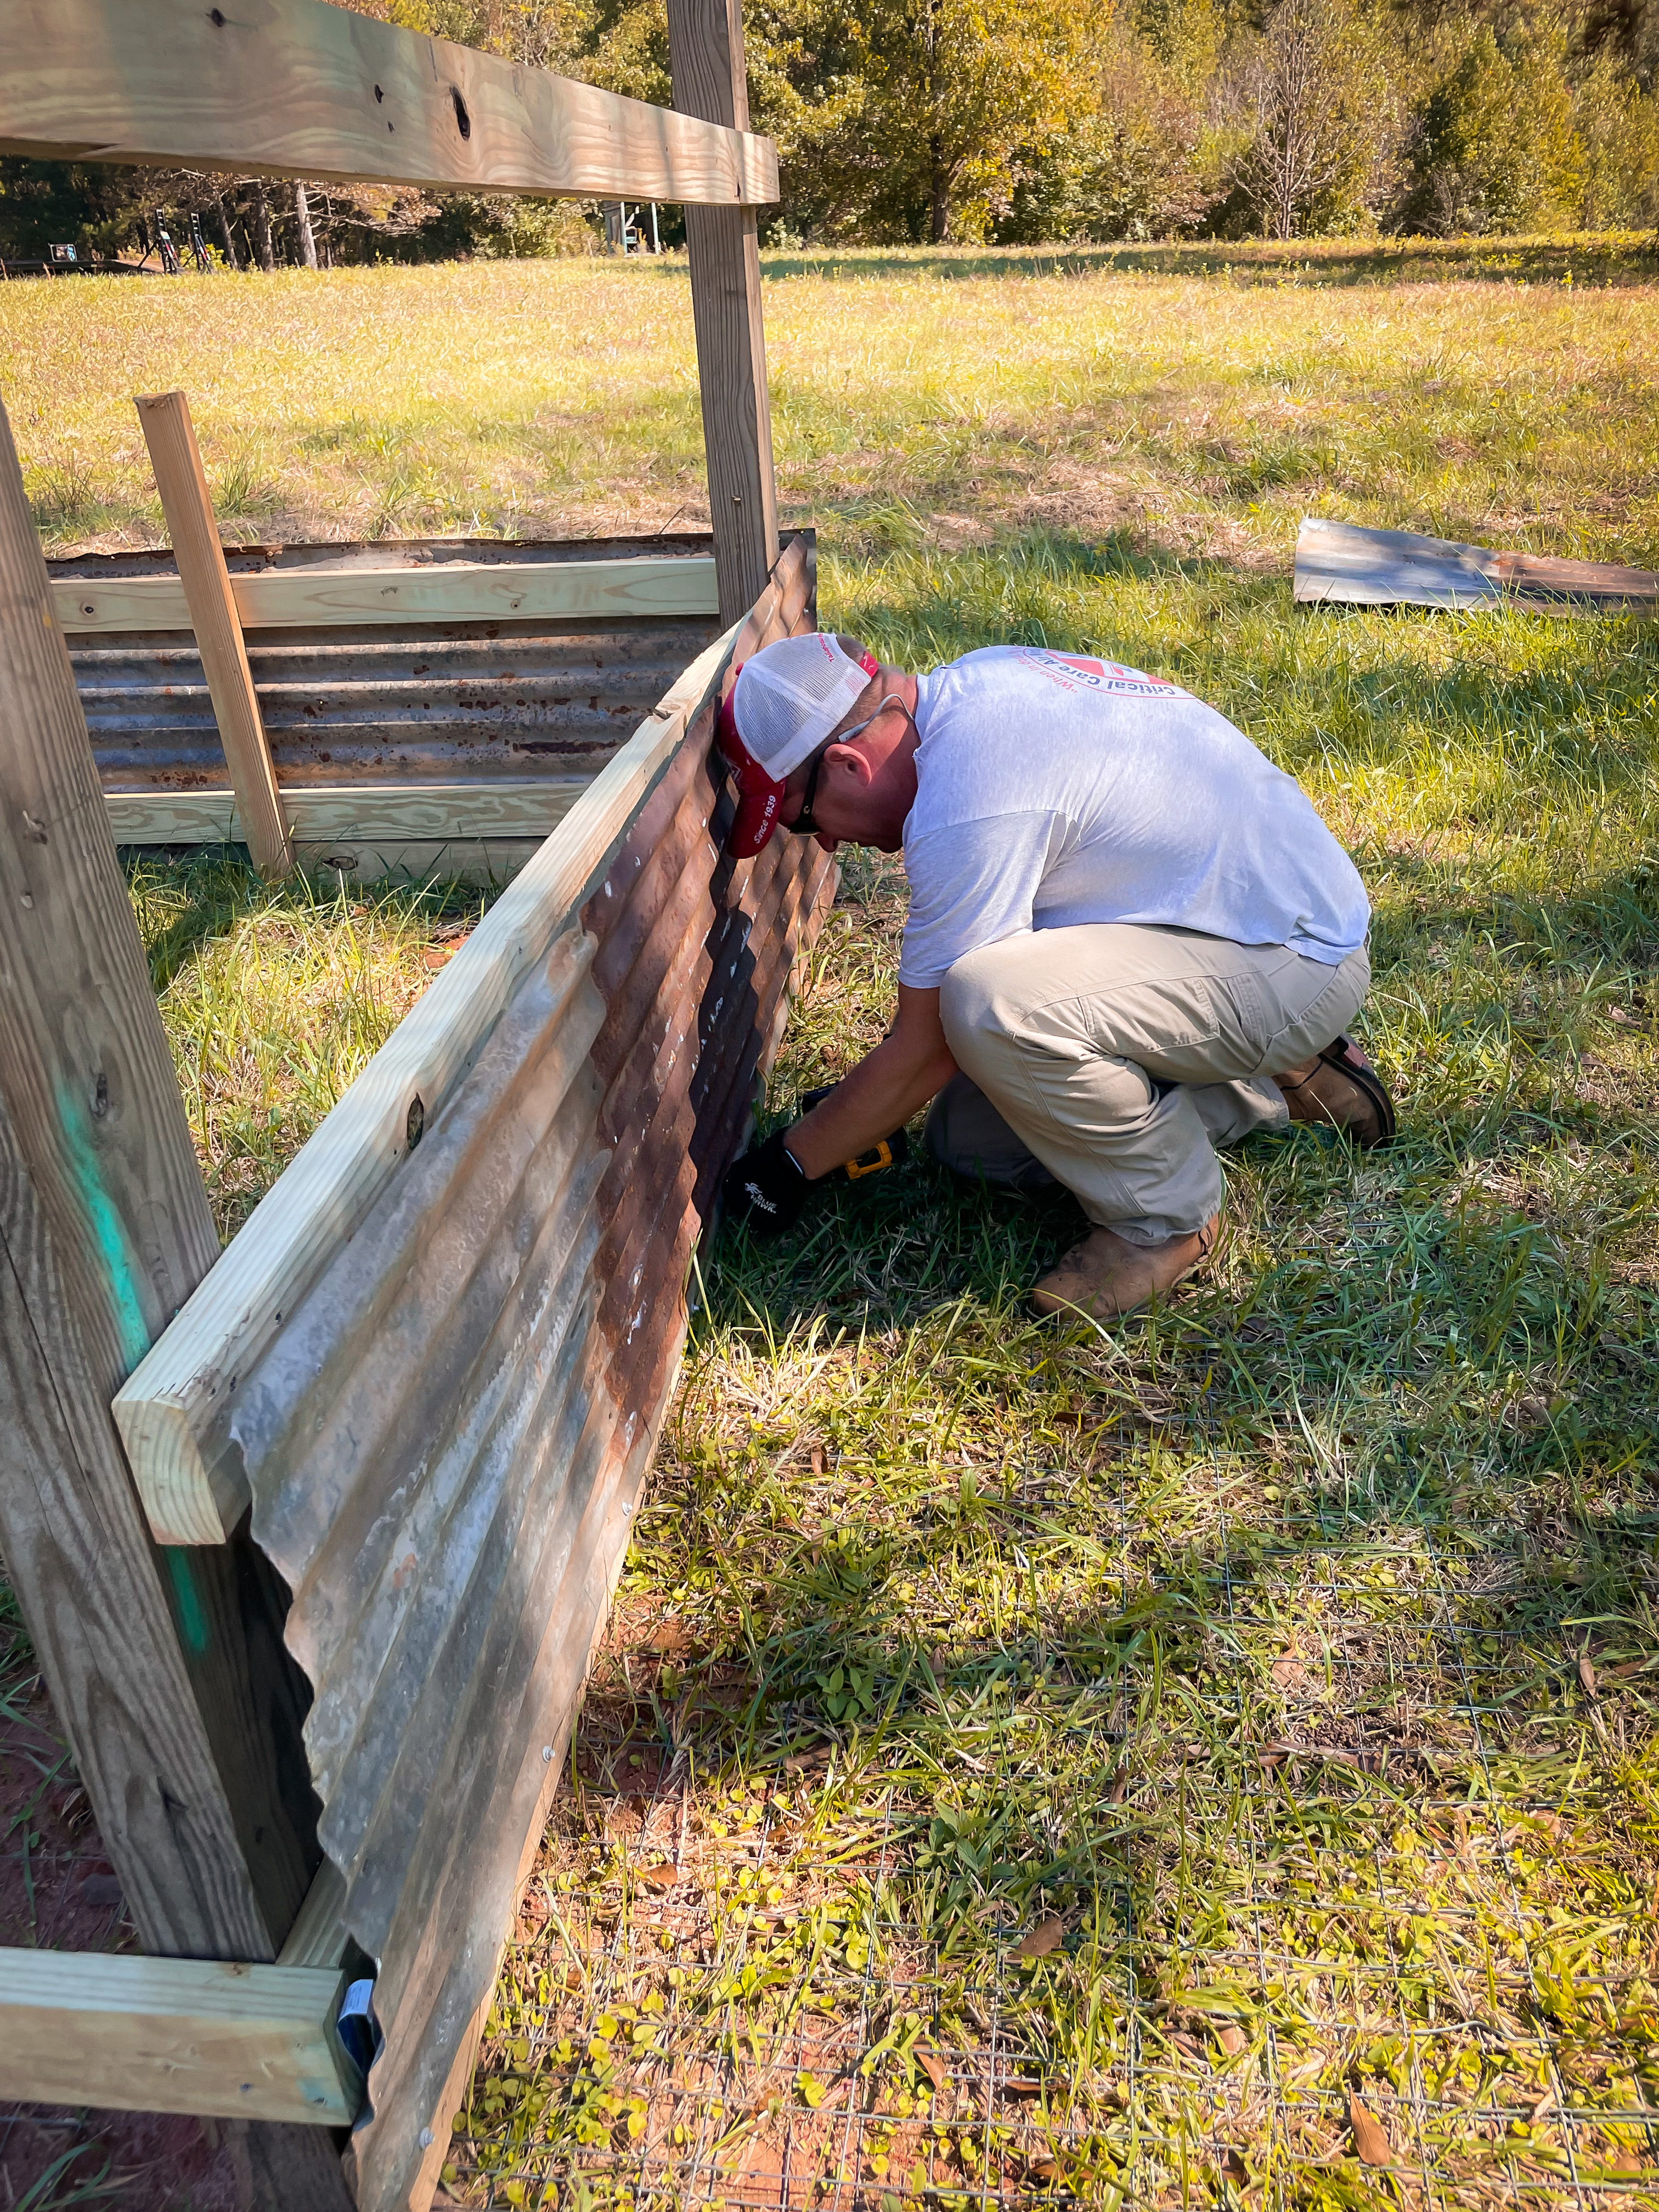
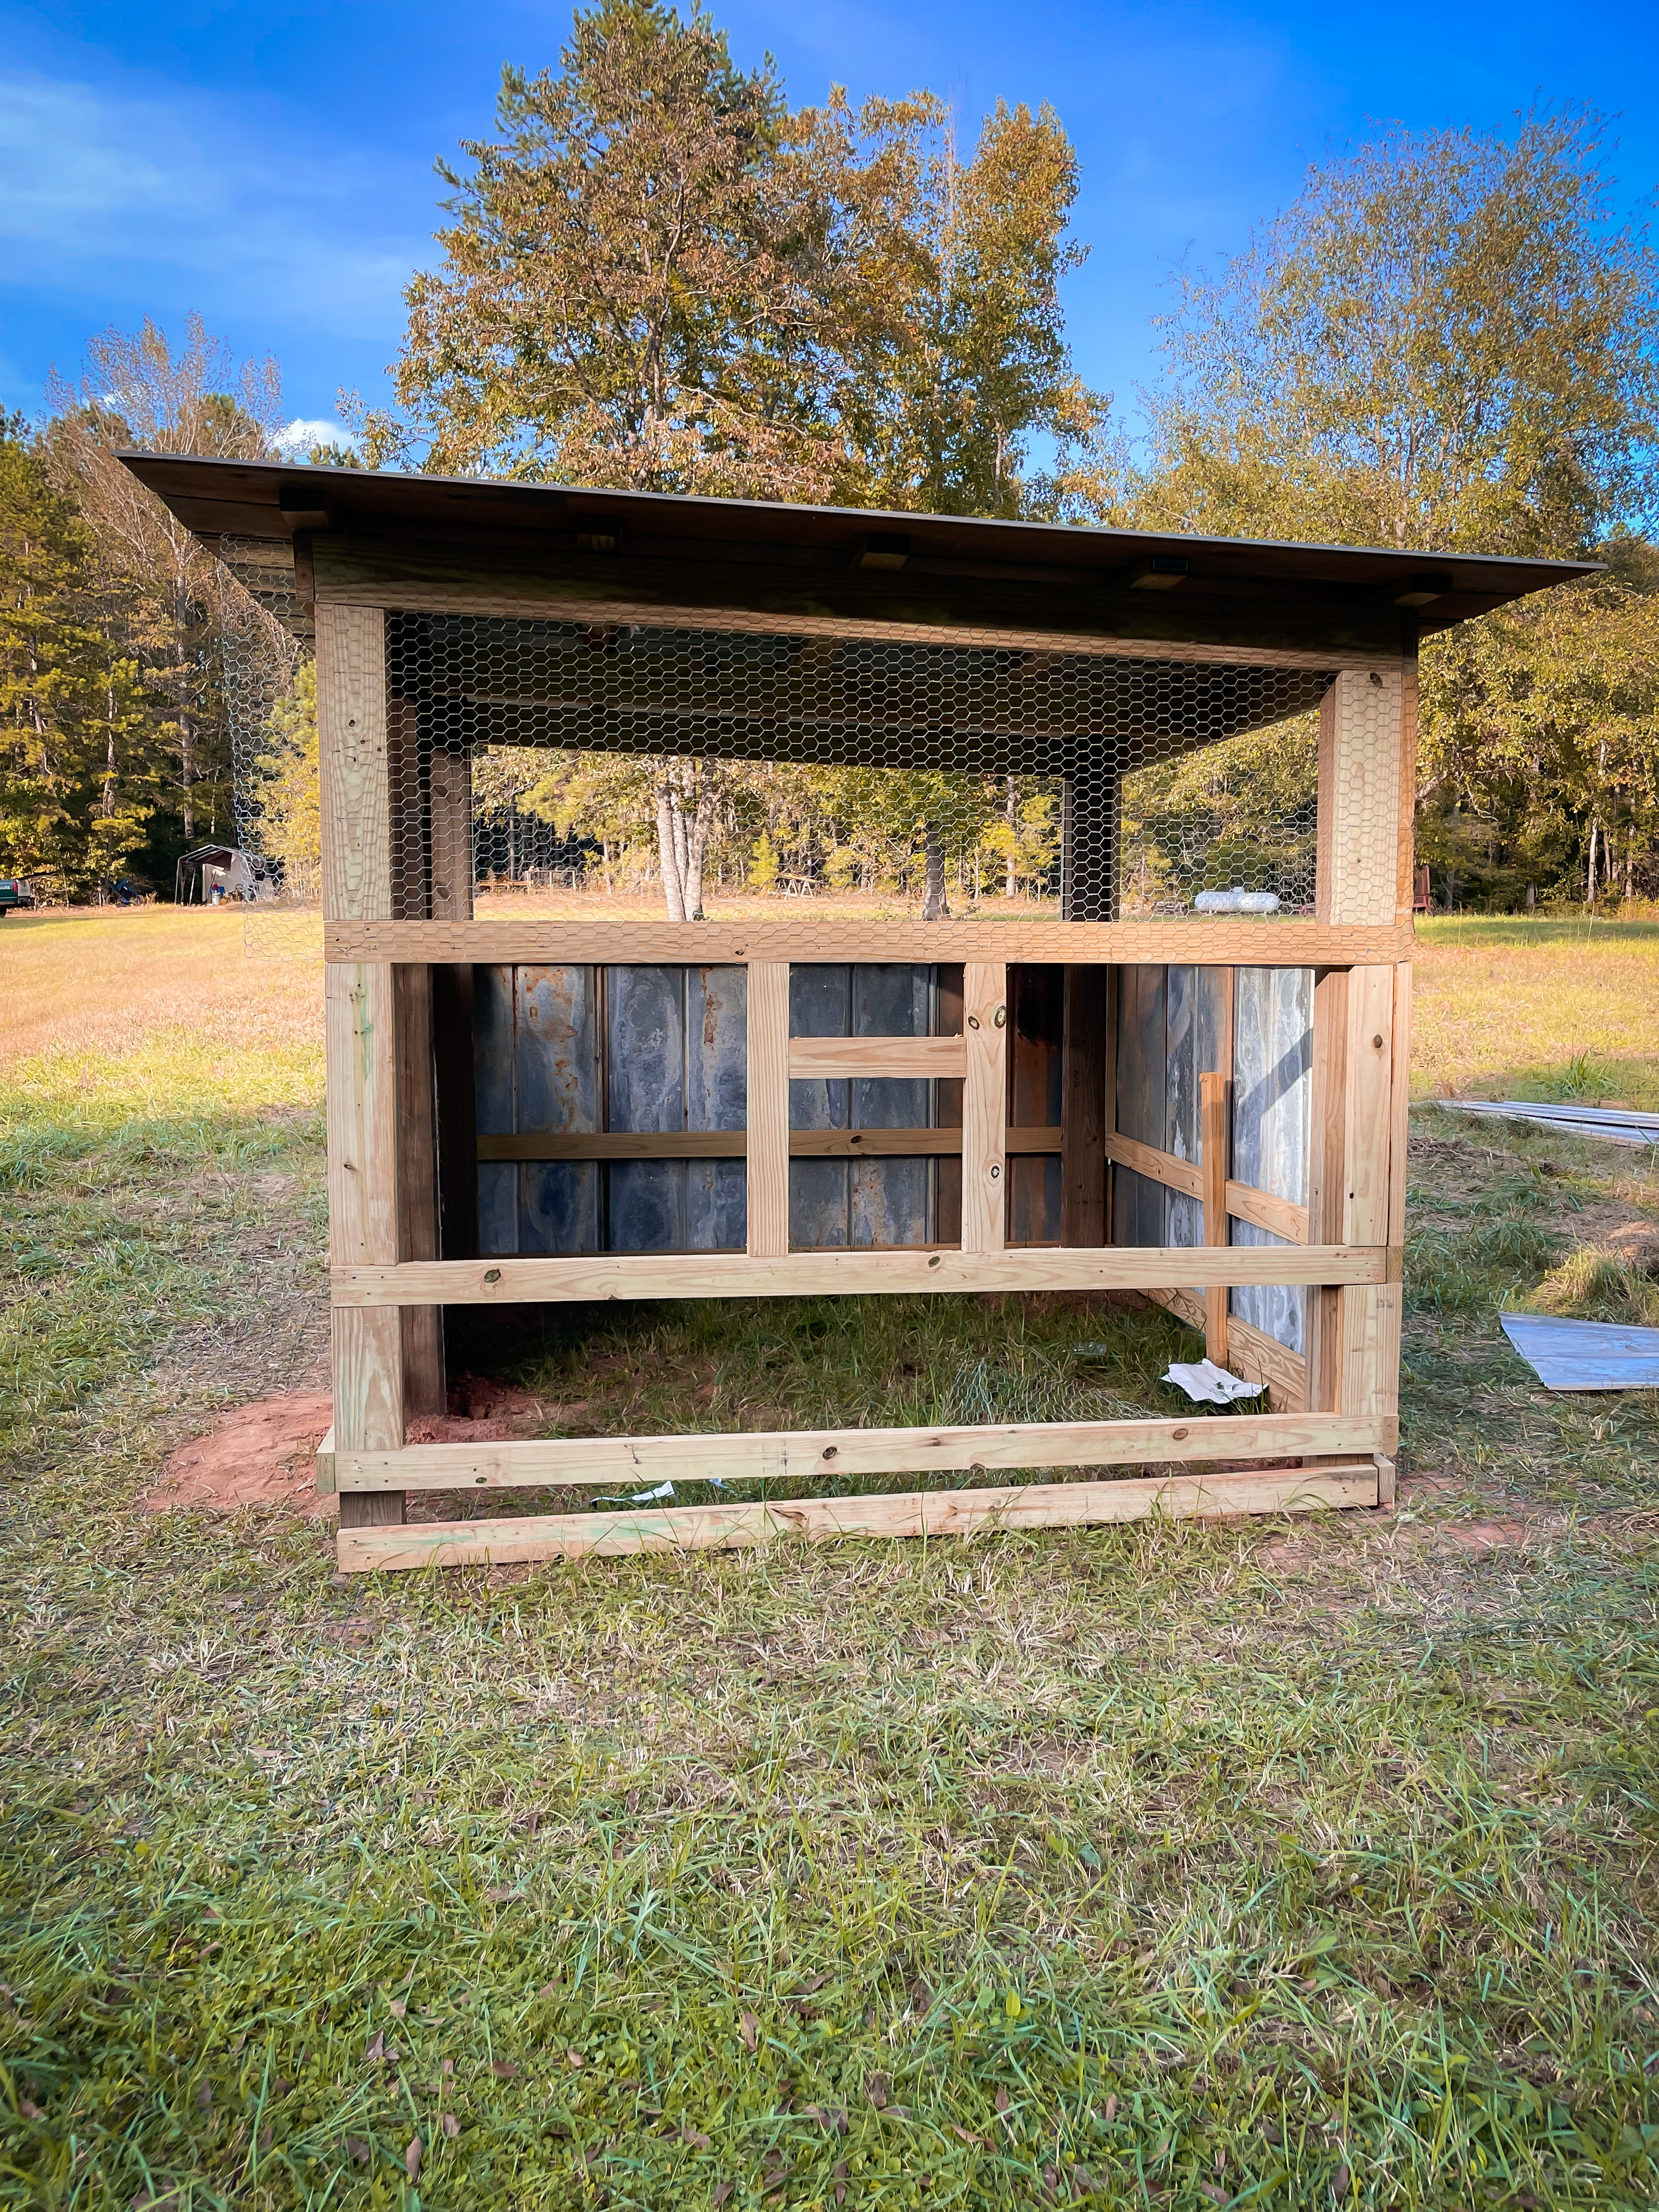
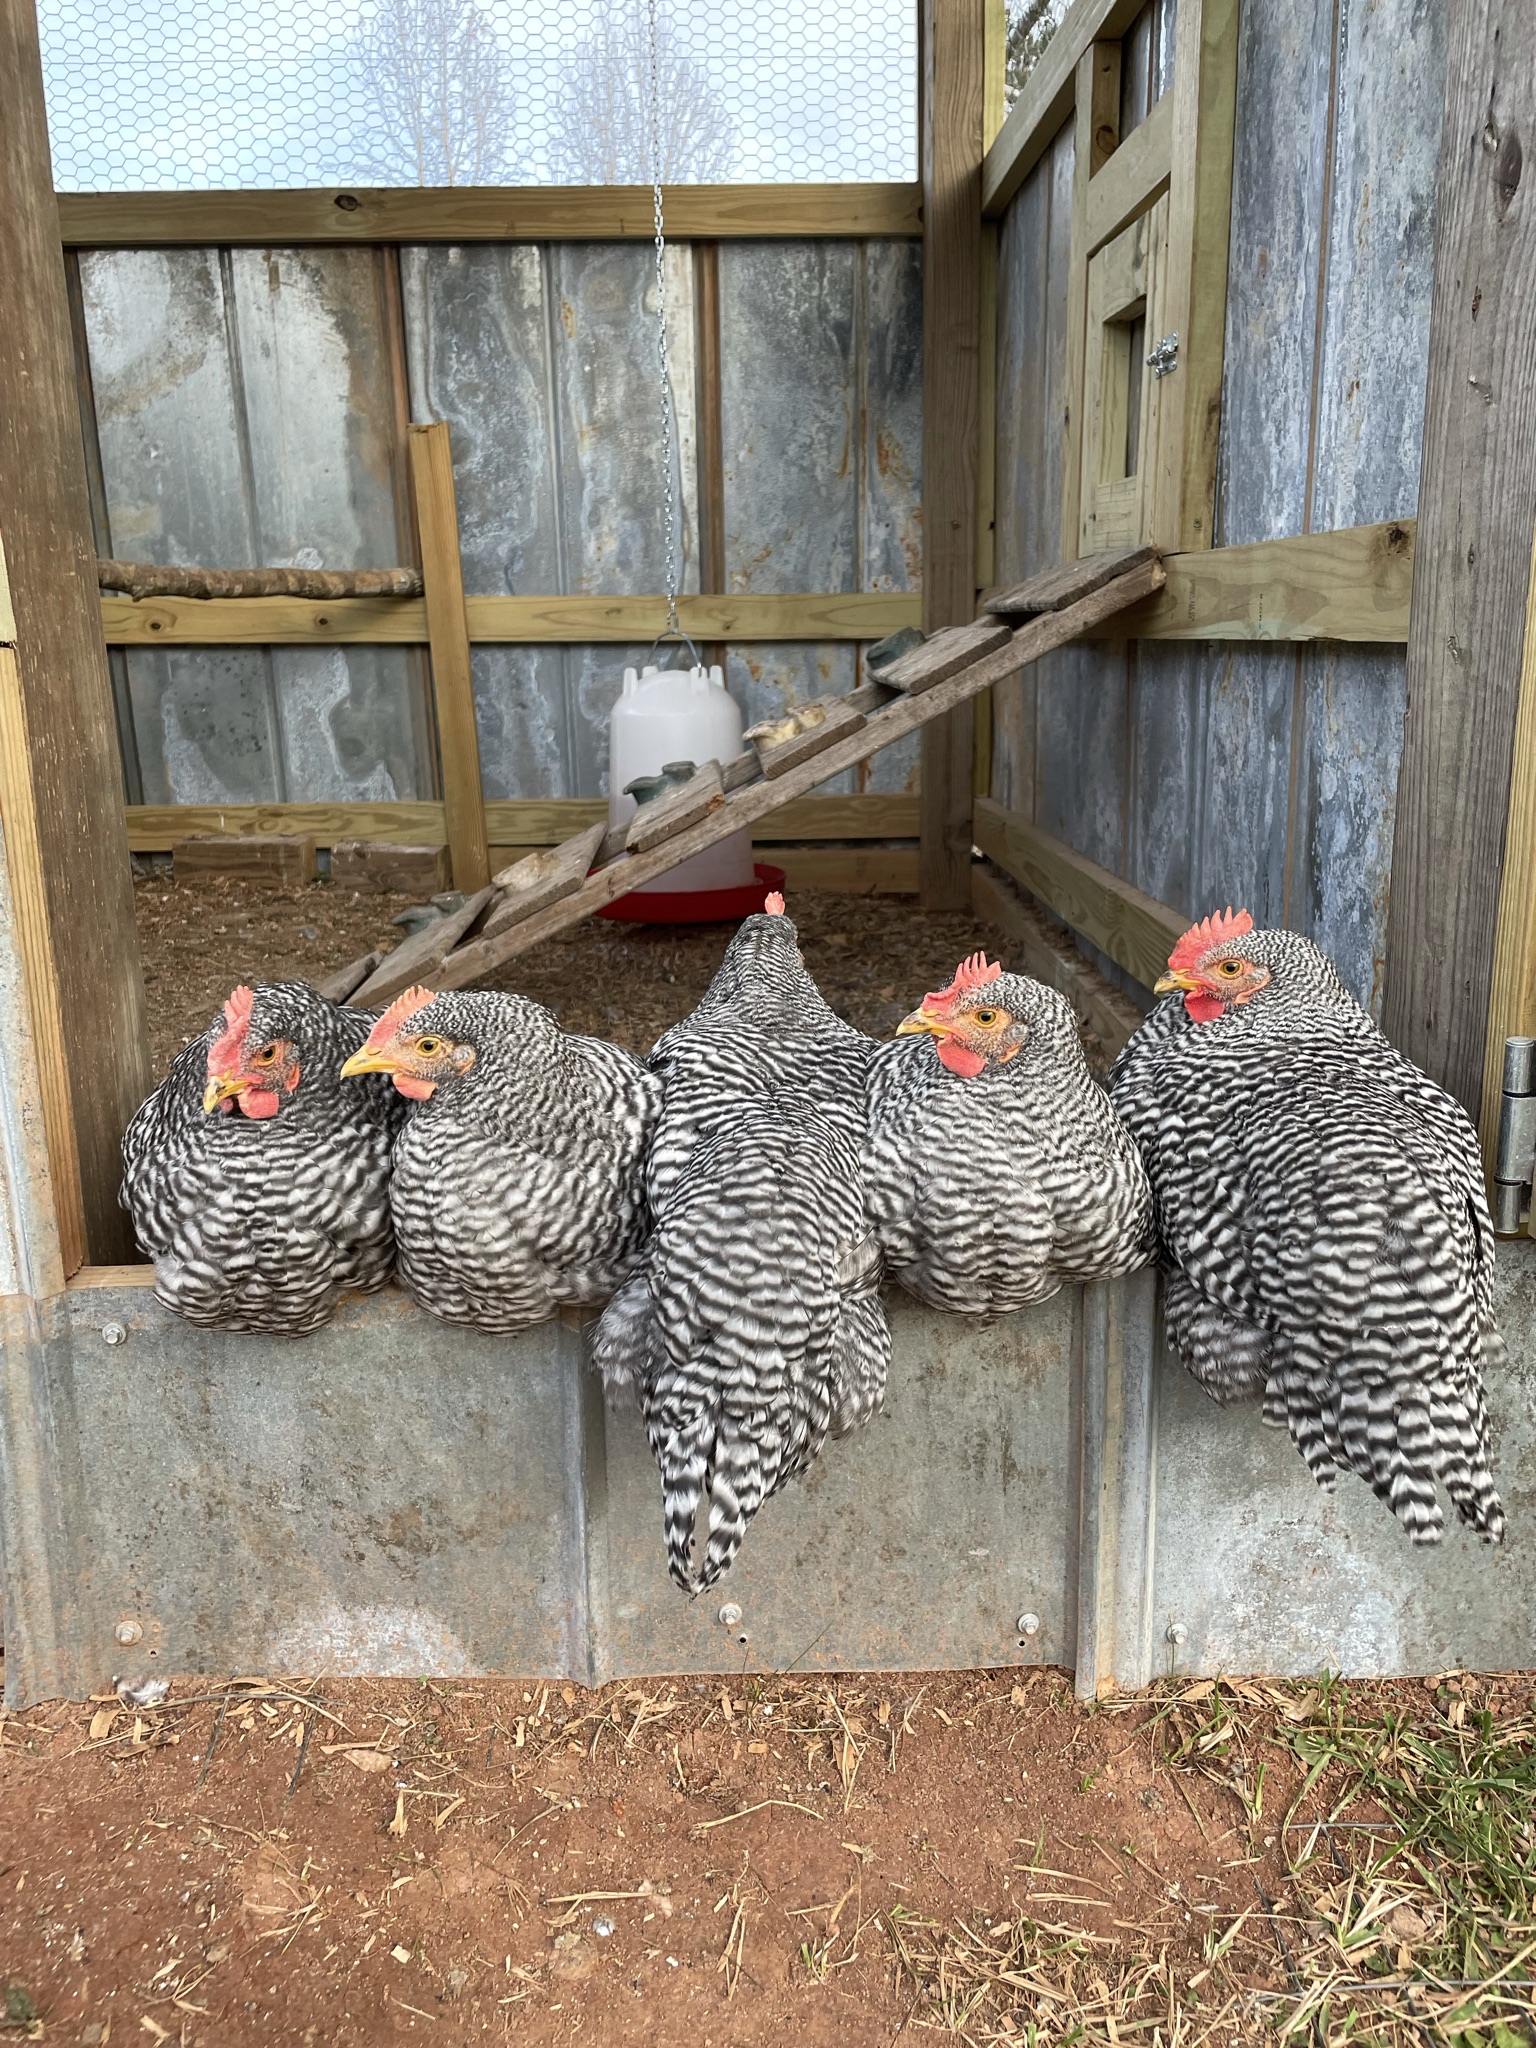
Brent built a small door on the side of the coop to give the chickens access to the run. We also decided to change the tin surround on the bottom from horizontal to vertical for easier installation.
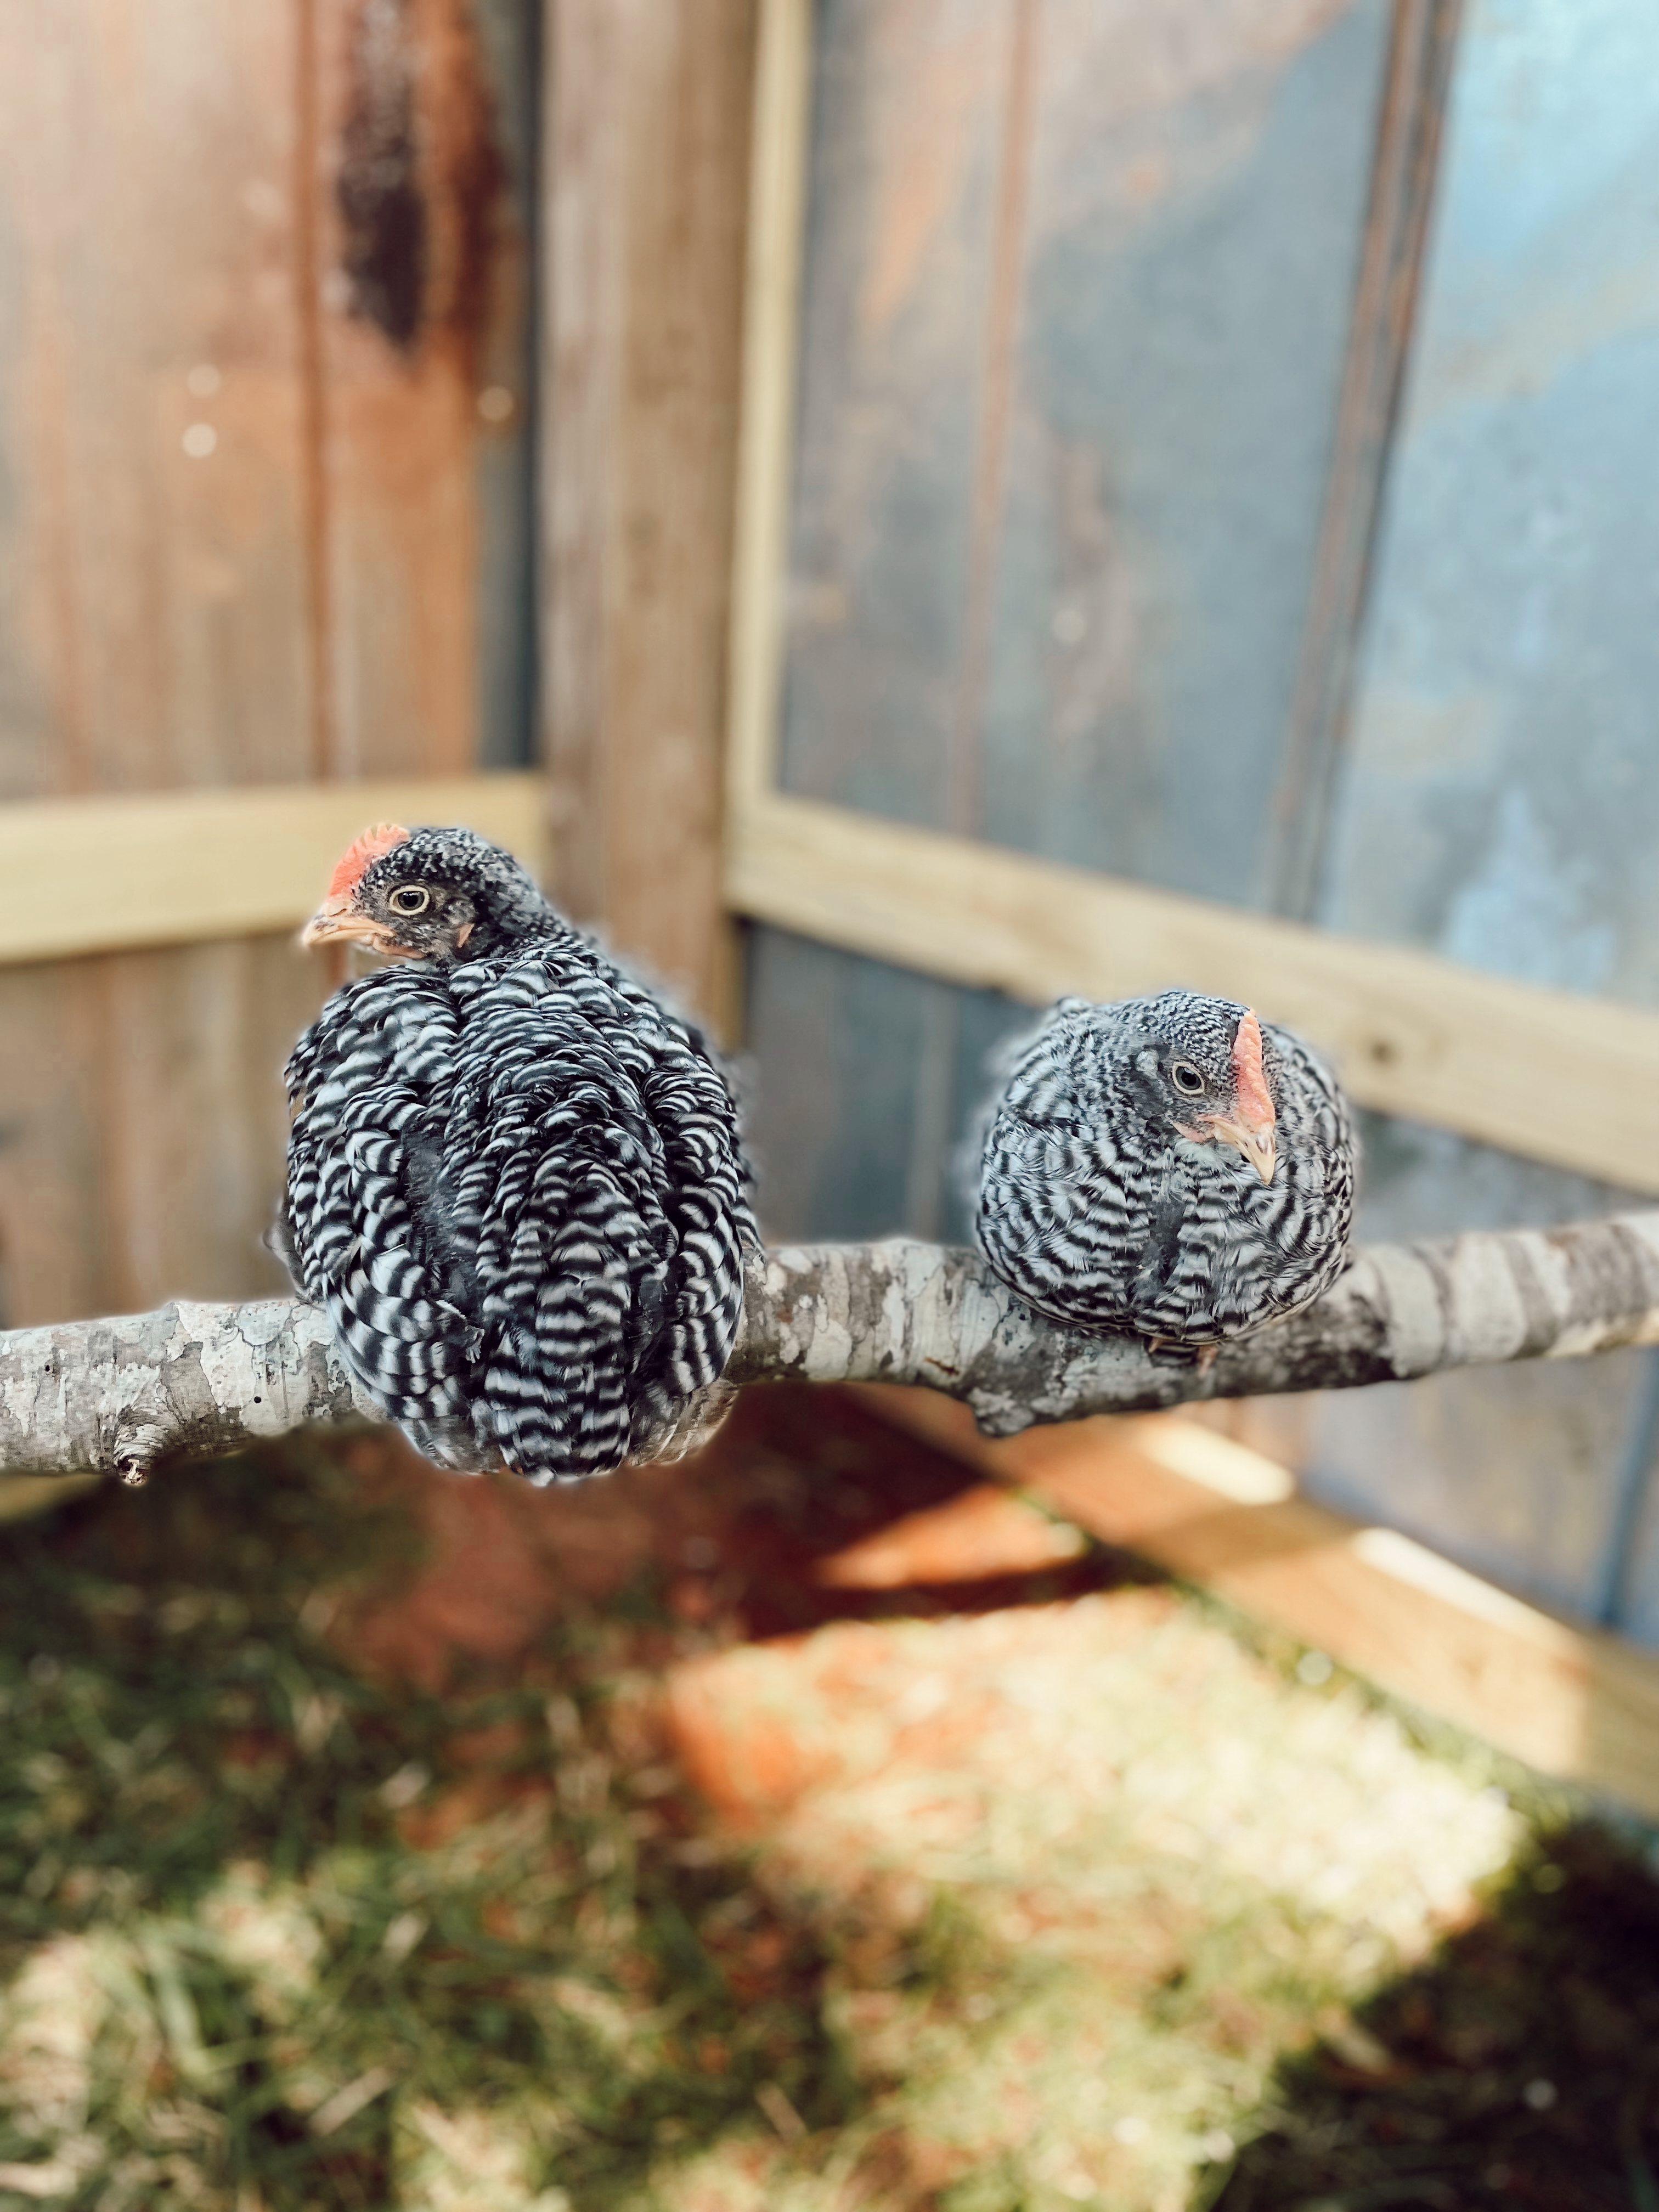
Inside the coop Brent added two boards for roosting. One was a 2×4, and the other was a large branch. The chickens seem to prefer the large branch to the board. He installed the roosts below the wire top to keep the chickens out of the wind.
Next, he hung the water and feed from the ceiling to prevent them from tipping over. He also added 3 nesting boxes lower than the roosts to hopefully prevent them from roosting in the boxes.
We used 5 gallon buckets for nesting boxes. He cut the bucket lids in half to allow the hens access but keep the bedding in place.
During the winter we added plastic sheeting to help block out more of the wind, and keep the chickens warm. The deep litter method also helps with heat in the coop.
More Articles You’ll Love
Other DIY Chicken Coop Ideas
There are some things I wish I’d done differently with the diy chicken coop. I’ll share those with you in case you’re in the process of planning your own coop in the future.
- Paint the boards first– I didn’t paint our wood prior to building the coop. Painting it is going to be a lot more challenging now with the wire and tin in place.
- Closing in the coop– The roof of the coop is slanted, which left a 2″ gap in the front near the top. I’m afraid this gap is large enough for wild birds, a snake, or another predator to get in. Brent has plans to cut a board to fill the gap soon.
- Hardware Cloth– We found a good deal on chicken wire when we were building our coop. However, I wish we would have chosen 1/4″ hardware cloth instead. The hardware cloth is stronger than the chicken wire. The smaller holes in the cloth will also help to keep out more critters. If you are starting from scratch building a coop I strongly suggest using something similar to hardware cloth instead of chicken wire.
- Access to nesting boxes from outside– Like I said earlier, we use 5 gallon buckets for laying boxes. I would prefer to have built in boxes with an access from the exterior. An exterior access point would reduced the amount of chicken poop I get on my shoes daily.
I would love to eventually add a chicken garden to the area around my coop. A place where the chickens can scratch and eat other than my actual garden. A chicken garden would cut down on the cost of feed.
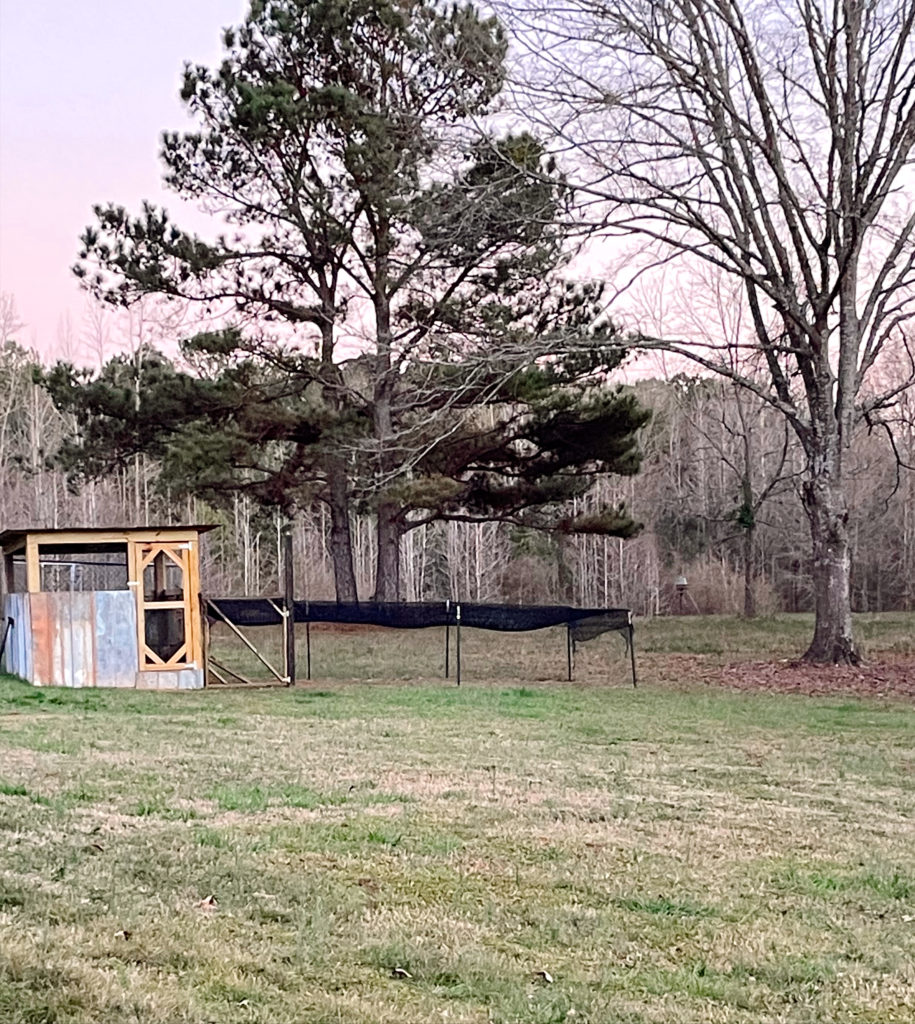
I would also like to add a flowering vine to the coop like the one here. I feel like it would add a touch of whimsey to my little chicken haven. For now we added golf netting to the top of the run temporarily. Something we installed after recently losing a hen to our dog.
Soon we’ll be working on the run to make it more secure. I love the A frame run here. Our chickens free range a lot, so we’ve been slow about building it. I’ll share our run update when we get it completed.
This diy chicken coop has brought us so much joy. I love coming home to my little flock everyday, and laughing at their unique personalities. I hope you enjoyed reading about it too!
If you enjoyed this article, please share it!
More From The Farm
If you’re looking for the best chicken nesting boxes for your chickens, there are plenty of options to choose from. You can go for simple, cost-effective choices that get the job done without breaking the bank.
On the other hand, there are also fancier and more expensive nesting boxes that offer extra features and comfort for your hens. Whether you’re looking to save money or invest a little more, there’s a perfect nesting box out there for every chicken owner.
[…] DIY Chicken Coop […]