Setting up your very own chicken brooder isn’t as hard as you may think. Spring is almost here and the new chicks will soon be arriving. If you’re wondering what a chicken brooder is, don’t worry – I’ve got you covered.

*This post may contain affiliate links which means I make a small commission at no extra cost to you. Read my full disclosure here.*
The information I’m providing here comes from my personal opinions and years of experience with raising chicks. I am not a veterinarian. Please do your research before raising chicks so you can make decisions that best suit you.
A chicken brooder is like a cozy nursery for baby chicks, providing them with the warmth, safety, and comfort they need to thrive during their early days. Imagine it as a five-star hotel for your fluffy babies, where they can grow and spread their wings.
Materials You’ll Need:
Before you start building our chick haven, you’ll need some materials:
- A Box or Container: Find a sturdy box or plastic container. It doesn’t need to be huge, just spacious enough for your chicks to move around. I’ve used a cardboard box before and found out fairly quickly that this isn’t the best option. The box is bound to get wet with your playful chicks. A wet box can lead to a moldy box. Metal or plastic is a much better option.
- Bedding: Line the bottom of your chicken brooder with something soft and absorbent. Pine shavings or straw work like a charm. Shavings are my preferred bedding for new chicks. It’s easily cleaned out, and a great surface for them to walk on. You don’t want to use a slick surface like newspapers or wood floors. This won’t provide the chicks with enough traction for walking and can damage their legs.
- Heat Source: Chicks love warmth! Grab a heat lamp or a brooder heater to keep them toasty. Make sure it’s adjustable so you can regulate the temperature. I’ve been using a traditional heat lamp for my chicks for years. However, you’ll definitely find conflicting information on their safety. I’ve found that the heat lamp allows the chicks to access the warmth when they need it, and escape the heat when they don’t.
- Feeder and Waterer: Chicks need to eat and drink, just like us. Get a small feeder and water for their meals and hydration. Be careful not to give young chicks a water vessel large enough for them to become trapped in and potentially drown.
- Thermometer: Keep an eye on the temperature inside the chicken brooder with a thermometer. Aim for around 95°F (35°C) for the first week, then gradually decrease it. Again, be sure to observe your chick’s behavior.
Types of Brooder Boxes
When it comes to setting up a chicken brooder, there are various types of brooder boxes to choose from. Each has its advantages, and the choice often depends on factors like space, budget, and personal preferences. Here are some popular types of brooder boxes:
- Cardboard Brooder Boxes:
- Affordable: Cardboard boxes are readily available and cost-effective.
- Easy to Customize: You can easily cut and shape cardboard boxes to fit your space.
- Temporary Solution: Great for very short-term use, especially if you’re raising a small number of chicks. Like I said before, they get wet and mold, but they are good for a temporary fix.
- Plastic Storage Bin Brooders:
- Durable: Plastic bins are sturdy and can withstand more wear and tear.
- Transparent Options: Some bins come with transparent lids, allowing you to observe your chicks without lifting the lid.
- Easy to Clean: Plastic is easy to clean, making it a hygienic option.
- Wooden Brooder Boxes:
- Sturdy Construction: Wooden brooders are durable and provide a stable environment.
- Customizable: You can build or purchase wooden brooders in various sizes and configurations.
- Long-Term Use: Ideal for those planning to raise chicks regularly or for an extended period. Be sure to add bedding to the bottom of the box.
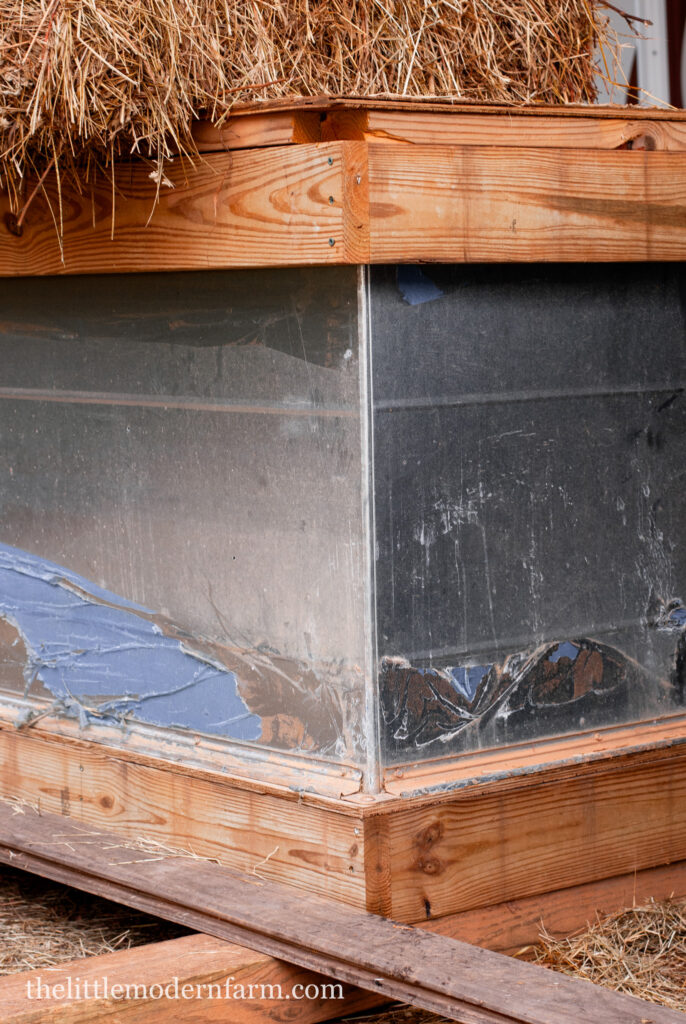
- Livestock Watering Trough Brooders:
- Spacious: Troughs offers a larger space for raising a larger number of chicks.
- Easy to Access: The open-top design makes it easy to access and interact with the chicks.
- Durable: Made of materials like galvanized steel, these troughs are durable and long-lasting.
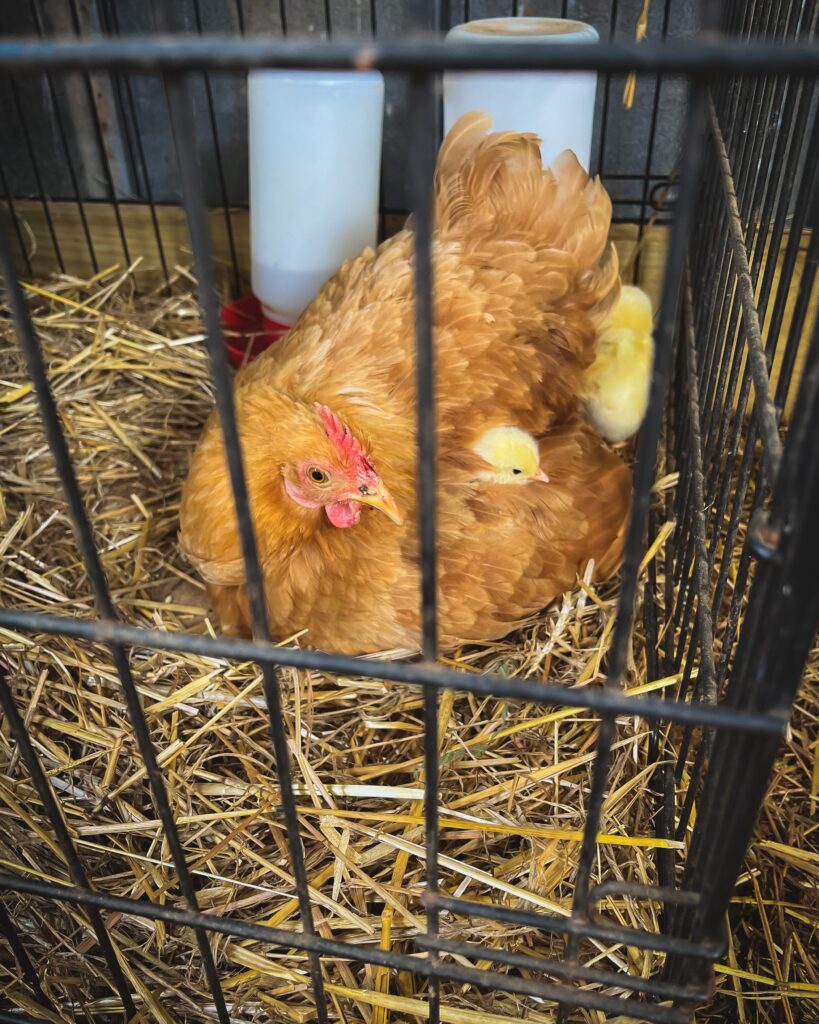
- Dog Crates or Pet Carriers:
- Ventilation: Dog crates often come with good ventilation, ensuring proper airflow for chicks.
- Foldable and Portable: Pet carriers are usually portable and can be folded for easy storage.
- Multi-Use: Can be repurposed for other pets or used as travel carriers.
- DIY Brooder Boxes:
- Customization: Create a brooder box based on your specific needs and available materials.
- Cost-Effective: DIY options can be budget-friendly, especially if you repurpose existing materials.
- Personalized Design: Allows for creative and personalized designs.
- Commercial Brooder Boxes:
- Convenience: Specifically designed for raising chicks, providing convenience and functionality.
- Features: Some commercial brooders come with built-in heat sources, feeders, and waterers.
- Easy Setup: Ready-made solutions that require minimal assembly.
When choosing a chicken brooder box, consider factors such as the number of chicks, available space, durability, and your long-term plans for raising poultry. Whichever type you choose, ensure it meets the basic requirements of warmth, ventilation, and easy access for care and cleaning
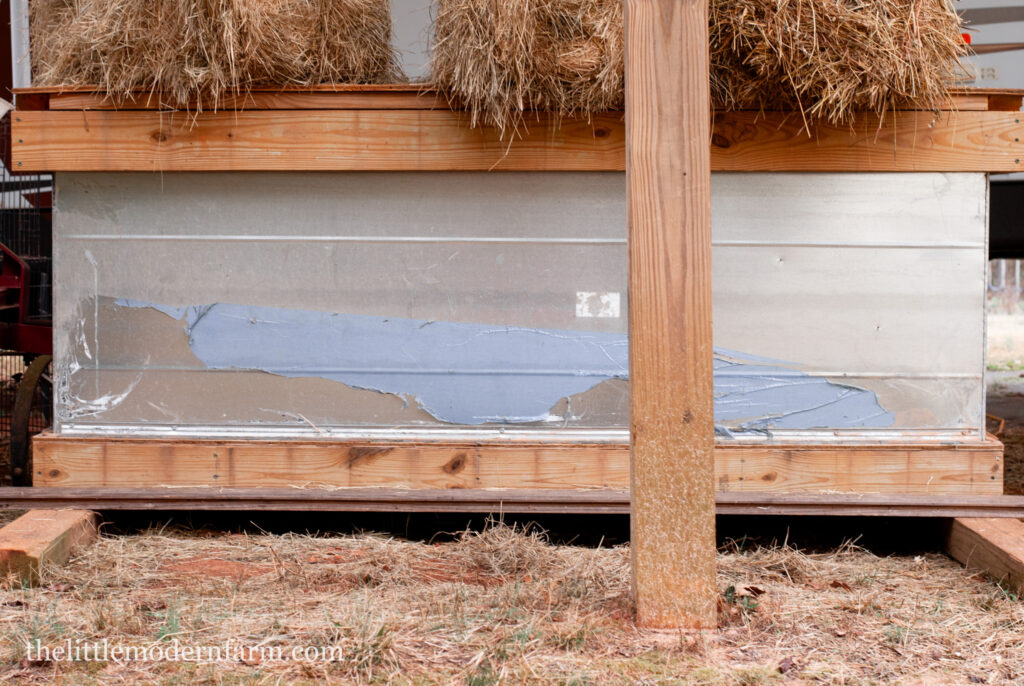
A note about the deep litter method: If space and your property permits the deep litter method is great for using with new chicks. The composting process naturally produces an even natural heat for the chicks and will also reduce the amount of pathogens in the bedding. However, getting the right mix of materials can be tricky, especially for new chick owners. Research the topic before deciding if this method is right for you. Here is a great resource on the deep litter method.
Setting Up Your Chick Brooder
Now that we have our supplies, it’s time to assemble the chick haven:
- Prepare the Box: Line the bottom of the box with a couple of inches of bedding. This will give your chicks a comfortable surface to walk on.
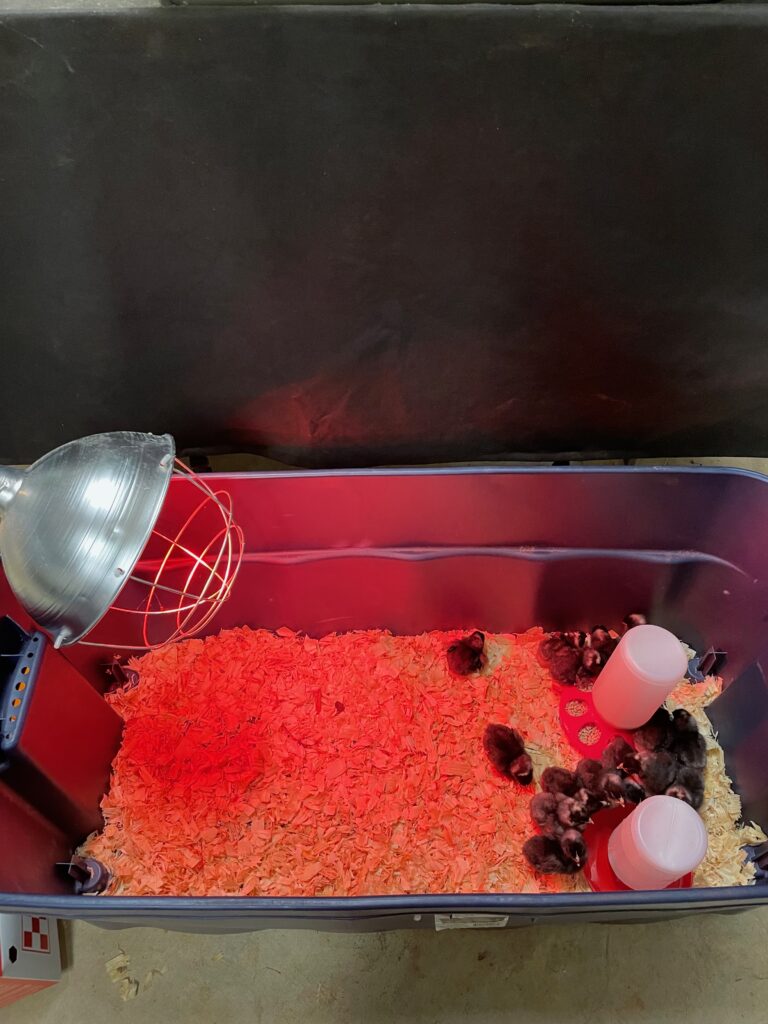
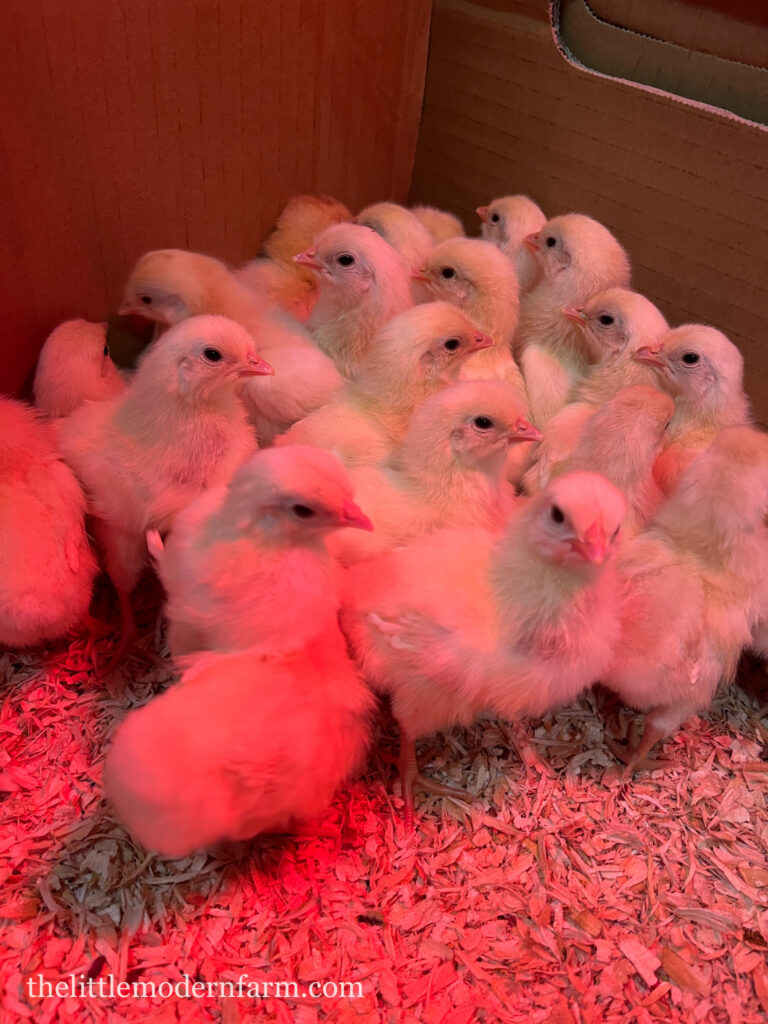
- Install the Heat Source: Hang the heat lamp or position the brooder heater at one end of the box. This creates a temperature gradient, allowing the chicks to choose how warm they need to be. If you’re using a heat lamp, be sure to position it so that you don’t run the risk of the lamp touching the bedding and causing a fire. I added a wire guard on top of the brooder to prevent the lamp from being able to fall into the bedding if something happened.
- Place the Feeder and Waterer: Set up the feeder and waterer on the opposite side of the heat source. This prevents them from getting too close to the heat and helps maintain a comfortable environment. Be sure to show the chicks where their water source is once they are in the box. I do this by lightly tapping their beak in the water.
- Check the Temperature: Use the thermometer to monitor the temperature regularly. Adjust the heat source accordingly to ensure your chicks are neither too hot nor too cold.
- Introduce the Chicks: Once everything is set up, gently place your adorable chicks in their new home. Watch as they explore and chirp with delight!
*TIP* If your chicks have been shipped directly to you, give them only water for the first two hours while they are in the brooder. The long journey means the chicks will most likely be dehydrated. Giving them only water to rehydrate without food will increase their survival rate.
Brooder Temperature
Creating the perfect temperature in your chicken brooder is crucial for their well-being. Here’s a temperature guide for the different stages of your chicks’ early days:
- First Week: Aim for a toasty 95°F (35°C) under the heat source. This provides the warmth they need to mimic the environment under a mother hen. Make sure to measure the temperature at the chick level, not just under the heat source.
- Second Week: Gradually reduce the temperature by 5°F (2.8°C) each week until they are fully feathered. By the end of the fourth week, the brooder temperature can be around 75°F (24°C). Feathered chicks are better equipped to regulate their body temperature.
- Adjust as Needed: Monitor your chicks’ behavior. If they huddle together directly under the heat source, they might be too cold. If they stay far away, they could be too warm. Adjust the height or wattage of your heat source accordingly.
- Thermometer Check: Use a reliable thermometer to regularly measure the temperature inside the brooder. Place it at the level where the chicks are located to ensure an accurate reading.
Remember that these temperature guidelines are general recommendations, and individual chicks may have different preferences. It’s essential to observe their behavior and adjust the brooder temperature accordingly for their comfort and well-being.
Heat Sources
- Heat Lamps:
- Traditional Choice: Heat lamps are a popular and widely used heat source for brooding chicks.
- Adjustable Height: They can be adjusted to vary the distance between the lamp and the chicks, controlling the intensity of heat.
- Wide Availability: Heat lamps and bulbs are readily available in farm supply stores and online.
- Caution: However, they can be a fire hazard if not properly installed or monitored. Ensure they are securely mounted and away from flammable materials.
- Infrared Heat Lamps:
- Focused Heat: Infrared heat lamps emit heat in a more focused manner compared to traditional heat lamps.
- Energy Efficient: They are often more energy-efficient than conventional heat lamps, providing warmth while conserving energy.
- Reduced Light Output: Infrared lamps emit less visible light, which can be beneficial for reducing stress and disturbances during the chicks’ resting periods.
- Brooder Plates or Panels:
- Safe and Energy-Efficient: Brooder plates or panels are a safer and energy-efficient alternative to heat lamps.
- Radiant Heat: They emit radiant heat from a flat surface, simulating the warmth provided by a mother hen.
- Low Fire Risk: Since they do not emit light or produce an open flame, they pose a lower risk of fire hazards compared to heat lamps.
- Adjustable Height: Some models allow for height adjustment to accommodate the chicks’ growth and changing temperature needs.
- Heated Pads or Mats:
- Gentle Heat: Heated pads or mats provide gentle, uniform heat from below.
- Comfortable Surface: Chicks can rest directly on the heated surface, mimicking the warmth of a mother hen.
- Low Profile: They have a low profile and can be easily placed inside brooder boxes or under bedding.
- Safe Operation: Choose models with temperature controls and safety features to prevent overheating.
When selecting a heat source for brooding chicks, consider factors such as safety, energy efficiency, ease of use, and suitability for the brooder setup. Always monitor the temperature closely and ensure that the chicks have access to a comfortable and warm environment for optimal growth and development.
If the chicks are all huddled together under the warmer, that could be a sign that your brooder is too cold. If they’re all hanging out on the outskirts of the brooder, they could be too hot. Chicks should be walking freely around the brooder.
Chick Diet
So, you’ve got these adorable little chicks peeping around, and you’re probably wondering, “What’s on the menu for these tiny beaks?” Fear not, because I’ve got information on the perfect diet for your new feathered friends.
1. Chick Starter Feed: The Holy Grail of Nutrition
Chick starter feed is like the superhero of the chick world. It’s packed with all the essential nutrients these growing fluffballs need. This specially formulated feed contains the right balance of proteins, vitamins, and minerals to kickstart their healthy development.
2. The Early Days: Patience, Grasshopper
For the first six weeks of their lives, chicks are all about that chick starter feed. It’s their main dish, and trust us, they love it. It’s like serving them a gourmet meal every day! Make sure it’s always available in their feeder, and you’ll have some happy, pecking chicks.
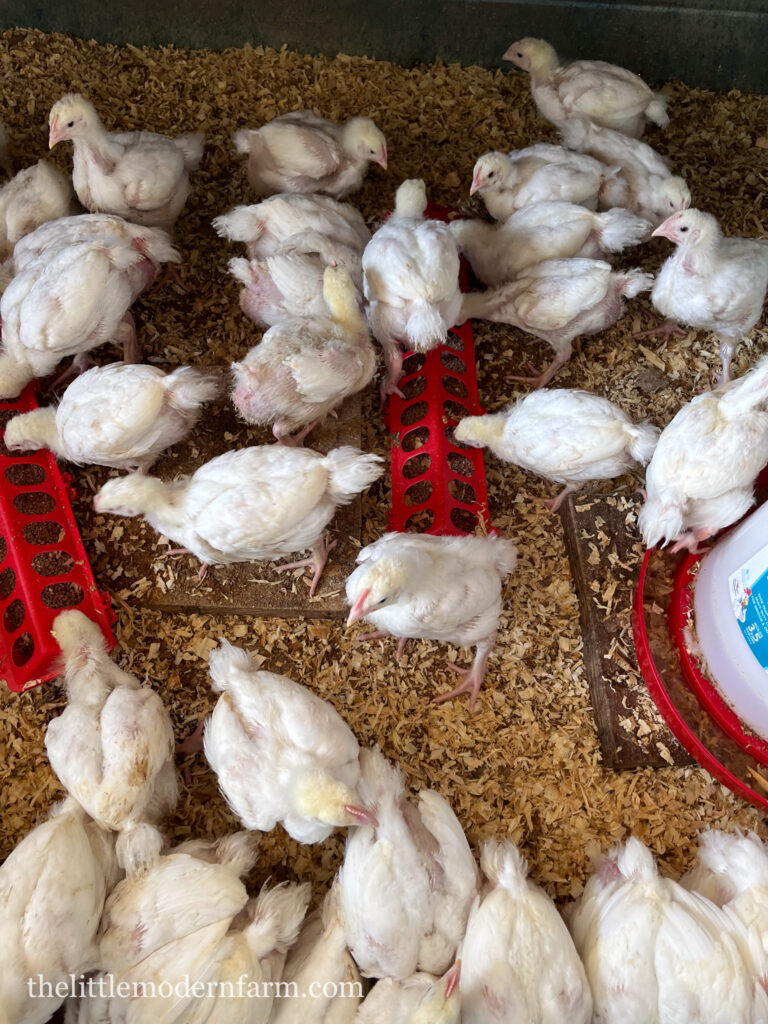
Note: If you’re raising cornish cross-meat birds you’ll need to allow them free choice food for only the first 2-3 weeks. After that, you may want to remove their food overnight to prevent overeating and rapid weight gain. More on raising meat chickens here.
3. Fresh Water: Hydration Nation
Just like us, chicks need their water. Make sure they always have access to fresh, clean water. You can use a shallow dish for the first few days to prevent any accidental water-related mishaps – chicks can be a bit clumsy when they’re tiny.
I like to add electrolytes to my chick’s water for the first two weeks to give them an extra boost.
4. Little Treats: Snack Attack
As your chicks grow, you can introduce some treats to their diet. Think of it as dessert for them! Finely chopped greens, mealworms, or some grated veggies are excellent choices. But remember, moderation is key – too many treats can spoil their appetite for the main course.
5. Grit for the Win: Helping Tiny Tummies
Once your chicks start exploring the great outdoors or nibbling on treats, toss some chick grit into the mix. Grit helps them digest all those tasty goodies. It helps to prevent them from getting an impacted crop. It’s like their personal digestive assistant. Always give them grit free-choice. You don’t want to add it to their feed.
6. Graduating to Grower Feed: Because They’re Growing Up
Around six to eight weeks of age, your chicks are ready for the next step – grower feed. This feed is specially designed for their adolescent phase, providing the right balance of nutrients for their continued growth. Some feed companies have a feed that is a starter grower. This means they can be used for both new chicks and adolescent chicks. Generally, a grower feed will contain 18%-22% protein to support growth.
7. Fresh Greens and Beyond: Expanding the Menu
As your chicks transition to adulthood, they can enjoy a more varied diet. Fresh greens, grains, and layer feed (for egg-laying hens) become part of their daily routine. It’s like upgrading from the kids’ menu to the full buffet!
8. Layer feed
If you’re raising laying hens, you’ll want to switch them to a higher calcium-laying feed when they start producing eggs. It takes quite a bit of calcium for chickens to make an egg, and a layer feed has around 4%. Calcium isn’t good for young chicks, so don’t provide them with laying feed until they need it. You can also supplement your calcium free-choice.
Remember, a happy and healthy diet sets the foundation for strong, vibrant chickens. Keep an eye on their appetite, make sure they always have access to clean water and enjoy watching your chicks grow into clucking wonders. Here’s to good eats and happy peeps!
Helpful Tips
- Temperature TLC: Chicks are tiny and delicate, so maintaining the right temperature is crucial. If they huddle together directly under the heat source, they might be cold. If they stay far away, they might be too warm. Adjust the height from the brooder or wattage of your heat source accordingly to create a cozy, comfortable zone.
- First-Week Warm-Up: During the first week, keep the chicken brooder temperature at a toasty 95°F (35°C). Gradually decrease it by 5°F (2.8°C) each week until they’re fully feathered. This mimics the natural progression from the warmth of a mother hen to independent living.
- Chick Chat: Believe it or not, chicks love to chat! Don’t be surprised by the constant peeping – it’s their way of communicating. Enjoy the symphony of chirps and get ready to decode their adorable language.
- Bedding Bliss: Refresh the bedding regularly to keep things clean and cozy. Pine shavings work well and are gentle on tiny feet. Avoid newspaper or slippery surfaces, as they can cause leg issues for the chicks.
- Never use cedar shavings for your chick bedding. Cedar shavings have been known to be toxic to the respiratory system.
- Hydration Station: Chicks can be messy drinkers, so make sure to check their water regularly. Keep it clean, and consider using a shallow dish for the first few days to prevent accidental drownings (chicks can be a bit clumsy).
- Snack Time: Introduce chick starter feed to their diet. It’s specially formulated for their nutritional needs. You can sprinkle a bit on the bedding to encourage natural foraging behavior.
- Supervise Playtime: If you decide to let your chicks explore outside the brooder, always supervise them. Chicks are curious and might nibble on things they shouldn’t. Create a safe play area to avoid any unexpected adventures.
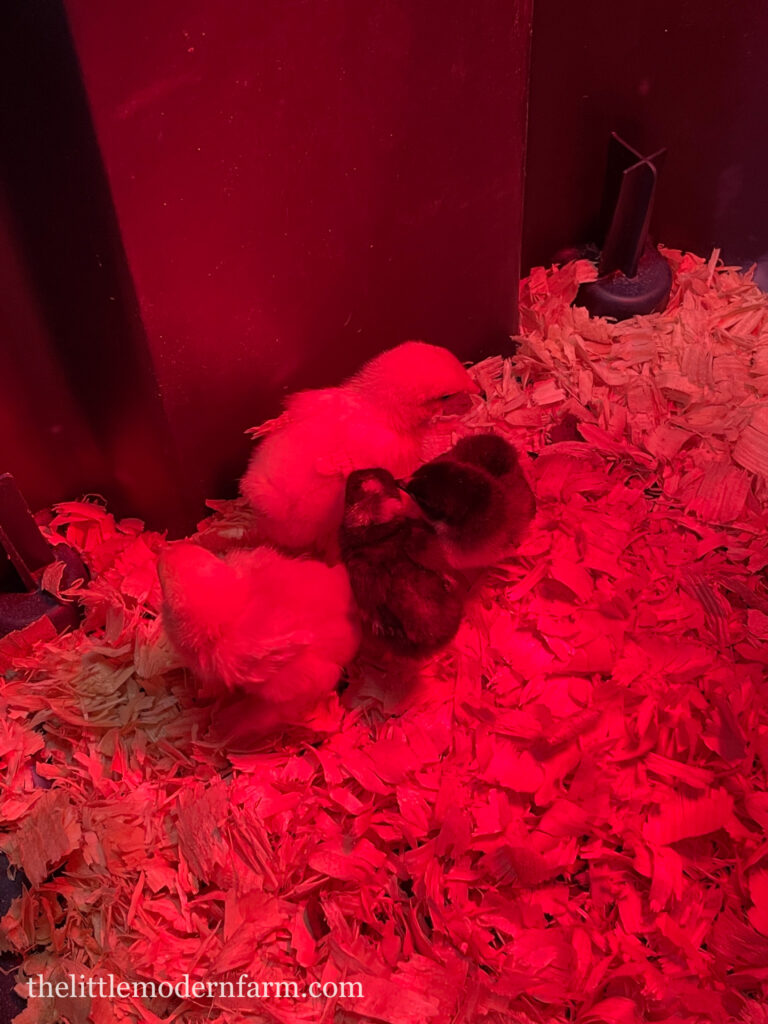
- Social Butterflies: Chicks are social creatures and thrive in the company of their buddies. You should always get more than one chick to keep each other company and prevent loneliness.
- Brooder Upgrade: Eventually, your chicks will outgrow their initial brooder. Be prepared to transition them to a larger space or move them to their outdoor coop. This is a thrilling step in their development!
Frequently Asked Chicken Brooder Questions
How big should my chicken brooder be?
The size depends on the number of chicks you have. A general rule is to provide ¼ square foot of space per chick initially. You will need to add square footage as the chicks grow. This ensures they have enough room to move around without feeling cramped.
How do I know if my chicks are too hot or too cold?
Watch your chicks’ behavior. If they huddle together under the heat source, they might be cold. If they stay far away from it, they could be too warm. Adjust the temperature accordingly, and observe their comfort levels.
Can I use a regular light bulb as a heat source?
It’s not recommended. Regular bulbs can be unreliable in maintaining a consistent temperature. It’s safer to use a heat lamp designed for chicks, as they provide the right amount of warmth without the risk of overheating.
What should I feed my chicks?
Start with chick starter feed, a specially formulated diet for their early growth. It contains the necessary nutrients for their development. You can introduce treats like finely chopped greens, but avoid anything too large or hard for their tiny beaks.
How often should I clean the chicken brooder?
Cleanliness is key! Remove any droppings or wet bedding daily to keep the brooder fresh. Replace the bedding regularly to prevent odors and maintain a healthy environment for your chicks.
Can I let my chicks roam outside the brooder?
Yes, but supervise them closely. Chicks are curious and may nibble on things they shouldn’t. Create a safe, enclosed play area to prevent them from getting into trouble.
When can I move my chicks to their outdoor coop?
Chicks need to be fully feathered before moving them to their outdoor coop. This usually happens around 4-6 weeks of age depending on the breed. Make the transition gradually, allowing them time to acclimate to the new environment. More on raising chickens for beginners here.
Do chicks need a light at night?
Chicks need darkness to rest, so it’s not necessary to keep a light on at night. However, during the first week, some people choose to keep a low-wattage red bulb on for warmth and to reduce stress.
How can I tell if my chicks are healthy?
Healthy chicks are active, alert, and have smooth, clean feathers. They should be eating and drinking regularly. If you notice any lethargy, changes in behavior, or signs of illness, consult a veterinarian experienced in poultry care.
Can I mix different breeds of chicks in the same brooder?
Yes, you can mix different breeds, but be mindful of size differences. Larger breeds may unintentionally intimidate smaller ones. Monitor them closely and provide enough space for everyone.
Raising chicks comes with its share of questions, and that’s perfectly normal. Feel free to reach out if you have any concerns or uncertainties along the way.
Final Thoughts
Remember, caring for chicks is a hands-on experience. Spend time observing them, and you’ll quickly become a chick-whisperer. Make sure to clean their brooder regularly, provide fresh water and food, and enjoy the incredible journey of raising them!
If you enjoyed this brooder talk please share it! Thanks for visiting my farm.
Products In This Post
- Plastic Tote
- Pre-fab Brooder box
- Heat lamp
- Warming Mat
- Plate warmer
- Chick Starter
- Chick Grower
- Chick Grit
- Chick Bedding
- Thermometer
- Chick Waterer and feeder
- Electrolytes
- Dog crate
[…] more about brooding chicks and what to do during that first week on post all about […]