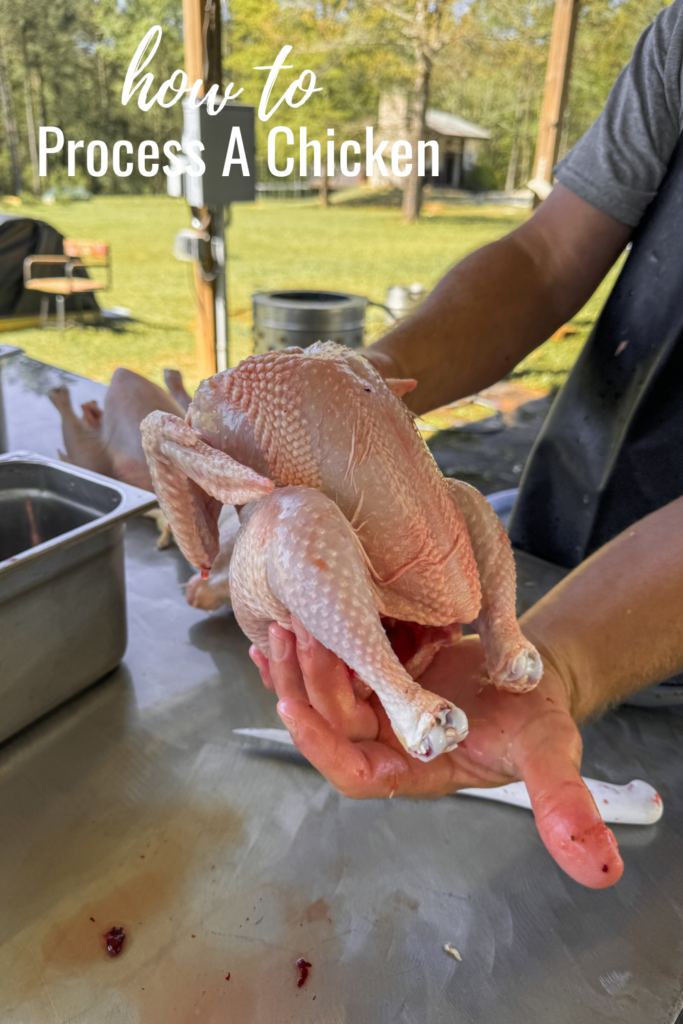
Learning how to process a chicken is a valuable skill to have. It might sound intimidating, but with a little preplanning and preparation, you’ll be able to master this valuable skill. Here are some easy-to-follow steps that will have you processing your birds at home.
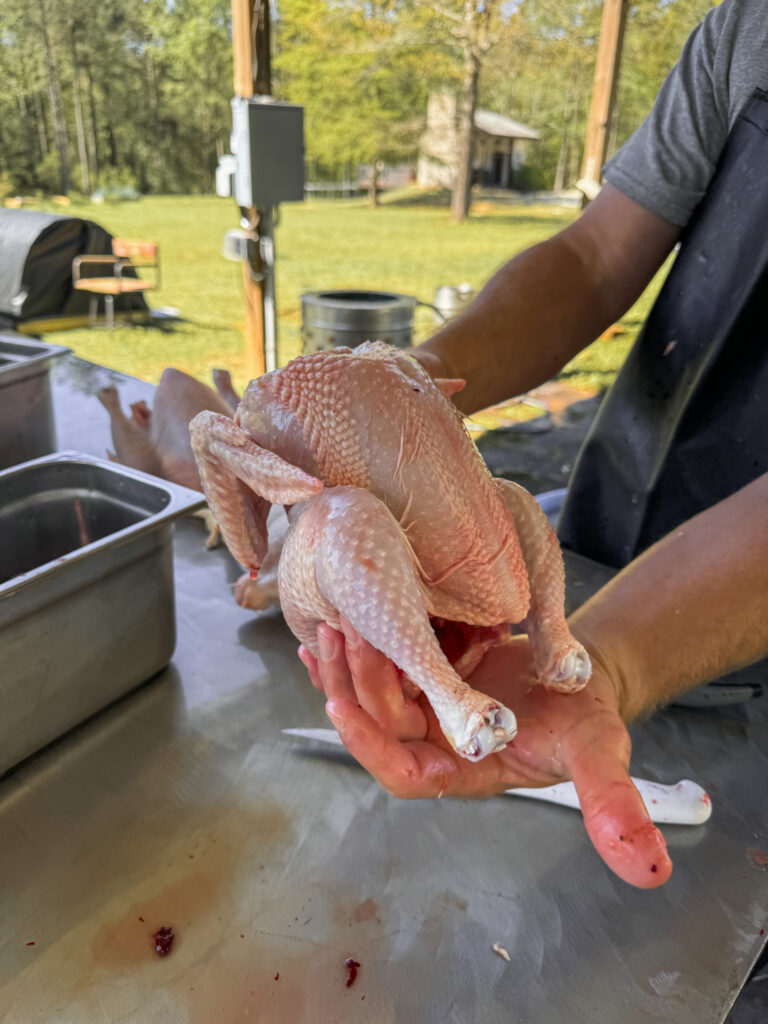
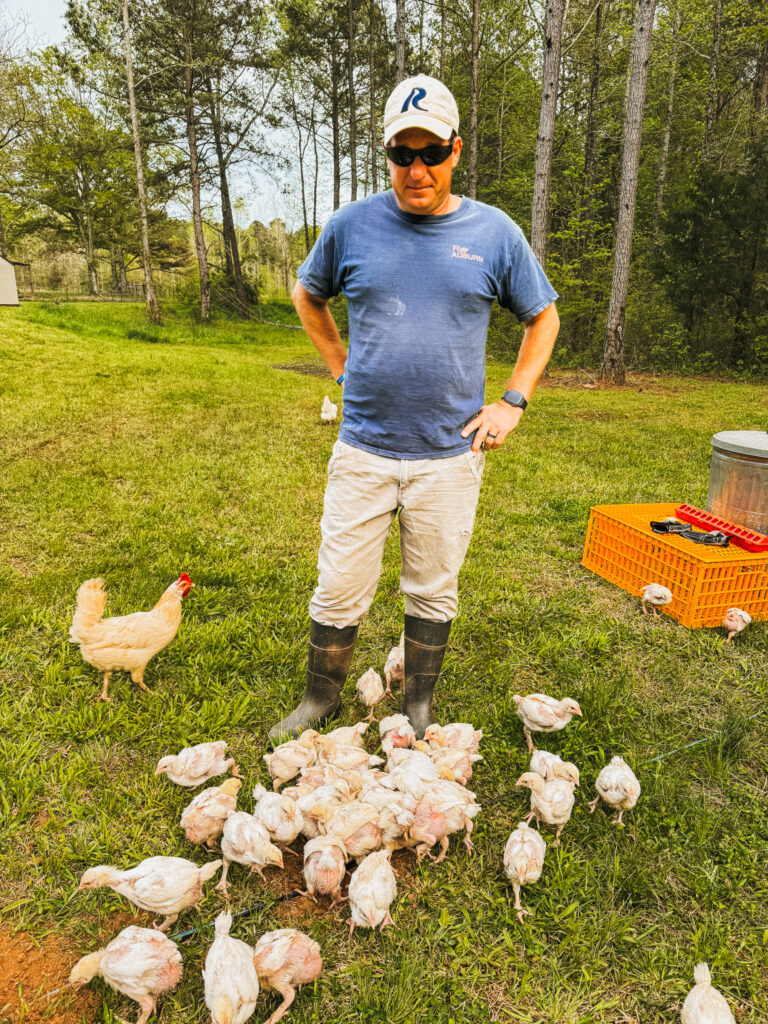
We’ve been raising Cornish cross broilers on our farm for several years now. However, this process is pretty much the same for most breeds. You could also use these techniques to take care of extra roosters or hens that are past their prime.
Check out all the reasons why we raise cornish cross on our farm. Also, check out my post about raising meat chickens for your family
Also, plan on at least half a day or more to process birds depending on how many you’re doing. It’s not hard, but it does take some time to learn how to process a chicken.
Local Laws on processing chickens
The information I’m sharing with you here is meant for processing your chicken for consumption. Processing chicken on your farm for resale varies for each state. If you’re interested in raising and processing chicken for resale, check with your local guidelines. The steps here are just an overview.
Now, let’s get started…
Preparation is Key
***This post may contain affiliate links which means I make a small commission at no extra cost to you. Read my full disclosure here.*
Before you start, you need to prepare. About 12-18 hours before processing your chicken, withhold their feed but make sure they have access to water. This helps clear out the crop. You do not want a full crop when you’re processing chickens. It will make a big mess.
Other Reasons for Withholding Food:
- Clearing the Digestive System: By withholding food for a period before processing, usually around 12 to 18 hours, the digestive system of the bird gets a chance to clear out. This reduces the risk of contamination during processing.
- Reducing Risk of Intestinal Rupture: During processing a full digestive system can increase the risk of rupturing the intestine. Withholding food helps to empty the digestive tract, decreasing the likelihood of accidental spills.
- Improved Meat Quality: Withholding food before processing can result in cleaner, more flavorful meat. When birds are processed on an empty stomach, the risk of spilling stomach contents onto the meat is reduced.
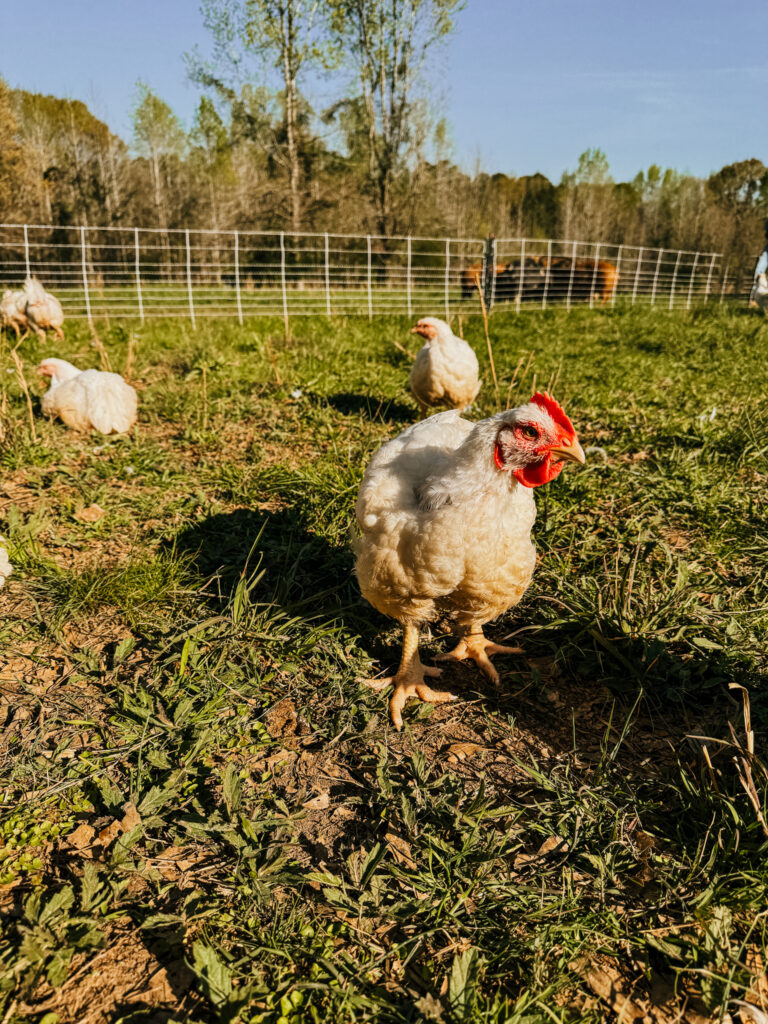
We raise our broilers on pasture on our homestead. Even though we do withhold feed from the birds, they still have access to forage and insects. Generally, we give our birds a last feeding the morning of the day before processing. We make sure they have plenty of water until processing time.
How To Process a Chicken
Set up your processing area. You’ll need a few things:
- Restraining cones: These cones keep the chicken calm and contained during dispatching.
- Scalding pot: This is where the magic happens to loosen up those feathers.
- Sharp knife or poultry shears: A good, sharp knife is crucial for a clean and humane kill.
- Table and cutting surface: You’ll need a clean, sturdy surface for gutting and cleaning.
- Coolers of ice: Keep your chicken cool after processing to maintain freshness.
- Heat-resistant gloves: to protect your hands from burning while scalding.
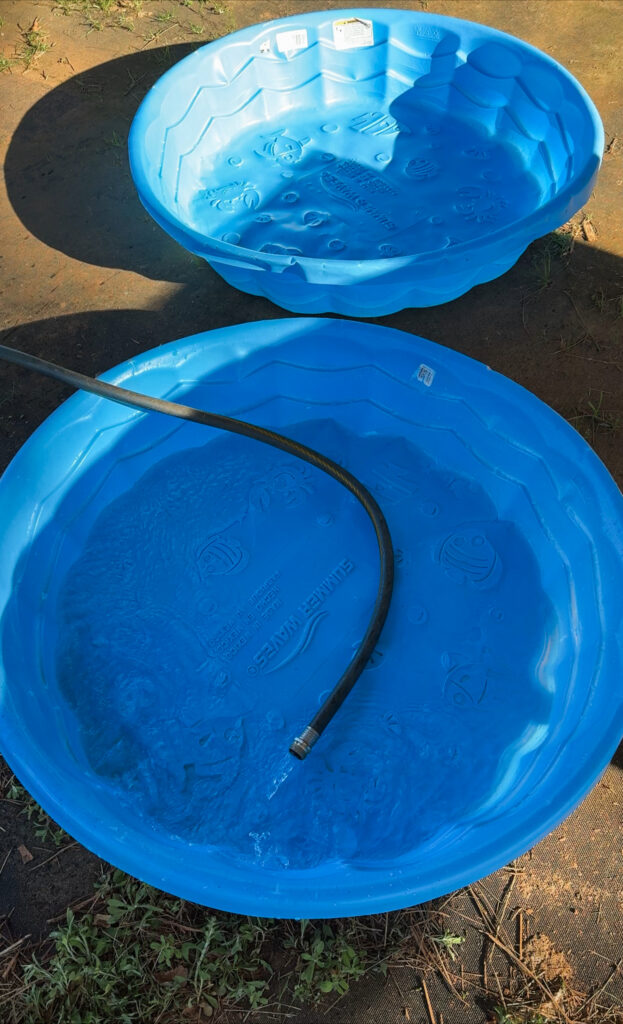
- Kiddie pools of ice: Larger cool-down stations for after-processing.
- Access to fresh water: For rinsing and cleaning.

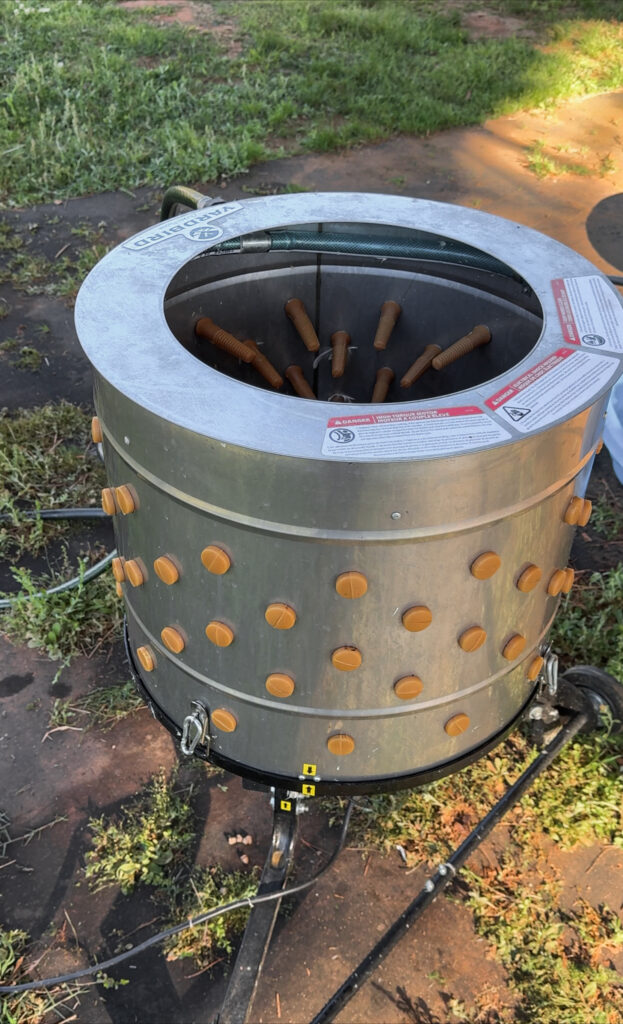
If you have access to one, a chicken plucker can save you a lot of time and effort. This is a must for us because we process a lot of chickens. I’ve plucked chickens by hand and it’s doable, but very tedious. If you’re set on raising your family’s broilers yourself, invest in the plucker.
You might also be able to borrow one from a friend or rent one from a neighbor. Facebook marketplace is a great resource to find one available.
Dispatching the Chicken
Now, onto the nitty-gritty. I suggest starting this process early in the day when the weather is cool. You do not want to be processing chickens in the heat of the day. It’s also a good idea to have a covered area that’s easy to disinfect and has access to fresh water.
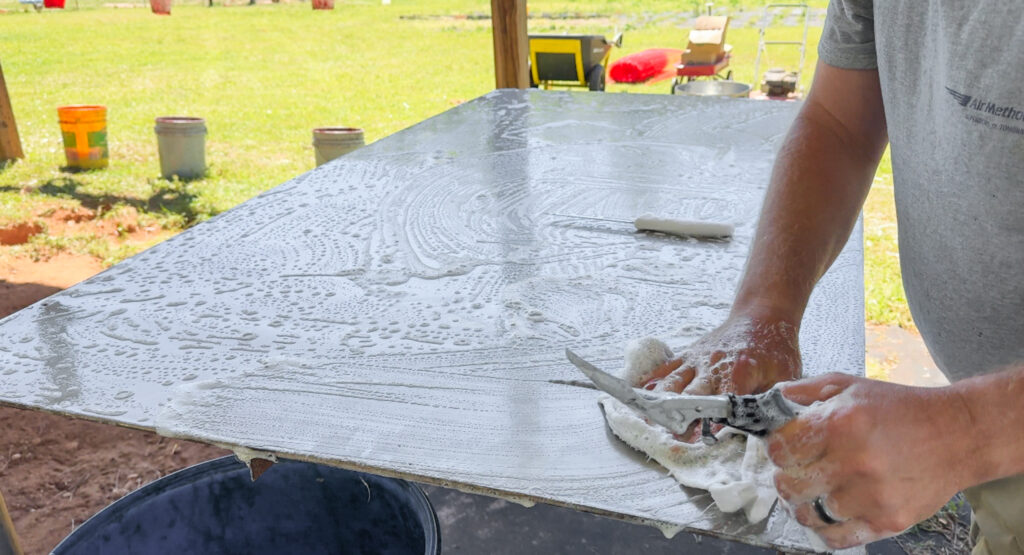
Clean your work surface really well and disinfect it prior to starting. You also want to make sure all of your holding vessels are really clean for storing your bird after it has been processed.
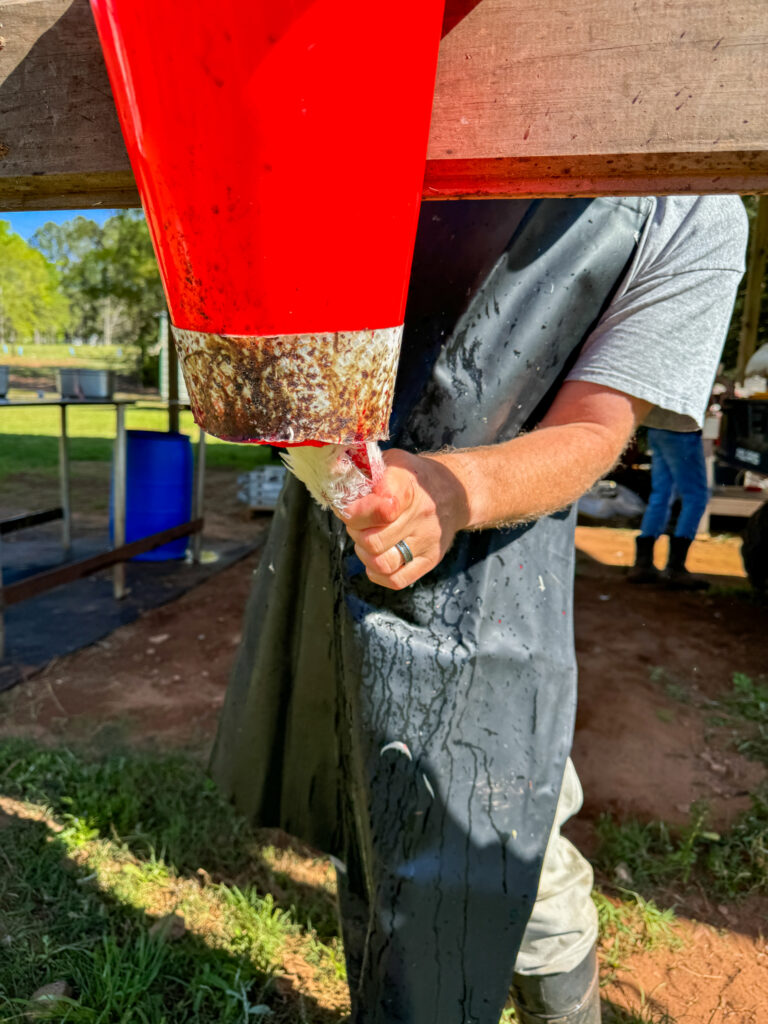
Dispatching a chicken might be the most daunting part of learning how to process a chicken. It’s important to do it swiftly and humanely. Place the chicken head-first into the kill cone, exposing its neck. Turning the chicken upside down will calm it, and the cone will help to keep it still so that it doesn’t injure its wings during the process. With a quick, decisive motion, use your sharp knife to make an incision just below the jawline, severing the main arteries. This ensures a quick death. Be careful not to cut the bird’s windpipe. The sudden inability to breathe will cause the bird to panic.
Removing Feathers
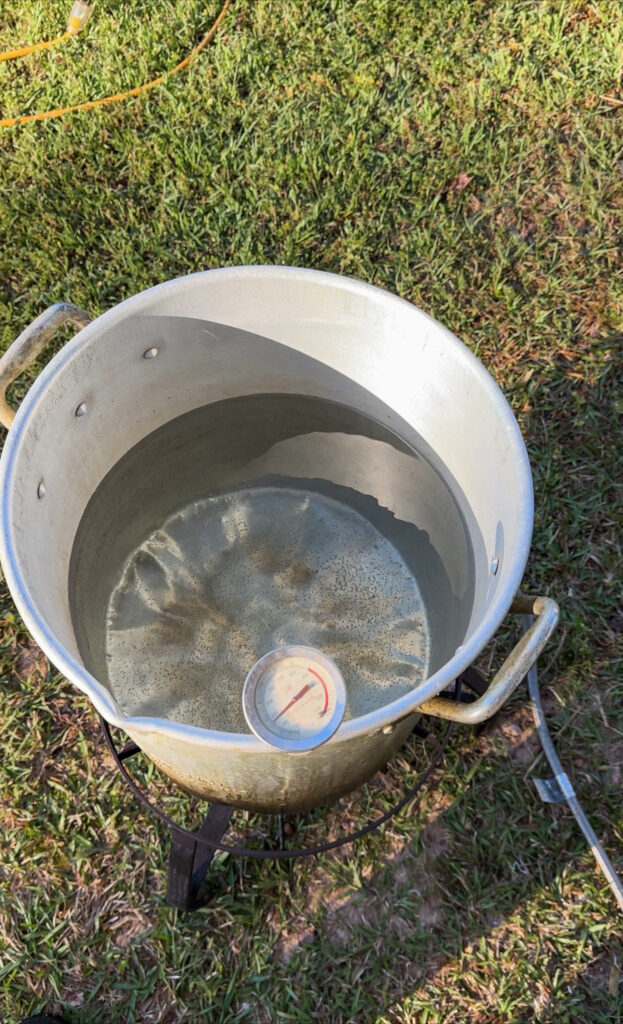
After dispatching, it’s time to get rid of those feathers. Dip the chicken into the scalding pot (around 150°-165°F) for about 30 seconds to loosen the feathers. Be careful not to leave it in too long or the skin could tear. It’s important to wear heat-resistant gloves during this process so you don’t burn yourself. Work in a dunking motion so that the bird isn’t in the hot water for too long. This is also a great way to loosen the skin around the feet.
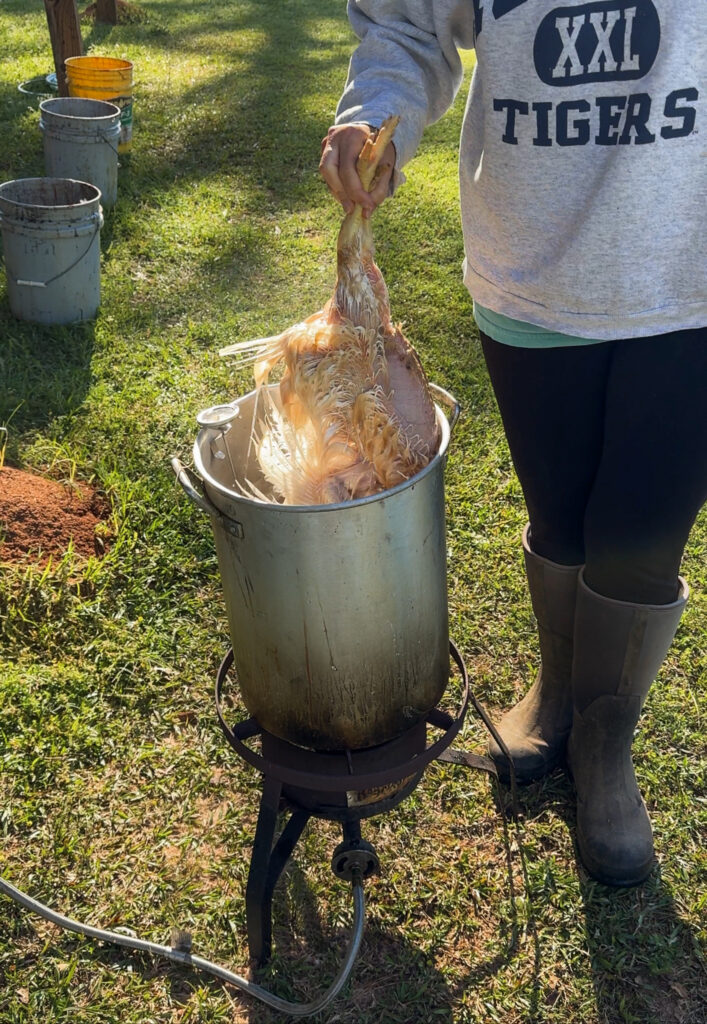
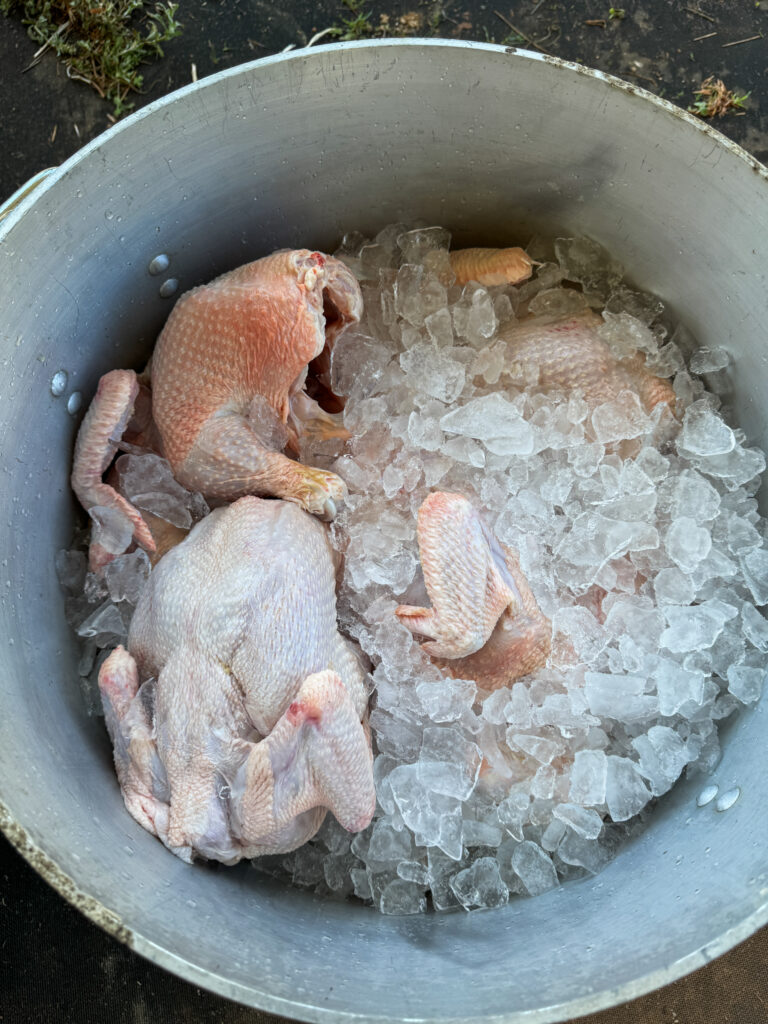
After plucking the bird, place it in one of the kiddie pools of ice to cool while you wait to process it. You’ll want to cover the kiddie pools with a sheet to prevent debris from getting on the chickens.
Removing The Feet
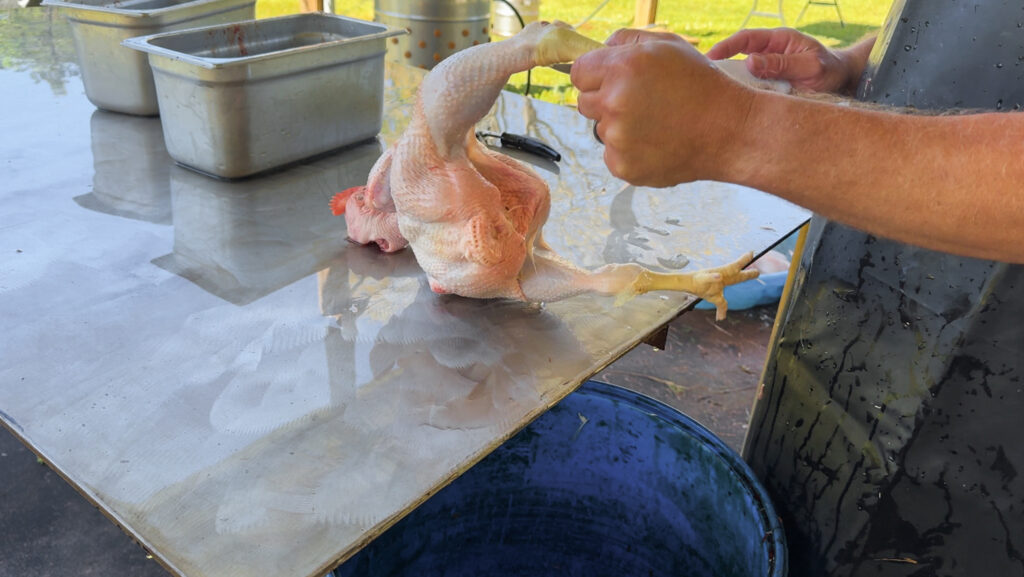
To remove the feet, take the foot in your non-dominant hand and bend the leg toward the chest of the bird. This will expose the “knee” area. There is cartilage between the bones which makes it easier to remove the feet. Make a clean cut between the joints on both feet.
Removing The Organs
Now for the dirty work – removing the organs. Make a small incision just at the base of the neck. The crop will be on the right breast. Loosen the crop from the breast.
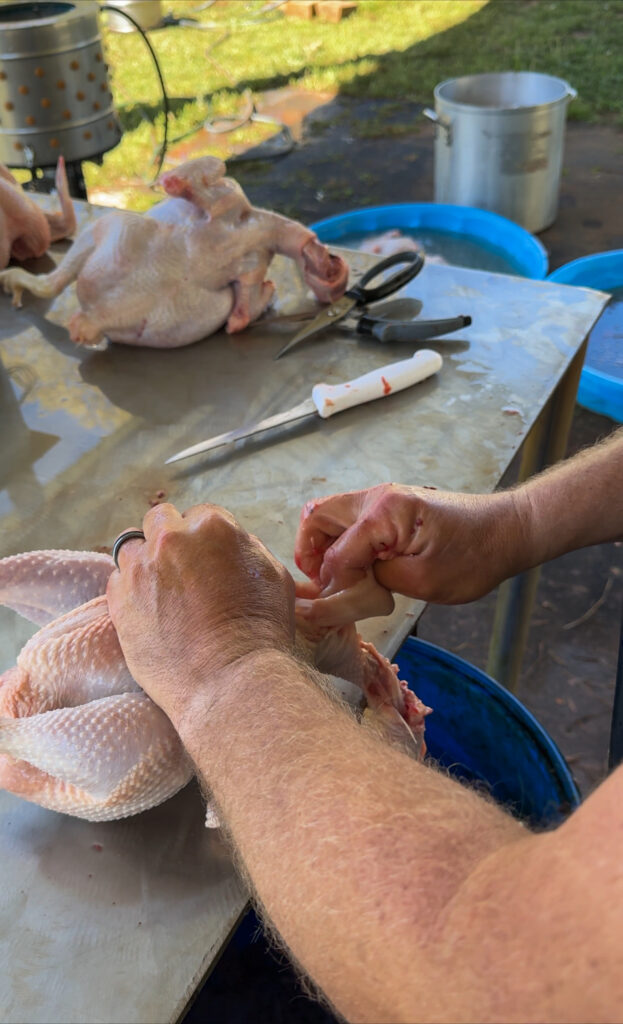
Next, make a small incision just above the vent. Make sure you pinch the skin so you don’t accidentally cut into the guts. Reach your hand in and carefully remove the guts. You should be able to pull the crop out with the guts now that you’ve loosened it. You’ll want to be gentle to avoid puncturing any organs.
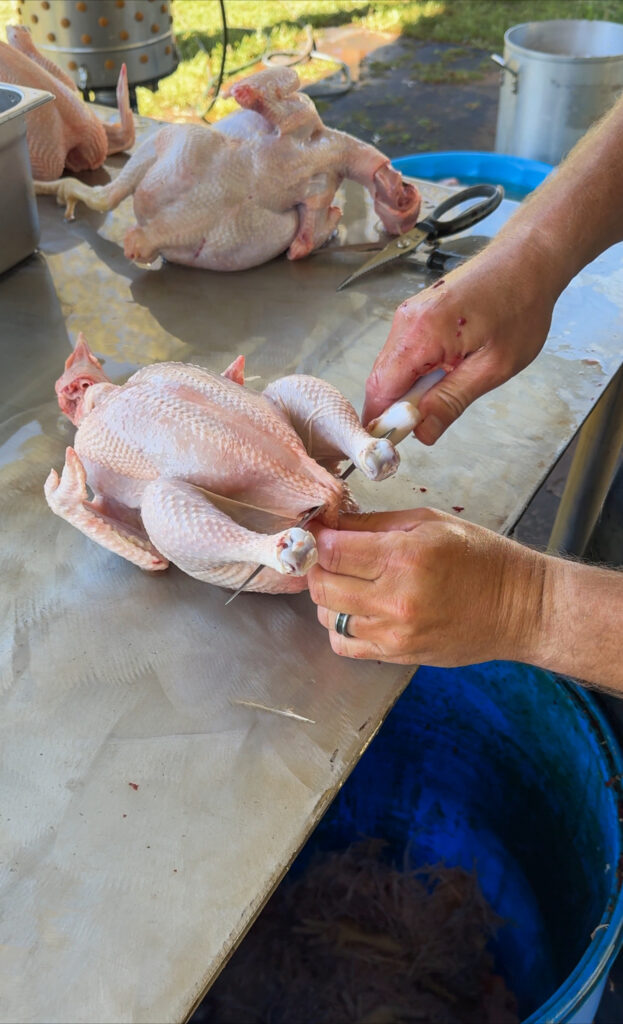
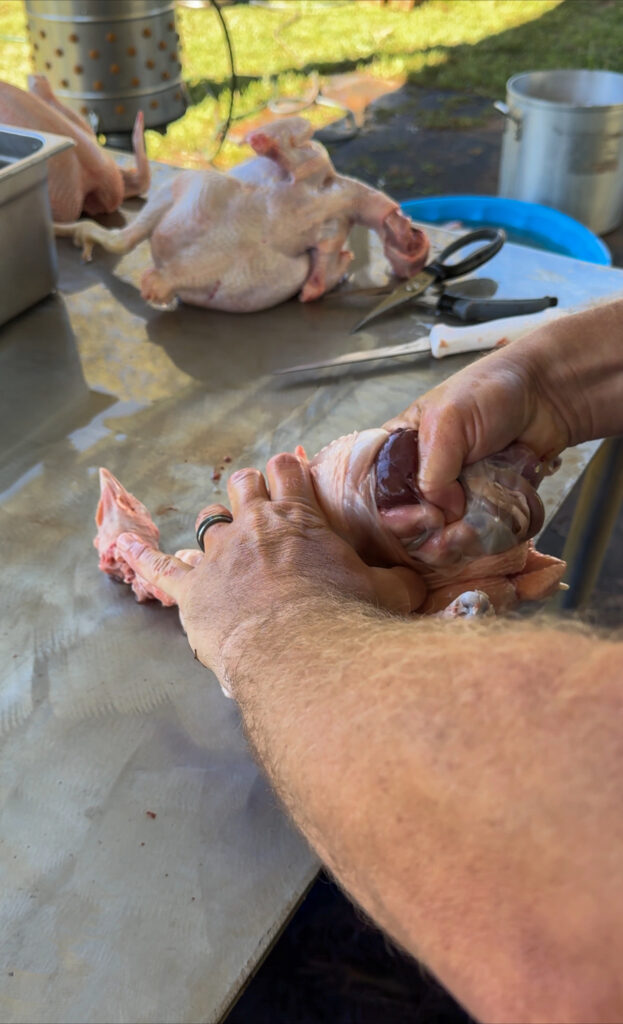
Cut each side of the vent. Be careful not to spill the rest of the bowel contents. Carefully cut out the vent and the tail of the chicken. Be careful cutting away the talk and vent as there is also an oil gland near it.
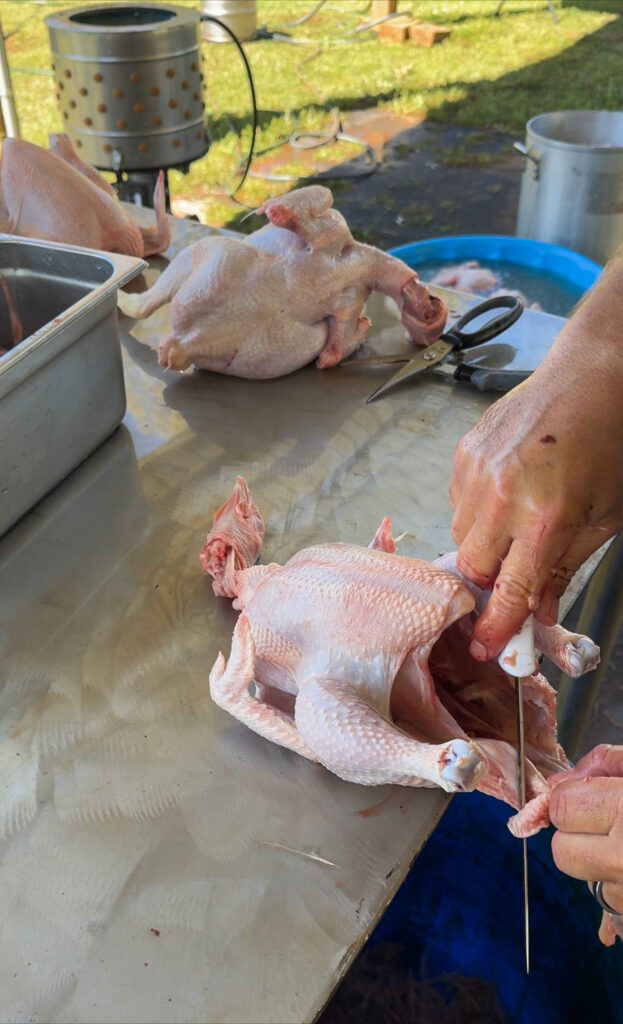
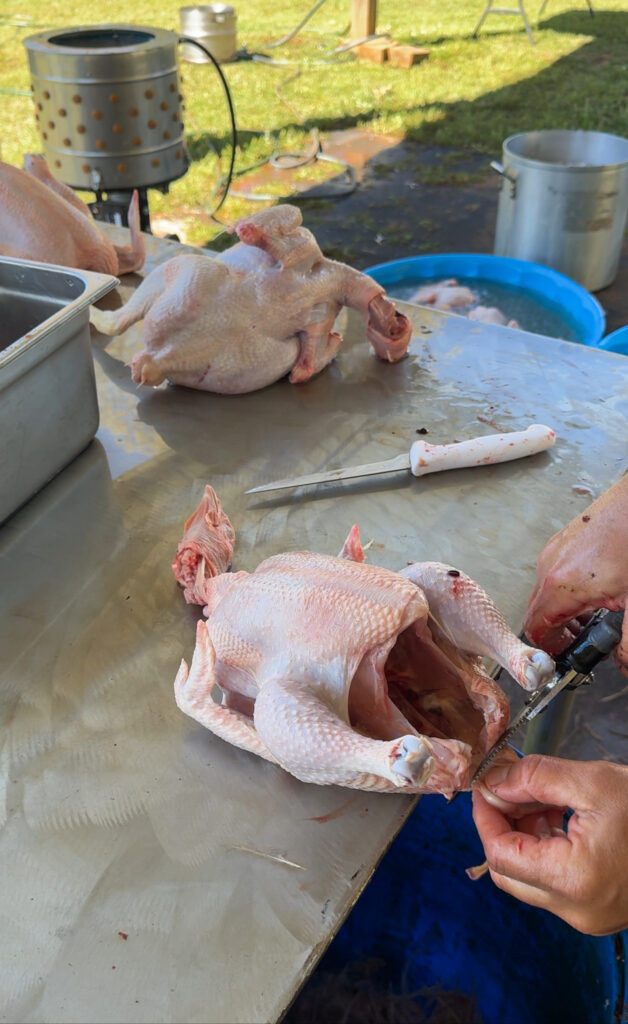
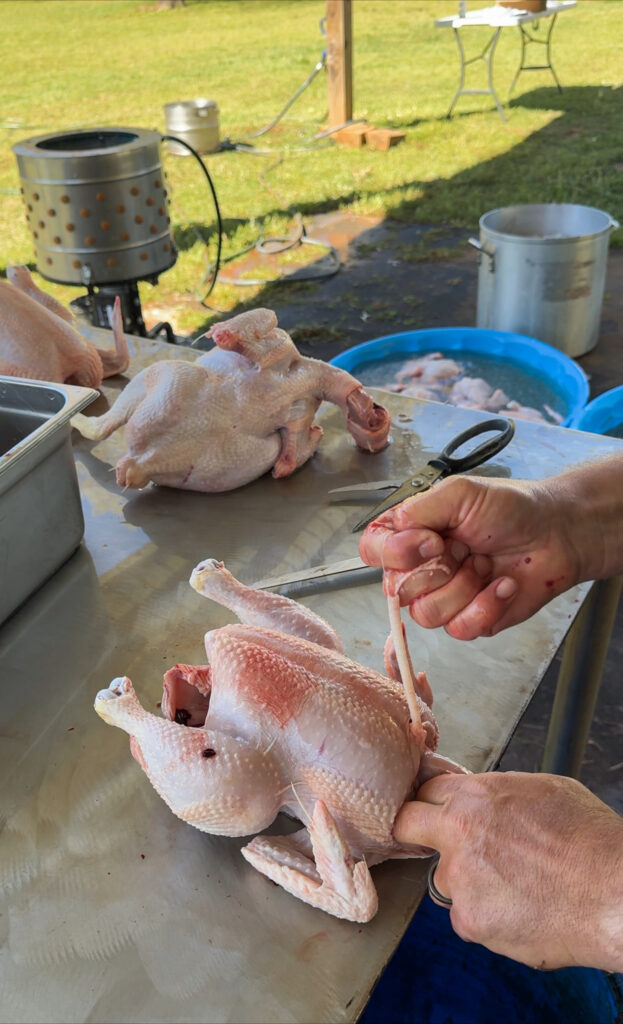
Return to the neck and remove the windpipe and the lungs of the bird. Do this by gently pulling out the windpipe. Using your shears, cut the base of the neck to remove it.
Storing Your Chicken
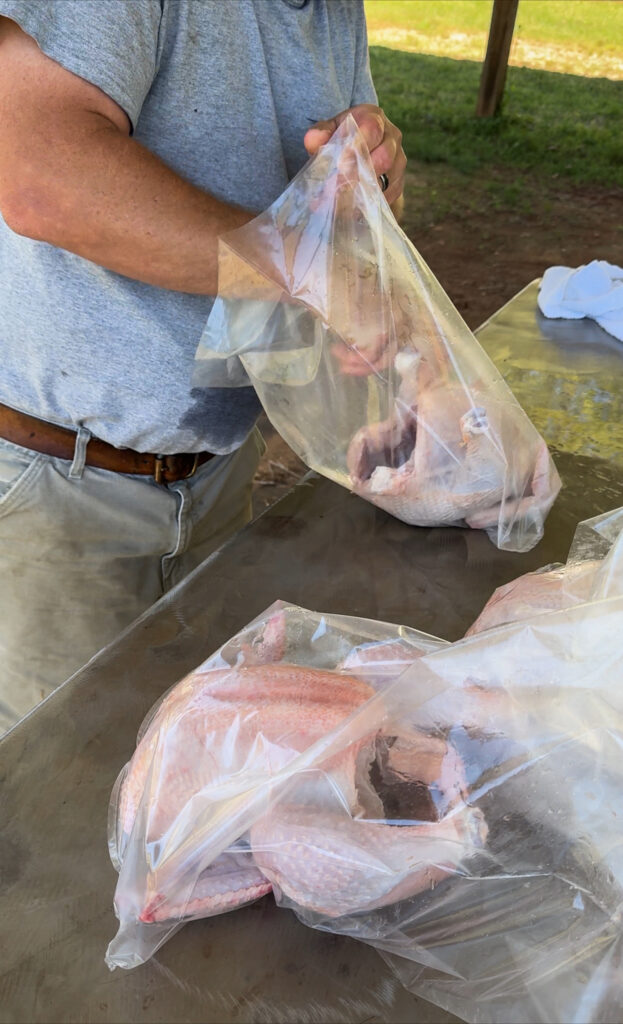
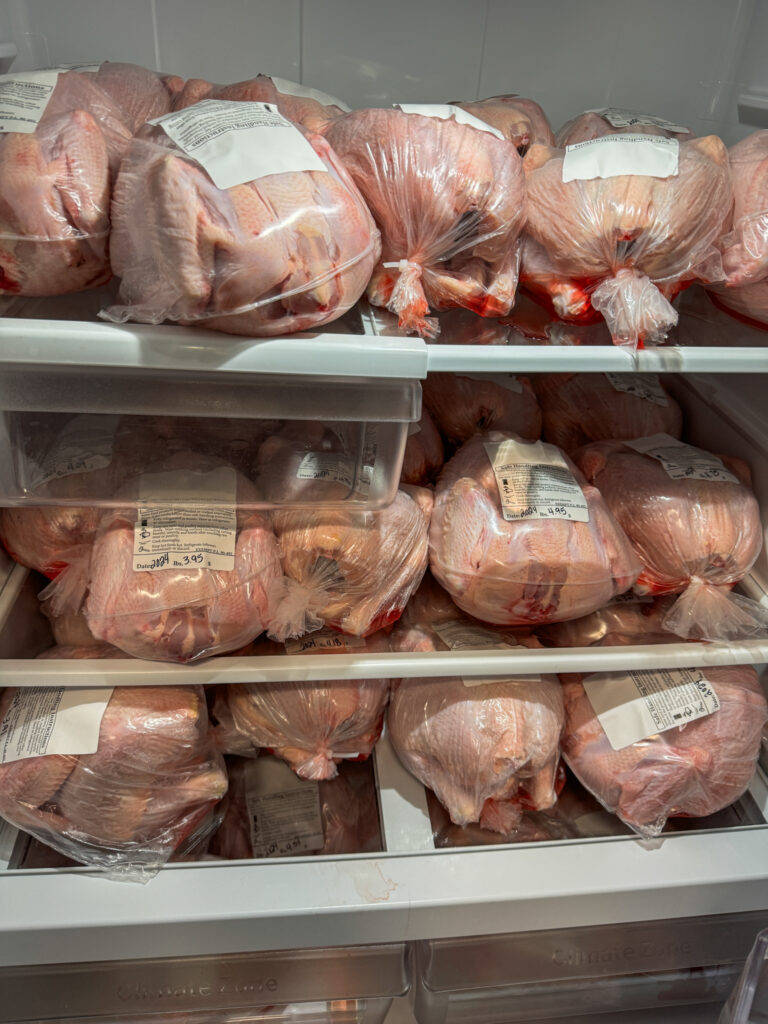
After processing, it’s important to cool your chicken down quickly to prevent bacteria growth. Place it in a shrink-wrap bag and submerge it in an ice bath for at least 30 minutes. Once chilled, store it in the refrigerator for 24 hours before freezing. This extended cooling helps the muscles to relax and creates a more tender bird.
The directions for each type of shrink-wrap bag will come with them when you purchase the bags.
Don’t Let Anything Go to Waste When Processing Chickens
Just because you’re learning how to process a chicken doesn’t mean everything has to go to waste. The liver, heart, and gizzard are all edible and can be cooked up in a variety of dishes like stew, fried, or even grilled. If you’re not into eating them yourself, they make great treats for pets or can be composted for your garden.
Let’s talk about the specifics of each organ and their potential uses:
Heart:
The heart is a muscle and can be cooked similarly to other types of meat.
It has a rich, slightly gamey flavor and a tender texture when cooked properly.
Hearts can be grilled, sautéed, or even added to stews and soups for added flavor and nutrition.
Our favorite way to heat the chicken hearts is to soak them in a marinade and then grill them on skewers.
Liver:
The liver is incredibly nutrient-dense and is considered a delicacy in many cultures.
It’s high in iron, vitamin A, and other essential nutrients.
The liver can be sautéed with onions and herbs for a classic dish or fried which is the way it’s enjoyed here in the south.
It’s important not to overcook liver, as it can become tough and lose its delicate flavor.
Catfish also
Gizzard:
The gizzard is a muscular organ that aids in grinding food for digestion.
When it’s cleaned and cooked properly, gizzards have a chewy texture and a rich, meaty flavor.
Gizzards can marinated and grilled, added to stews or stir-fries, or even pickled for a tangy snack. Again, here in the south, we enjoy them fried.
They can also be ground up and used as a base for homemade pet food.
Bones:
After processing a chicken, don’t toss those bones! They’re full of flavor and nutrition.
Chicken bones can be used to make homemade broth or stock, which forms the base for soups, stews, sauces, and risotto.
Simmer the bones with vegetables like onions, carrots, and herbs for several hours to extract their rich flavor and nutrients. You want to cook them low and slow.
Once the broth is strained, it can be used immediately, frozen, or canned to make it shelf stable.
Feet:
Chicken feet might seem odd to some, but they’re packed with collagen and make a wonderfully rich and flavorful broth.
They’re often used in Asian dishes, particularly in soups and broths, where they add depth and richness.
To cook chicken feet, blanch them in boiling water for a few minutes to remove any dirt or impurities, then add them to your broth or stock pot along with other ingredients.
By using all parts of the chicken, you’re not only minimizing waste but also maximizing the nutritional value and flavor of your food. So, next time you process a chicken, don’t forget to save those organs and bones.
Pasture-raised flavor vs. Store-bought Flavor
The flavor of pasture-raised chickens versus store-bought chickens can be quite different, primarily because of differences in diet, lifestyle, and the way they are raised. Let’s explore how these factors affect the flavor of the meat.
Diet:
Pasture-raised chickens typically have access to a diet of grasses, insects, seeds, and other forage they find in their environment. This diet can give complex flavors to the meat, depending on factors such as the season, soil composition, and types of plants available.
Store-bought chickens are often raised on a diet of commercial feed, which may contain grains, soy, and other additives. While this diet provides essential nutrients, it results in a bland flavor compared to pasture-raised chickens.
Exercise and Lifestyle:
Pasture-raised chickens have the freedom to roam and engage in natural behaviors like scratching, pecking, and foraging. This increased activity can lead to leaner muscle and may result in a firmer texture and richer flavor in the meat.
Store-bought chickens, on the other hand, are typically raised in confined spaces with little movement, which may result in softer muscle tissue and a milder flavor.
Stress Levels:
Pasture-raised chickens generally experience lower stress levels compared to their commercially raised counterparts. A less stressful environment can lead to better overall health and well-being, which may positively influence the flavor and quality of the meat.
Store-bought chickens may experience higher levels of stress due to crowded conditions, transportation, and handling, which could potentially affect the flavor and texture of the meat.
Chicken Processing Methods:
The way chickens are processed can also affect their flavor. Pasture-raised chickens are often processed on a smaller scale and may undergo less stress during transportation and handling. Additionally, they may be processed at a younger age, resulting in more tender and flavorful meat. Store-bought chickens, on the other hand, are typically processed in large-scale facilities, which may involve longer transportation times and more extensive processing methods.
The Emotional Side
Lastly, let’s talk about the emotional aspect of raising chickens for slaughter. It’s natural to feel a mix of emotions like sadness, guilt, maybe even a bit of relief. Remember, it’s okay to feel these things. Raising animals for food is a responsibility and it’s important to approach it with respect and mindfulness. Take a moment to thank the chicken for its sacrifice and honor it by using every part to its fullest.
Our family has decided to eat meat, and by doing so we have a responsibility to raise the animals in the most humane way possible. For us, raising them outdoors with plenty of space and a more natural diet is the best way to steward our animals. I understand our choice isn’t for everyone.
FAQS
How should I store processed chickens for optimal freshness?
Processed chickens should be cooled in the refrigerator for 24 hours before freezing to ensure food safety and preserve quality. They can then be stored in shrink-wrap bags or airtight containers in the freezer for long-term storage.
How can I make chicken meat more tender?
Making chicken meat more tender can involve things such as brining, marinating, using a meat tenderizer, cooking, and low and slow. These methods help break down muscle fibers and connective tissues, given you a more tender texture.
What should I consider regarding the emotional aspect of processing chickens?
It’s natural to have mixed emotions when you’re learning how to process a chicken for food. Taking a moment to thank the chicken for its sacrifice and approaching the process with respect and mindfulness can help honor the bird’s life and ensure humane treatment throughout the process.
Final Thoughts
So that’s how to process a chicken from start to finish. It might take a bit of practice to get comfortable, but with time, you’ll become a pro. Just remember to take it slow, stay mindful, and always treat your chickens with care and respect.
If you enjoyed this chicken article, please share it! Thanks for visiting my farm.
Leave a Reply