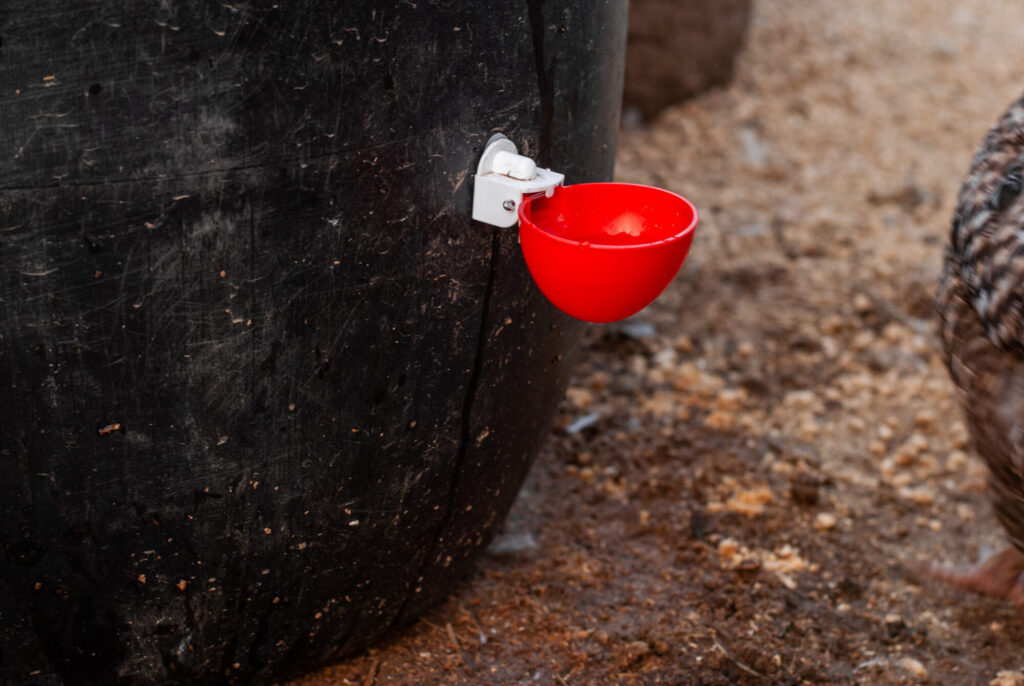
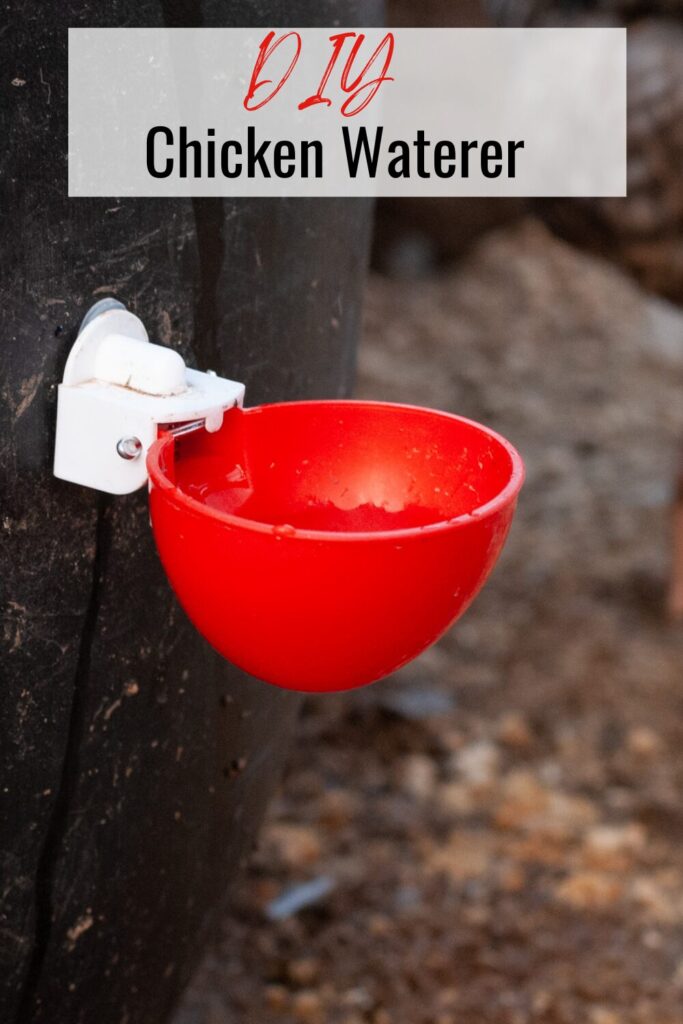
Are you looking for an Easy DIY Chicken Waterer to provide your backyard chickens with fresh water while you’re away? This simple setup is perfect for the job. It’s easy and inexpensive to make and will make chicken keeping a little easier for the busy homesteader.
Let’s face it. Life is just busy! Most of us work full-time jobs and don’t have a lot of time tending to things around the homestead.
As a busy mom of 4, there always seems to be something to do that takes me away from the farm. I’ve tried a lot of different methods for providing enough water for my large flock, but there are always drawbacks to each one. My favorite options by far are this automatic water system and this DIY Chicken Waterer I’m sharing now. This DIY version is the best way to provide plenty of water and keep healthy chickens.
Similar Articles You’ll Love
Why I love This Simple DIY Chicken Waterer
This waterer doesn’t get as dirty as the automatic waterer. Chickens tend to make a big mess. The automatic waterer, while convenient, can get dirty with chicken coop very quickly. The cups in this DIY waterer don’t get dirty as easily.
You don’t need continuous running water. Last summer we ran water out to our coop, but before then we had to carry water out to our flock. This bulk waterer doesn’t require continuous running water as the automatic waterer does.
It can be used with rainwater. As I mentioned above, running water may not be an option in everyone’s coop. This waterer can be set up to collect rainwater runoff from your coop roof. The possibilities for this style waterer are really endless.
It’s inexpensive to make. I used food-grade barrels I found secondhand for $25. Make sure you trust the source and know what was in the barrels prior to using them. The barrels I have held cucumbers.
The total cost of this homemade chicken waterer (if you already own a drill) was around $45. That’s a good bit cheaper than others you’ll find with less capacity.
What You’ll Need to Make the Waterer
**This post may contain affiliate links which means I make a small commission at no extra cost to you. Read my full disclosure here.*
Equipment
- 50 Gallon Food Grade Barrel
- Chicken Watering Cups– These come with a drill bit
- Appropriate size drill bit- You can find this at your local hardware store
- Drill
- Cotter Pin (optional)
- Box Blade (optional)
How to Make the DIY Chicken Waterer
- Begin by establishing where you’d like for your waterer to be placed in your chicken yard. If you can lift it and secure it on blocks in an elevated position, that’s ideal. This will determine how low you can set your cups. Our cups were raised higher since our barrel was sitting on the ground. We still felt that the water above the cups was sufficient for keeping the flock watered.
- Measure where you want your drill holes to be all the way around the barrel. You can mark your measurements with a piece of chalk. Measuring ensures that cups will be at an even level and water will date equally into each cup.
- Using the drill bit that comes with your cups, or one that is the correct size, drill a small hole around the barrel at each of your marked points.
- Insert the brackets around the barrel into the holes. Tighten the cups in place inside the barrel using the nut provided. You want to be sure you have a tight, secure fitting to prevent leaking.
- Fill the barrel with clean water and it’s ready to use!
Why I Would Choose These Style Cups Over The Cup with The Water Nipple Stem Release
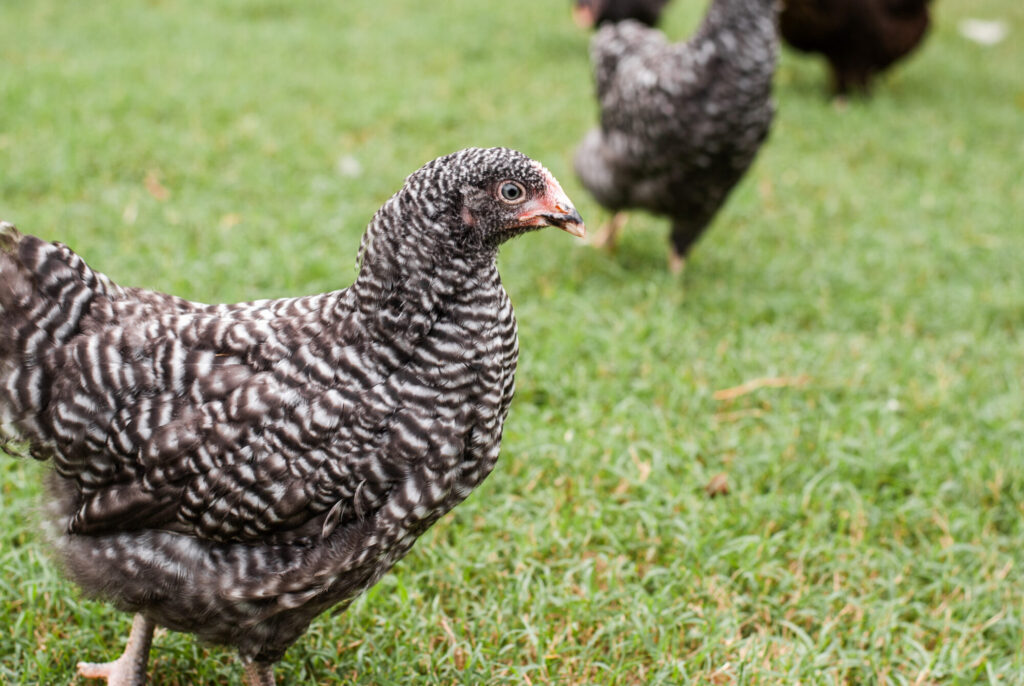
Chickens can be very messy eaters. If you choose a cup with a nipple stem, it can get encrusted with food or chicken poop causing it to be wedged open and leak water. Level-style watering cups aren’t as prone to getting wedged open.
How to Keep Chickens From Knocking The Watering Cups Off
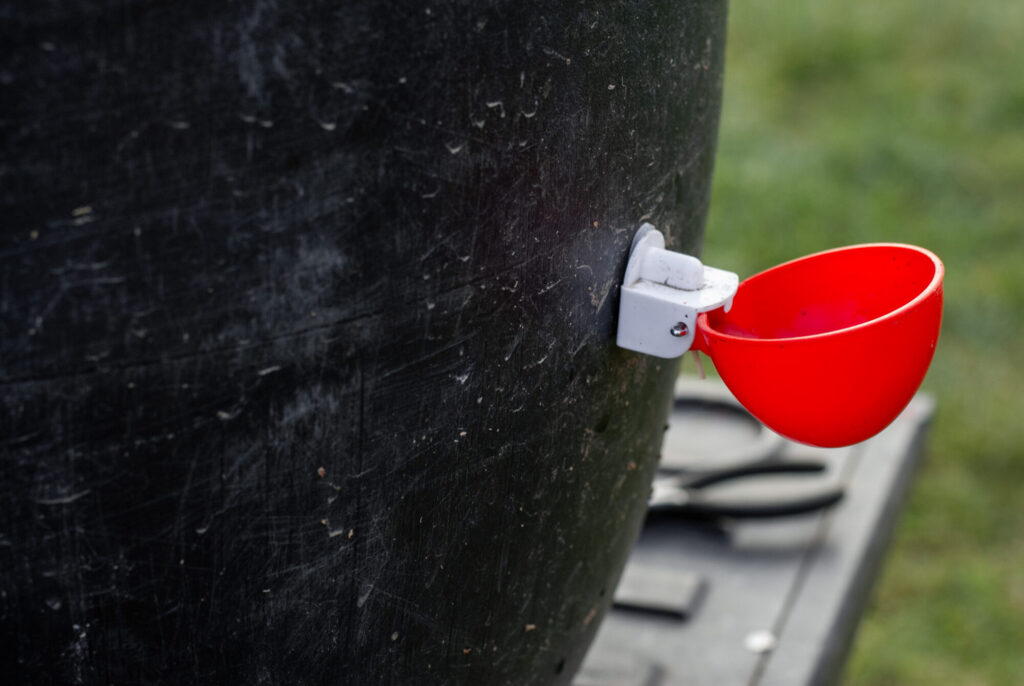
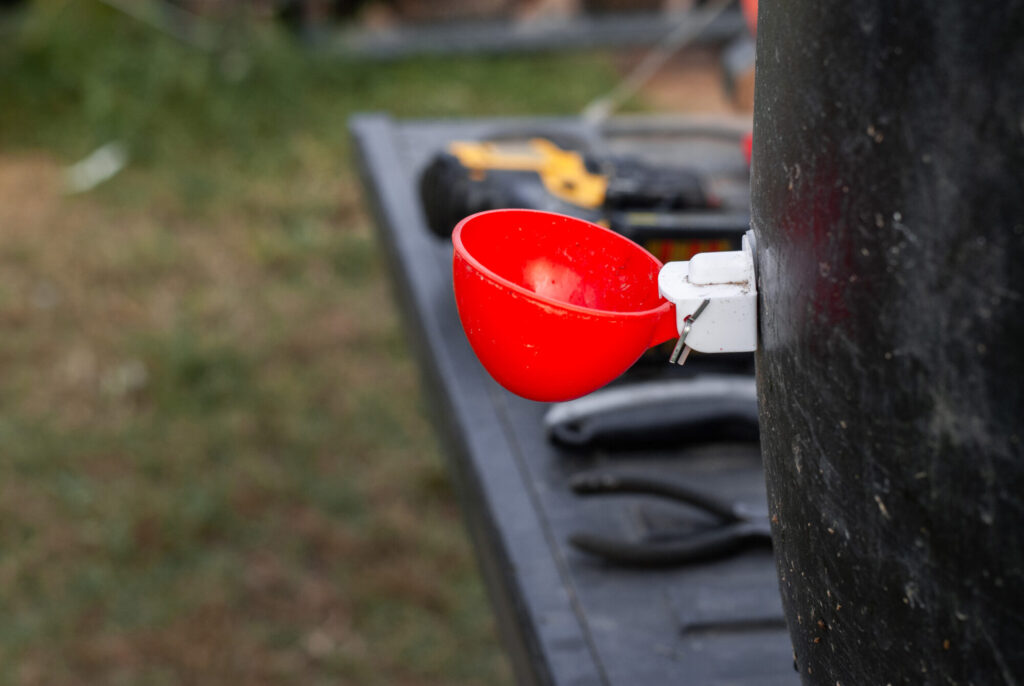
One issue I’ve found with this style of watering cup is the chickens knocking them off. The plastic pins are very flimsy and can be easily broken or detached by wild chickens.
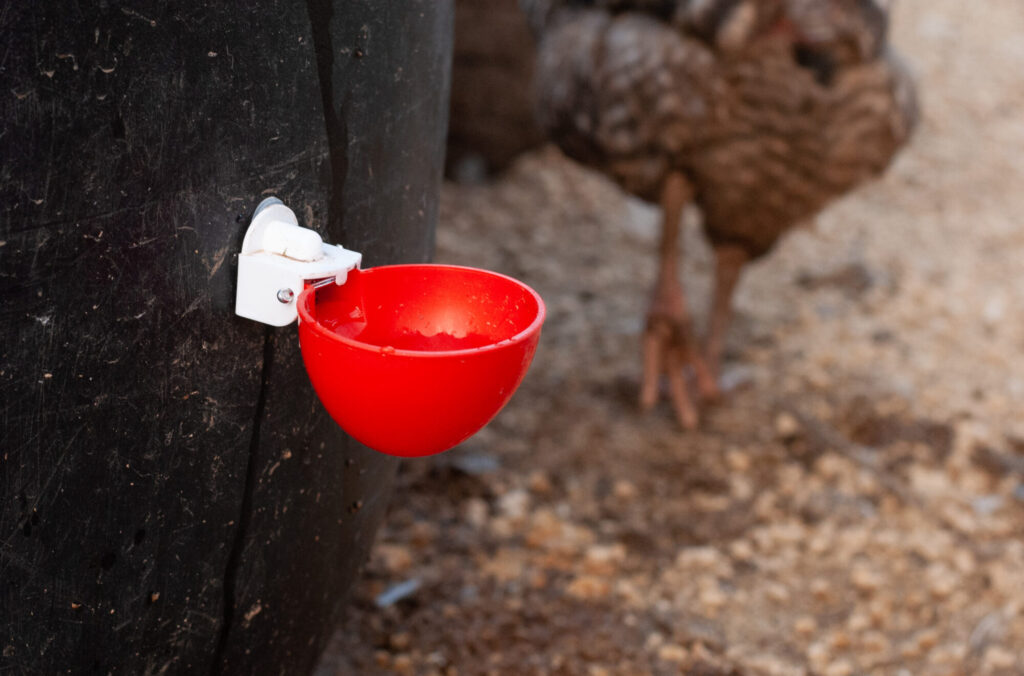
The cup is anchored to the watering bracket by two plastic pins that allow the cup to pivot. When the cups are low in water they naturally rise up, due to a spring in the mount.
When the valve is opened by the elevated cup, water fills them and they lower back down causing the valve to close.
This problem can be easily resolved with a relatively simple hack.
Remove the plastic pins by breaking them off.
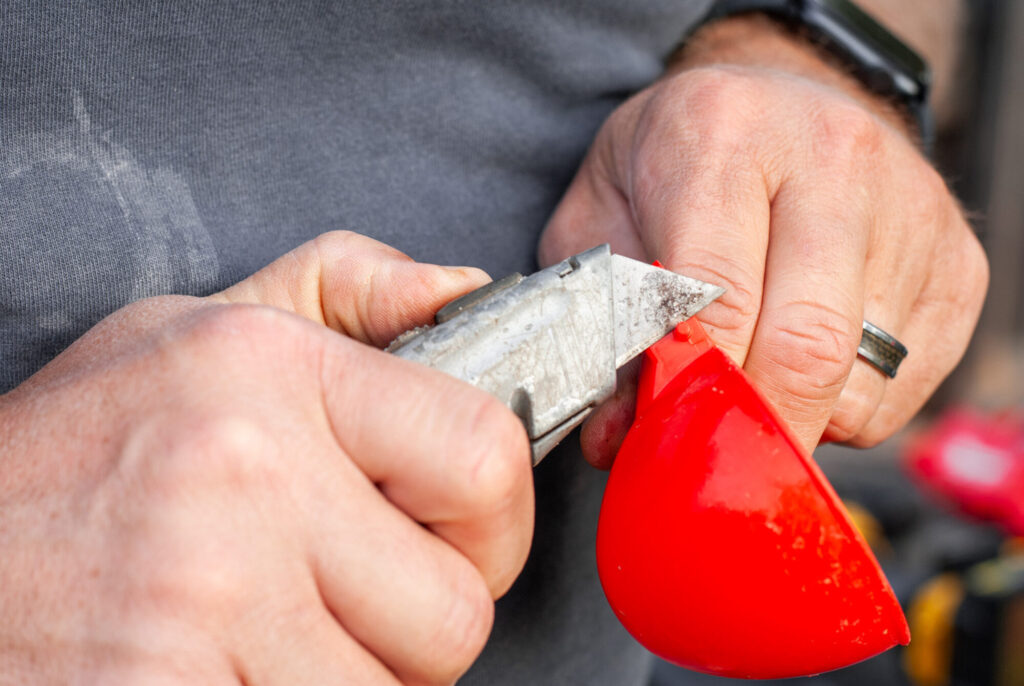
Use your drill to create a ⅛ inch hole in their place.
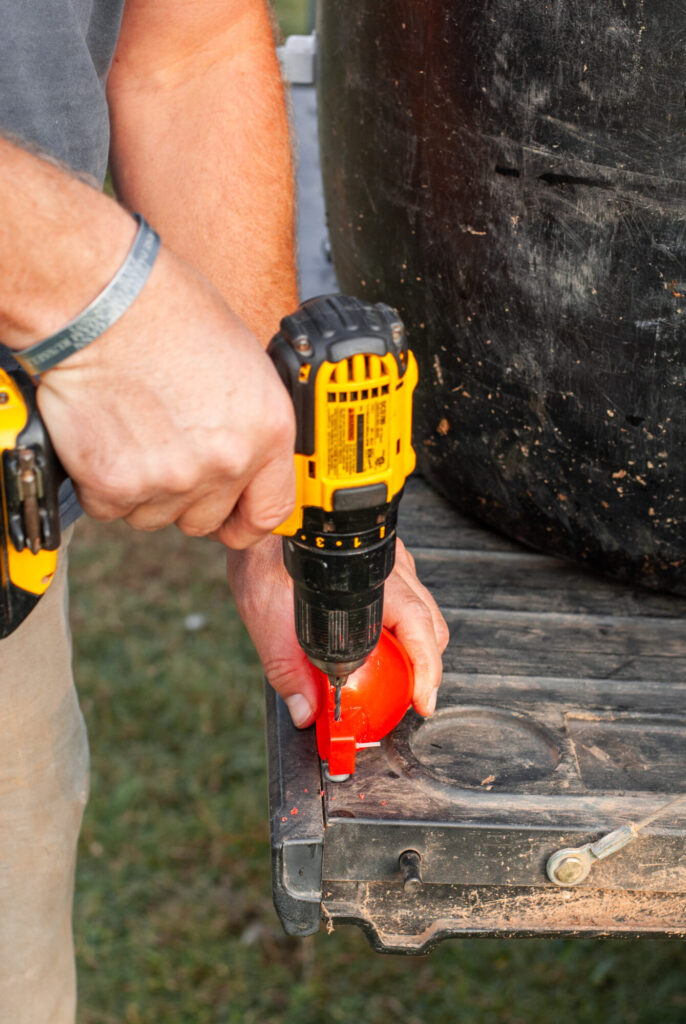
Reattach the cup to the mount using a cotter pin as shown here. This will make the cups a lot more durable, and your flock is less likely to knock them off.
Helpful Tips
If you don’t have a large 50-gallon barrel available, you can create a similar setup with a 5-gallon bucket. While it won’t provide as much water, it’s a great solution if you need something bigger than your standard 3-gallon plastic waterer.
These cheap buckets will also allow you to hang the waterer so you can place your cups lower than what we did here. It’s also great as a chick waterer.
You can build this waterer by yourself, but it’s easier if you have another set of hands available to hold the cups steady while a second person tightens the nut inside the waterer.
Be sure to place your waterer on level ground so the water flow is even. Securing it to a tree or post is also a good idea.
You can set your cups lower to the ground if you’re able to set your waterer on a concrete block. This will give your flock more available water above the cups.
Leaving the lid tightly in place may create a vacuum which will cause the water not to drain into the watering cups. Leave the lid slightly loose if this is an issue.
If you have a water supply available in your coop, install a float valve inside your barrel and connect a water hose to it. This will create an automatic refilling system.
You could also modify this system by raising the barrel on blocks and attaching PVC pipe to the bottom of the barrel. Run the pipe along the base of your run. You can attach more water cups along the pipes than you can around the bottom of the barrel.
DIY Chicken Waterer FAQs
Where should I install the watering cups?
Position the cups at chicken height, usually about 6 to 8 inches off the ground, depending on your chickens’ size. Make sure you space them out so your birds won’t crowd each other. For a 50-gallon barrel, installing 3-4 cups is usually enough for a small to medium flock.
How do I prevent leaks?
Make sure you use waterproof silicone around every hole you drill for the watering cups. Tighten everything well, but don’t overdo it and crack the fittings. Double-check all connections before filling the barrel.
How often will I need to refill the 50-gallon barrel?
That depends on the size of your flock and the weather. In the summer, chickens will drink more, so it could last 2-3 weeks for a small flock of 10-15 chickens. In cooler weather, it could last even longer.
How do I keep algae or mold from growing in the barrel?
To keep the water clean, you can add a small amount of apple cider vinegar (about 1 tablespoon per gallon of water) or use a dark-colored barrel to block sunlight. If algae still show up, just scrub the barrel clean every so often.
Can I use this system in the winter?
Yes, but freezing can be a problem. In cold climates, you’ll want to install a submersible heater in the barrel to keep the water from freezing or insulate the barrel to help retain heat. Another option is to switch to a different watering method during the cold months.
Will the watering cups clog or break?
They can get clogged with dirt or bedding from time to time. To avoid this, try to place the cups in a spot where the chickens won’t kick a lot of dirt in them. Check them regularly and clean them if needed. The cups themselves are pretty sturdy but may wear out after a couple of years.
Can I connect the barrel to a hose or rain barrel for automatic filling?
Definitely! If you don’t want to manually fill the barrel, you can connect it to a hose with a float valve, so it automatically refills. You can also hook it up to a rainwater collection system as long as you have a good filter to keep debris out of the water.
What if I don’t have a food-grade barrel?
It’s important to use a food-grade barrel to avoid harmful chemicals leaching into the water. These barrels are often available at places like food factories or online. Don’t risk using a non-food-grade barrel, even if it looks clean.
How many chickens can this system support?
A 50-gallon barrel with 3-4 watering cups can support anywhere from 10-25 chickens comfortably, depending on how much they drink. You might need more cups if you have a lot of chickens like I do to avoid fights over water.
DIY Chicken Watering System Closing
Creating this simple DIY Chicken watering system will provide plenty of fresh water to your flock. It will give you peace of mind knowing your flock is well cared for while you’re away. With just a few materials, you can provide your flock with bulk water at a convenience.
If you enjoyed this DIY chicken waterer, please share it!
More From The Farm
Raising chicks for beginners can seem overwhelming at first. There is so much to consider from the brooder, maintaining a constant temperature, and ensuring they have enough food. But with a little know-how, raising baby chicks can be very rewarding and fun. You’ll soon be collecting those fresh eggs!
Leave a Reply