Looking for a homemade lotion that will leave your skin glowing? This Shea Butter Moisturizer is perfect for all skin types, thanks to its blend of natural ingredients like rich shea butter and Helichrysum, a flower known for its skin-healing properties. It’s an easy, DIY recipe that’s great for keeping your skin soft, smooth, and naturally radiant!
Jump to Recipe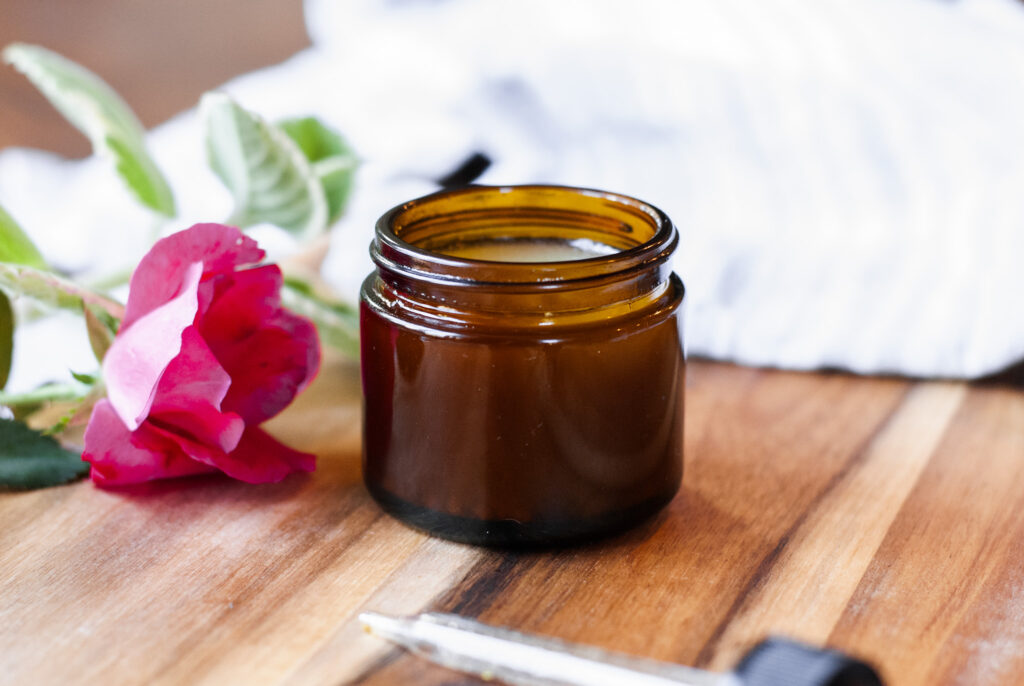
As I get older, I’ve realized that I need more from my skin care products than just the basics. Many store-bought lotions and beauty products have harmful ingredients that can be toxic. That’s why I turn to the Environmental Working Group (EWG) to check what’s really in those products.
After trying out different formulas and tweaking them, I finally created a homemade moisturizer that’s just right. It leaves my skin feeling moisturized, and supple and even brightens up my face when it looks dull.
This is a rich moisturizer that’s probably not for everyday use like my tallow moisturizer, but it’s perfect when your skin needs some extra love. It’s made with shea butter and a special oil mixture that really nourishes the skin. This is one of the best options when your skin feels extra dry or if you just want to give it a little lift.
Shea Butter Moisturizer Ingredients
Pure shea butter is amazing for your skin, especially if you struggle with dryness. It’s packed with antioxidants, which help protect your skin from irritation and environmental damage. Shea butter also has anti-inflammatory properties, so it can calm down redness and help your skin heal.
Plus, it locks in moisture, keeping your skin soft and smooth. It’s great for reducing the appearance of fine lines and giving your skin a healthy, hydrated glow. Raw shea butter is one of the best ingredients you can use for dry skin.
Vitamin E is a powerhouse when it comes to skincare. It’s an antioxidant that helps protect your skin from damage, and it’s also super moisturizing, making it a great choice for a face moisturizer or for your whole body.
Vitamin E oil can help with hyperpigmentation, evening out your skin tone, and reducing dark spots. It’s also anti-inflammatory, so it can calm irritated skin.
Helichrysum is like magic in a bottle for your skin. Originating from the Mediterranean, this powerful oil has a ton of benefits. It’s well-known for healing wounds, but the real magic lies in its ability to regenerate aging skin, making it a fantastic addition to any skin moisturizer.
Helichrysum also helps diminish scars and supports new skin cell growth, which gives your skin that special “glow” factor. It does have a strong scent, so you only need a small amount to get the benefits. While it might come with an extra cost, the results are totally worth it!
Jojoba oil is a fantastic option for all skin types because it’s so similar to the natural oil our skin produces. This means it doesn’t clog pores like some other oils can, making it a great choice even for sensitive skin. Jojoba oil is also super soothing and can calm irritated or dry skin, making it a go-to for anyone dealing with skin irritations.
Plus, it’s hypoallergenic, so it’s safe to use in beauty products for most people without causing any unwanted reactions. Whether you’re moisturizing or treating dry patches, jojoba oil is a gentle and effective solution for healthy, balanced skin.
How to Make a Shea Butter Moisturizer
*This post may contain affiliate links which means I make a small commission at no extra cost to you. Read my full disclosure here.*
Equipment
- Double Boiler: The best way to gently melt shea butter without burning it. If you don’t have a double boiler, you can use a glass mixing bowl over a pot of simmering water. Don’t let the bowl sit in the water.
- Large Glass Bowl: Perfect for mixing your ingredients once they’re melted.
- Immersion Blender: Helps blend everything smoothly, giving your moisturizer a creamy texture.
- Spatula: Useful for scraping down the sides of the bowl and getting every bit of your mixture.
- Amber Glass Jars: These are great for storing your moisturizer, keeping it fresh and protected from light.
Ingredients
- 1/2 cup of shea butter (110 grams): The star of the show for a rich and nourishing base.
- 1/4 cup of coconut oil (54.5 grams): Adds moisture and a smooth texture to the mix.
- 1/4 cup of jojoba oil (60 grams): This balances the formula and helps mimic your skin’s natural oils.
- 1 tablespoon of vitamin E (15 grams): Acts as a natural preservative and skin booster.
- 1 teaspoon of Helichrysum essential oil (5 grams): Great for soothing and healing the skin.
- 1 tablespoon of beeswax (15 grams, optional): If you want a thicker consistency, this is a good option to add.
Directions
- Start by heating water over medium heat in a double boiler. If you don’t have one, no worries! You can use a glass mixing bowl set over a large pot of water. Just make sure the bowl doesn’t sit directly in the water—it should be above it to prevent burning.
- Add 1/2 cup of shea butter, 1/4 cup of coconut oil, 1/4 cup of jojoba oil, and 1 tablespoon of optional beeswax pellets to the bowl. Slowly melt the ingredients, stirring with a spatula to mix them together. The beeswax helps make the lotion thicker, but if you prefer a more liquid oil consistency, you can leave it out.
- Once everything is melted and well-mixed, remove the bowl from the heat. Let the mixture cool down a little before moving on to the next step.
- After the mixture has cooled a bit, add 1 tablespoon of vitamin E oil and 1 teaspoon of Helichrysum essential oil. These help nourish and protect your skin.
- Use an immersion blender to blend the ingredients until they have a smooth and creamy consistency. This step is key for getting that perfect texture for your shea butter lotion.
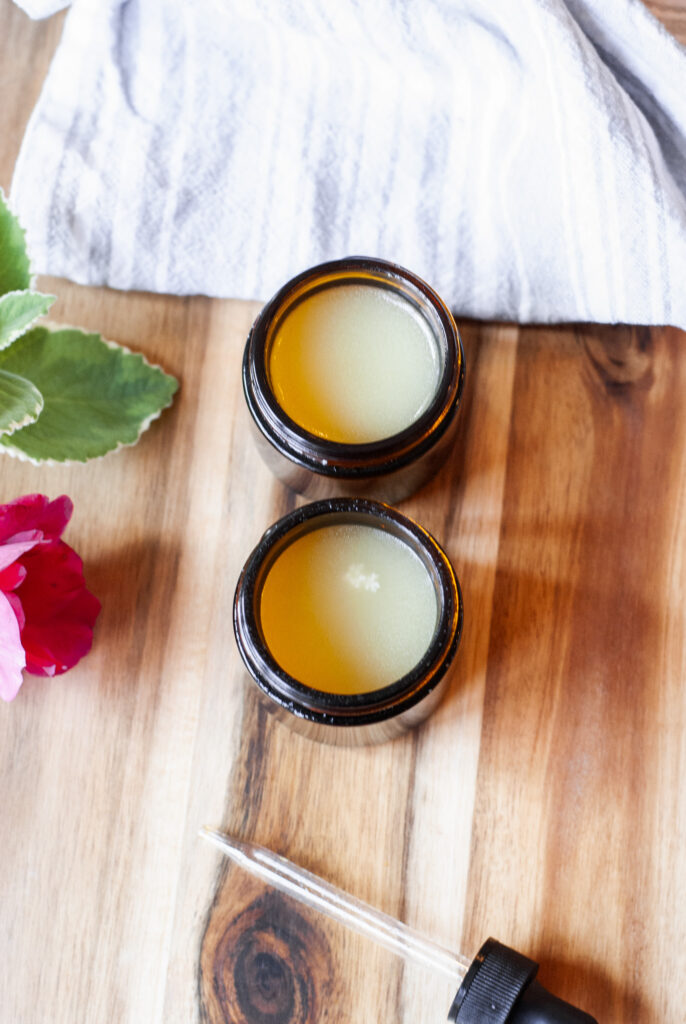
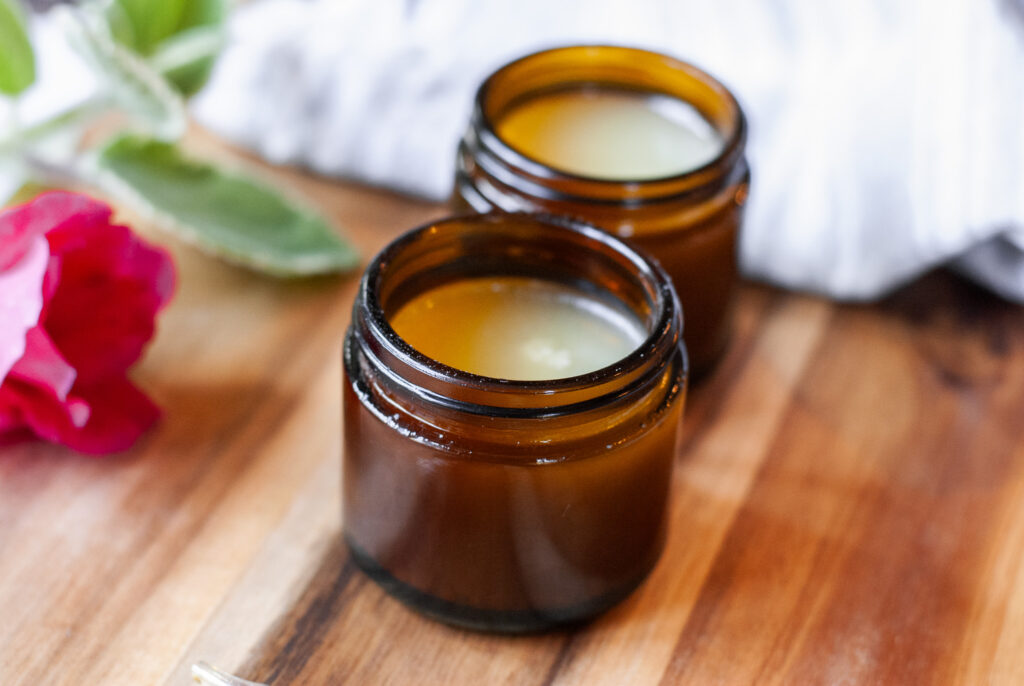
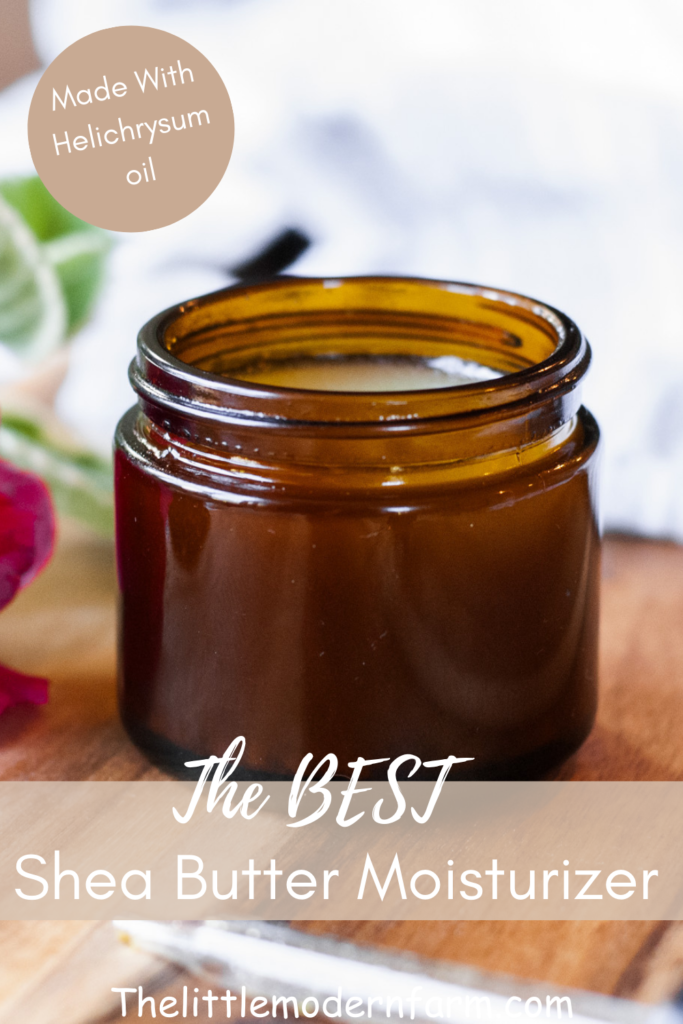
- Gently pour your shea butter lotion into amber glass jars. Let it completely set at room temperature. Make sure to store your jars in a cool, dry place, away from direct sunlight to keep your natural lotions fresh.
Helpful Tips
Melt slowly: Melting the shea butter and other ingredients over low heat is best to keep everything smooth and prevent burning.
Use a glass container: When blending and storing, glass containers are the safest option. They don’t react with the oils and help keep your moisturizer fresh.
Customize your scent: You can play around with the amount of essential oil you add. If you love a stronger fragrance, feel free to add more Helichrysum oil or mix in other different scents. Just remember that more oil means a more powerful smell.
Adjust for acne-prone skin: If you have acne-prone skin, be mindful of the essential oils you add. Some can be too heavy or clogged, so stick with lighter options that suit your skin type.
Experiment with consistency: If you prefer a thicker or thinner lotion, you can adjust the recipe. Adding more beeswax will thicken it while skipping it gives you a lighter, more liquid texture.
Shea Butter Moisturizer FAQs
How long does homemade shea butter lotion last?
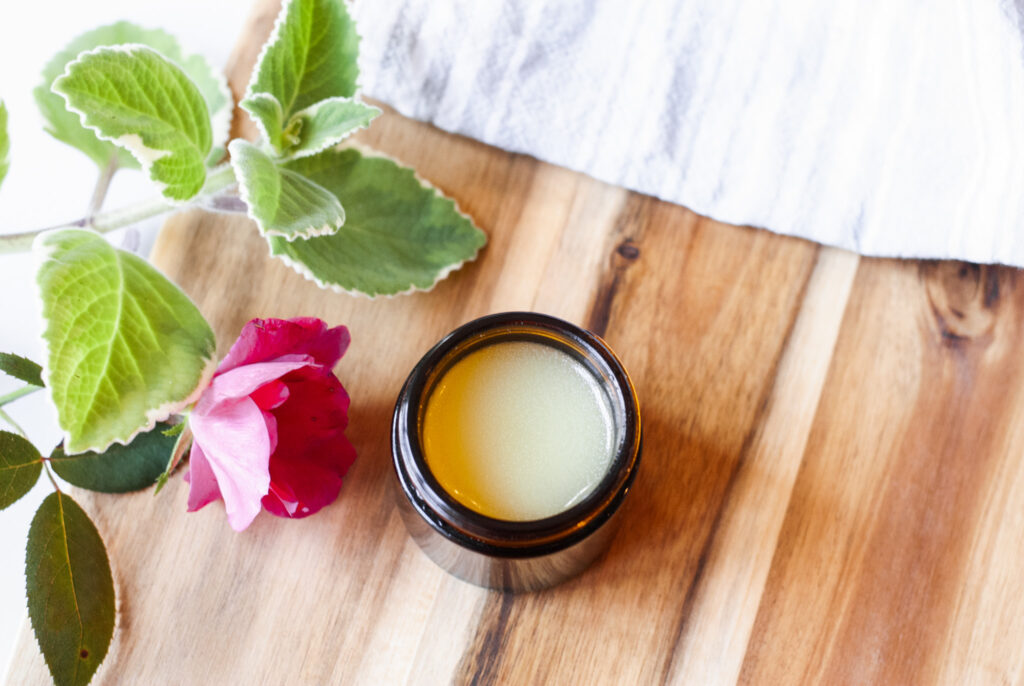
Your shea butter moisturizer should last about 6 to 12 months if stored properly in a cool, dry place. Keeping it out of direct sunlight is a good idea.
Can I make it non-greasy?
Yes! If you want a non-greasy lotion, try reducing the amount of coconut oil or adding a few drops of a light essential oil like lavender.
Can I save money by making my own?
Absolutely! While the ingredients might seem pricey upfront, making your own shea butter lotion can save you a lot of money in the long run compared to buying expensive store-bought creams.
Can I add more than one essential oil?
Sure! You can mix different essential oils to create your own unique scent. Just add a few drops at a time until you get the fragrance you like.
What if my lotion gets too hard?
If your shea butter moisturizer hardens too much, you can re-melt it and add a bit more liquid oil to soften it up.
Shea Butter Moisturizer-Final Thoughts
Making your own shea butter moisturizer is a fun way to keep your skin glowing. With just a few simple ingredients and some special equipment like a double boiler and immersion blender, you can create a rich, nourishing lotion that’s perfect for your skin.
Store your moisturizer in a glass jar to keep it fresh and ready to use whenever your skin needs some extra love. Whether you want a non-greasy lotion or a thicker cream, this DIY shea butter moisturizer will leave your skin feeling soft, smooth, and radiant.
If you enjoyed this moisturizer recipe, please share it!
More From The Farm
I love making my own Whipped Lotion Recipe at home because I know exactly what goes into them. It’s so easy and fun! Plus, homemade whipped lotion is super nourishing for your skin.
All you need are a few simple ingredients, and you can create a creamy lotion that feels amazing!
Shea Butter Moisturizer That Will Make Your Skin Glow
Equipment
- Double boiler The best way to gently melt shea butter without burning it. If you don’t have a double boiler, you can use a glass mixing bowl over a pot of simmering water. Don’t let the bowl sit in the water.
- large glass bowl Perfect for mixing your ingredients once they’re melted.
- Immersion Blender Helps blend everything smoothly, giving your moisturizer a creamy texture.
- Spatula Useful for scraping down the sides of the bowl and getting every bit of your mixture.
- Amber Glass Jars These are great for storing your moisturizer, keeping it fresh and protected from light.
Ingredients
- 1/2 cup shea butter
- 1/4 cup coconut oil
- 1/4 cup jojoba oil
- 1 tbsp vitamin E oil
- 1 tsp Helichrysum essential oil
- 1 tbsp beeswax optional
Instructions
- Start by heating water over medium heat in a double boiler if you don’t have one, no worries! You can use a glass mixing bowl set over a large pot of water. Just make sure the bowl doesn’t sit directly in the water. it should be above it to prevent burning.
- Add 1/2 cup of shea butter, 1/4 cup of coconut oil, 1/4 cup of jojoba oil, and 1 tablespoon of optional beeswax pellets to the bowl. Slowly melt the ingredients, stirring with a spatula to mix them together. The beeswax helps make the lotion thicker, but if you prefer a more liquid oil consistency, you can leave it out.
- Once everything is melted and well-mixed, remove the bowl from the heat. Let the mixture cool down a little before moving on to the next step.
- After the mixture has cooled a bit, add 1 tablespoon of vitamin E oil and 1 teaspoon of Helichrysum essential oil. These help nourish and protect your skin.
- Use an immersion blender to blend the ingredients until they have a smooth and creamy consistency. This step is key for getting that perfect texture for your shea butter lotion.
- Gently pour your shea butter lotion into amber glass jars. Let it completely set at room temperature. Make sure to store your jars in a cool, dry place, away from direct sunlight to keep your natural lotions fresh.
Leave a Reply