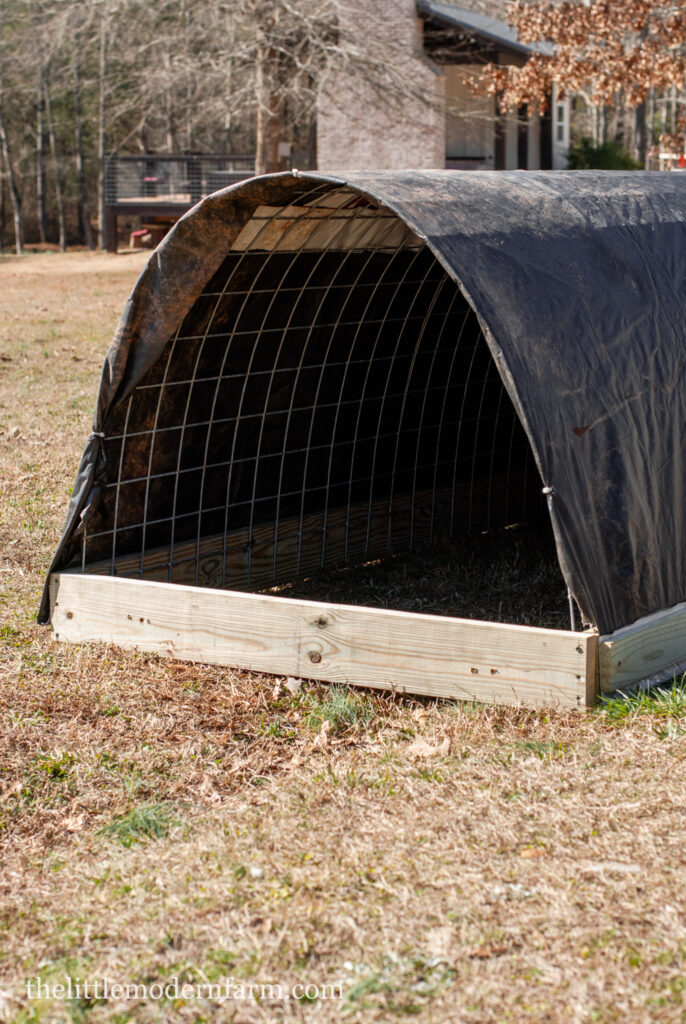
A Portable Pig Shelter is a great way to protect your pigs with the flexibility of moving them around. Whether you’re a seasoned carpenter or just someone with a knack for tinkering, this project is sure to bring a smile to your face and comfort to your porky crew.
Why You’ll Love A Portable Pig Shelter
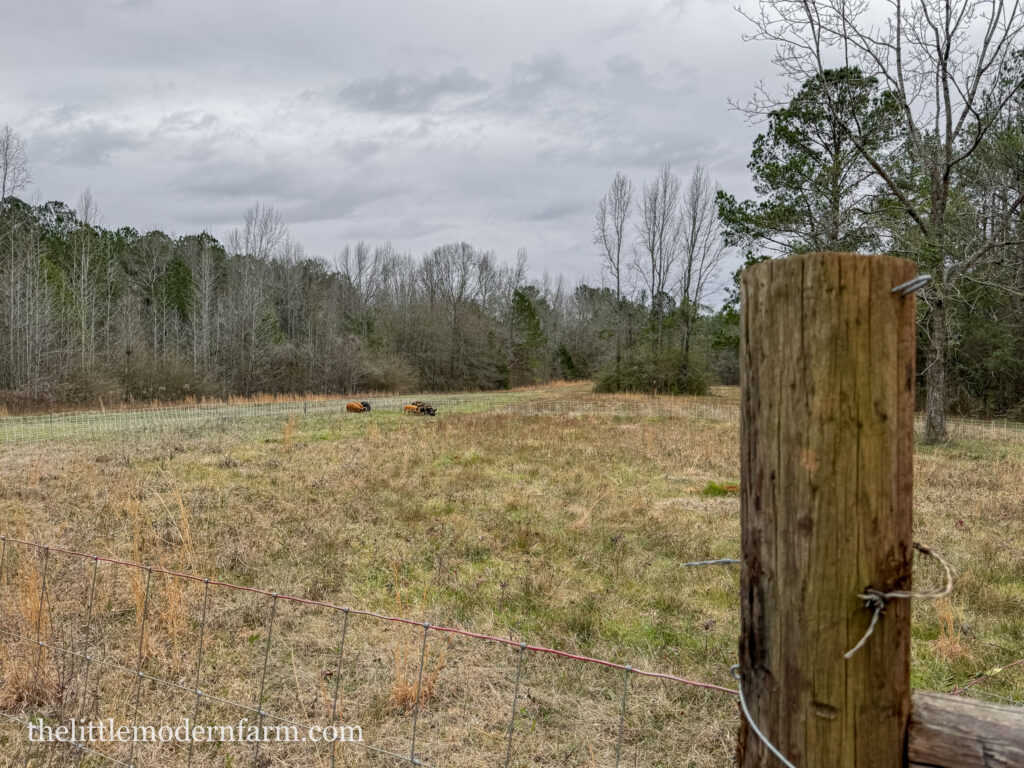
So, why might you need portable shelters, you ask? Pigs really benefit from rotational grazing. Moving pigs around on a rotation cycle is also better for your land. If you’ve owned pigs before you’ve realized how much they like to root and tear up their paddocks. A portable pig shelter allows you to move your herd around a pasture while still providing them with an adequate shelter that’s safe from the elements. Pasturing pigs also makes them very happy!
So What Is Rotational Grazing?
Rotational grazing is a management practice that divides pastures into smaller paddocks and rotates livestock through them at regular intervals. This grazing method has several benefits for both the land and the animals, and a portable pig shelter can play a role in maximizing those benefits. Here’s how:
- Improved Pasture Health: Rotational grazing allows pastures to rest and recover between grazing periods, which promotes healthier grass growth and reduces soil erosion. By moving pigs to fresh paddocks regularly, you prevent overgrazing and ensure that they have access to high-quality forage.
- Enhanced Soil Fertility: Pigs naturally fertilize the soil with their manure as they graze, but concentrating them in one area for an extended period can lead to nutrient imbalances and soil compaction. Rotating pigs through different paddocks distributes their impact more evenly, allowing for better nutrient cycling and soil health.
- Parasite Control: Rotational grazing can help reduce the buildup of internal parasites in pastures by breaking the parasite lifecycle. Moving pigs to fresh paddocks interrupts the cycle, giving parasite larvae less opportunity to infect new hosts and allowing existing larvae to die off before reinfesting the animals. 40 days is a good amount of time to wait before grazing the same area again.
- Reduced Mud and Erosion: Portable pig shelters provide pigs with a dry, comfortable resting area and protect the soil from excessive trampling and erosion. By moving shelters along with the pigs to fresh paddocks, you minimize the buildup of mud and prevent damage to sensitive areas of the pasture.
- Healthier, Happier Pigs: Rotational grazing provides pigs with ample space to graze, access to fresh forage and a clean, dry resting area, which promotes overall health and well-being. Pigs are natural foragers, and rotational grazing allows them to exhibit their natural behaviors while also reducing stress and boredom.
Check out more on how to raise pigs on pasture in my previous post.
Materials For Building The Portable Shelter
***This post may contain affiliate links which means I make a small commission at no extra cost to you. Read my full disclosure here.*
- Base: 3- 2”x6”x8’ boards per shelter. 1- 2”x4”x8’ for bracing, 2”x2“ boards (this can be scrap) for securing the cover.
- Frame: 1- 16’ cattle panel cut in half.
- Roofing material: 12’x16’ waterproof, heavy-duty tarp. I used an old billboard here. Some billboard companies will give you old billboards for free.
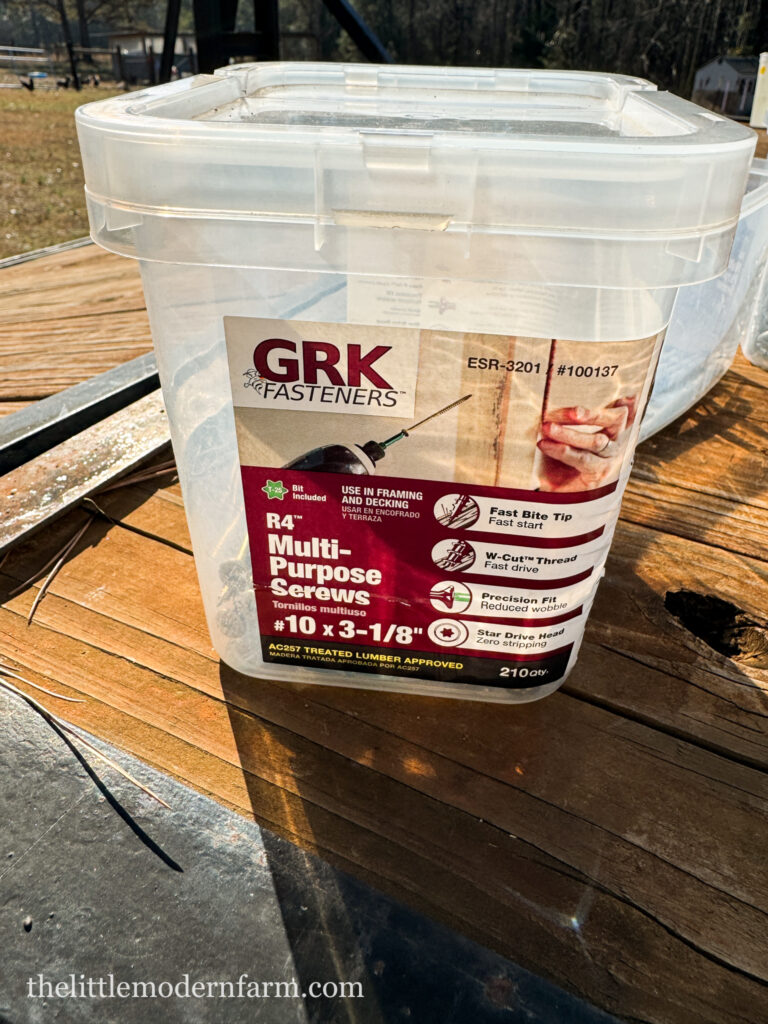
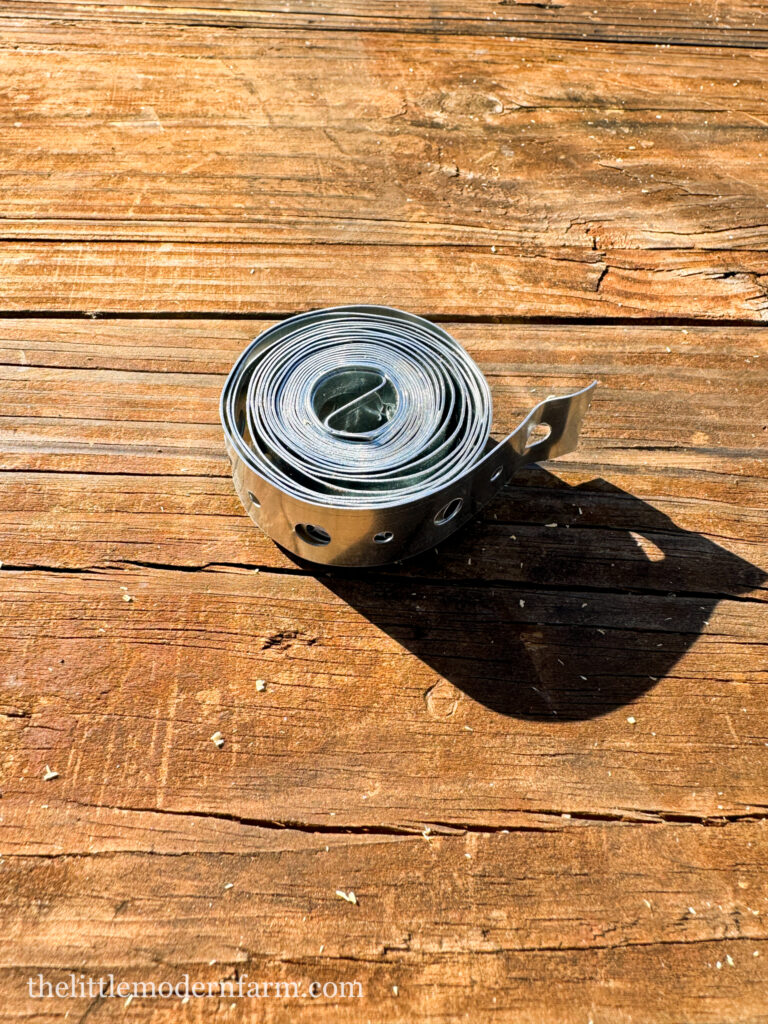
- Hardware: Metal pipe hanger straps, #10 x 4” screws, 1 ½” screws for the panels, heavy-duty zip ties.
- Tools: Hammer, saw, drill – whatever you’ve got in your DIY arsenal.
Now let’s get down to business.
Building The Portable Pig Shelter
Step 1: Cut the cattle panel
Start cutting your 16’ cattle panel into two 8’ sections. You can do this with large bolt cutters or a saw.
I have built smaller chicken coops using the 16’ panel. It’s heavier and requires more materials, but also works great for pigs. This shelter is easier to move while still providing the pigs with ample room and a dry place. Check it out here.
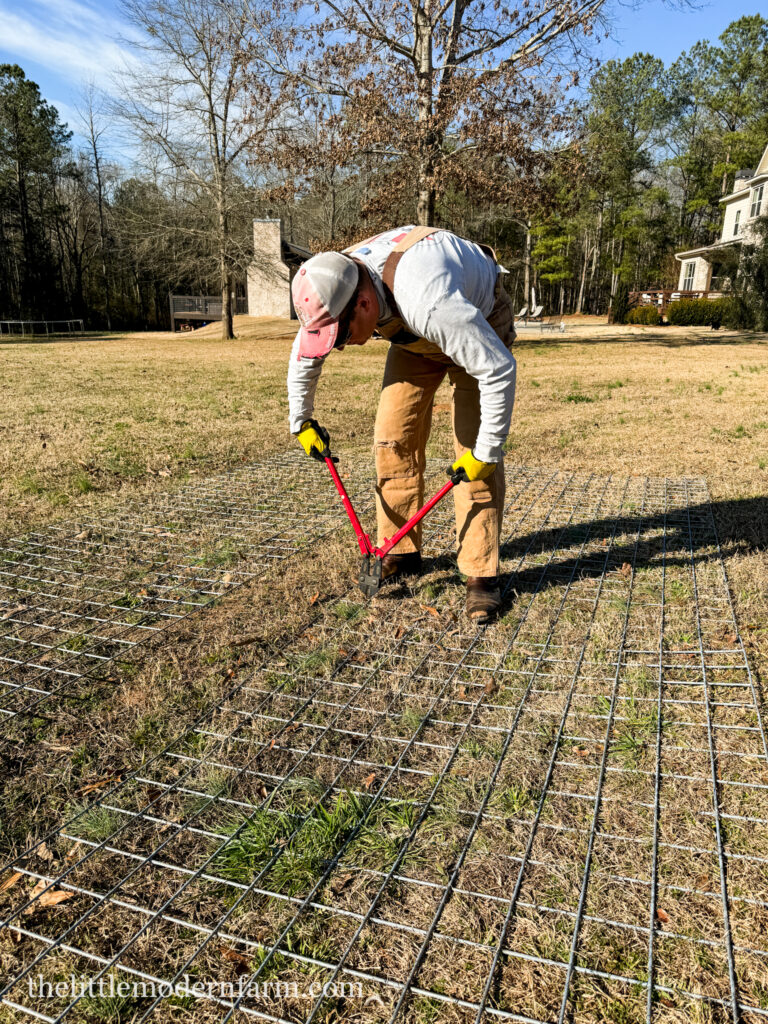
Step 2: Building the frame
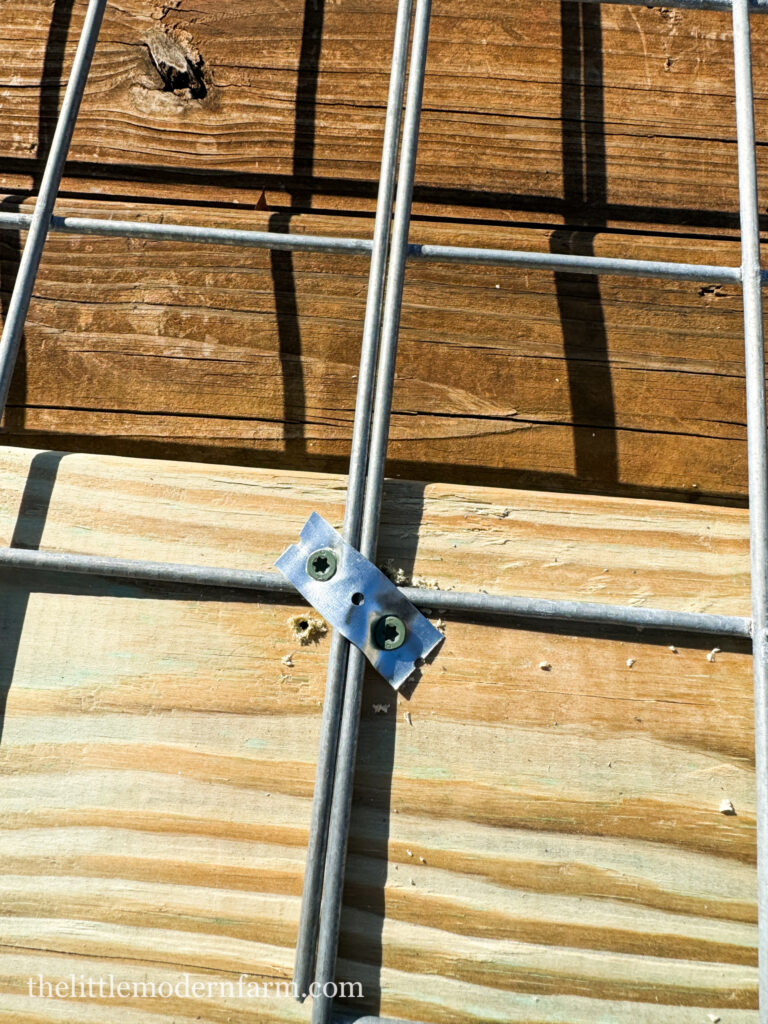
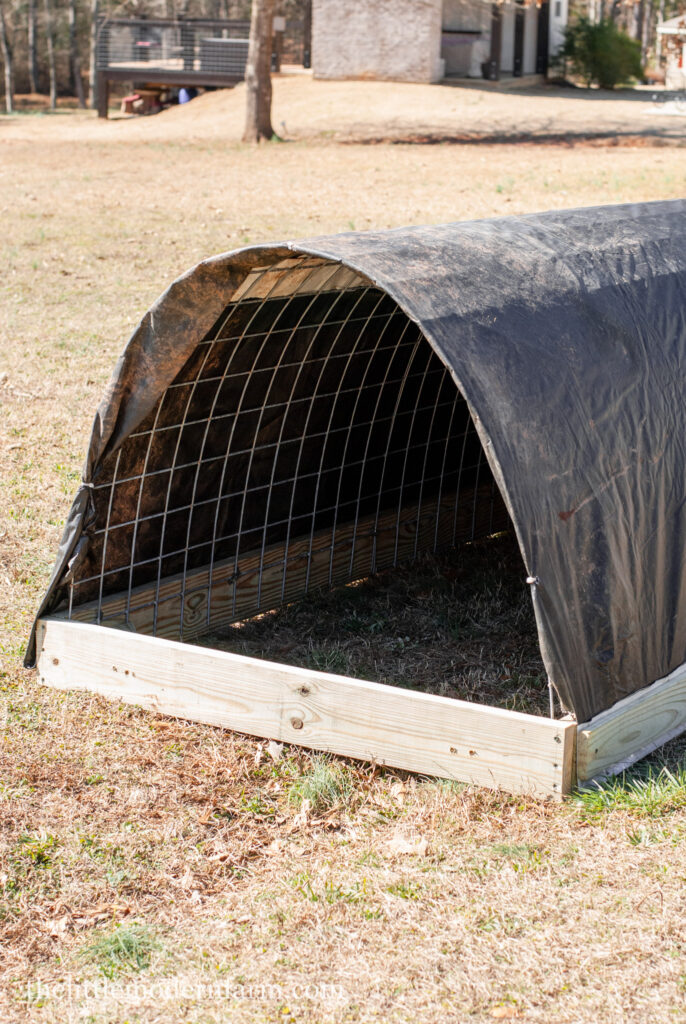
Next, attach the cattle panels to 2 of the 2x6x8 boards using the metal pipe hanger and the 1 ½” screws. The newly cut 8-foot section of the cattle panels should align with the 8-foot boards.
Next, Cut the third 2x6x8 board in half using a saw. These will be the front and back of the frame.
Bend the frame with the attached cattle panels into a dome-like shape. You may need two people to make this process easier. Once it’s bent into the dome, attach the front and back boards that you previously cut into 4-foot sections. Attach the boards using the #10×4” screws.
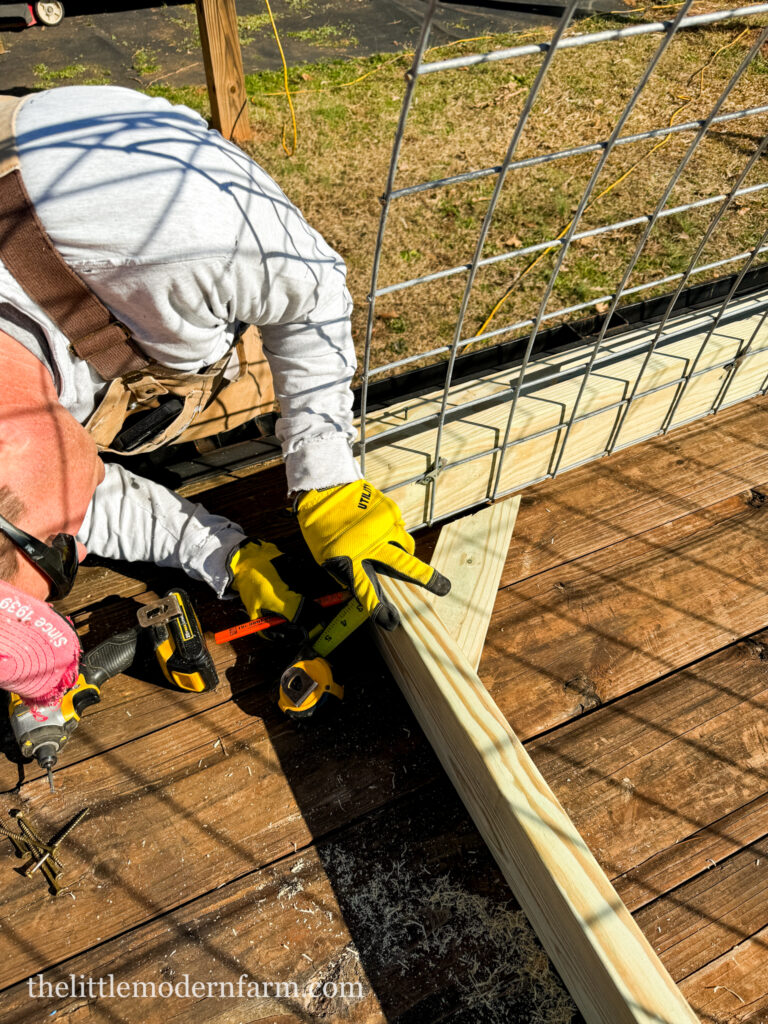
After you’ve built the frame, cut the 2x4x8 board down to 16” with a 45° angle at each end. This will be your bracing boards. Attach the bracing boards on each corner of the shelter using the #10x 4” screws.
Step 3: Put a Roof on It
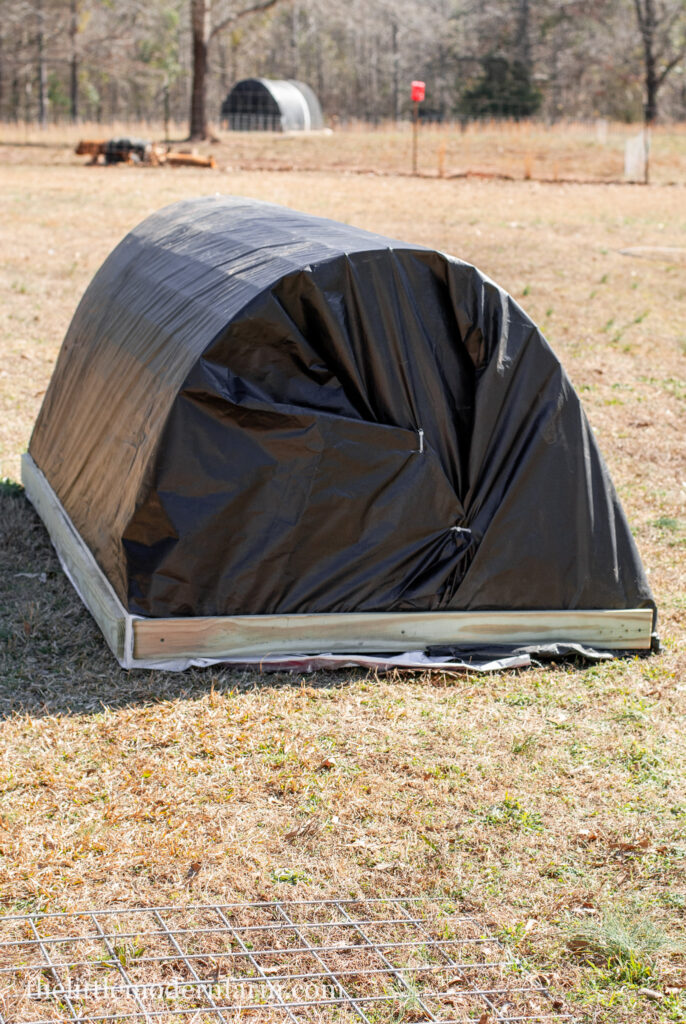
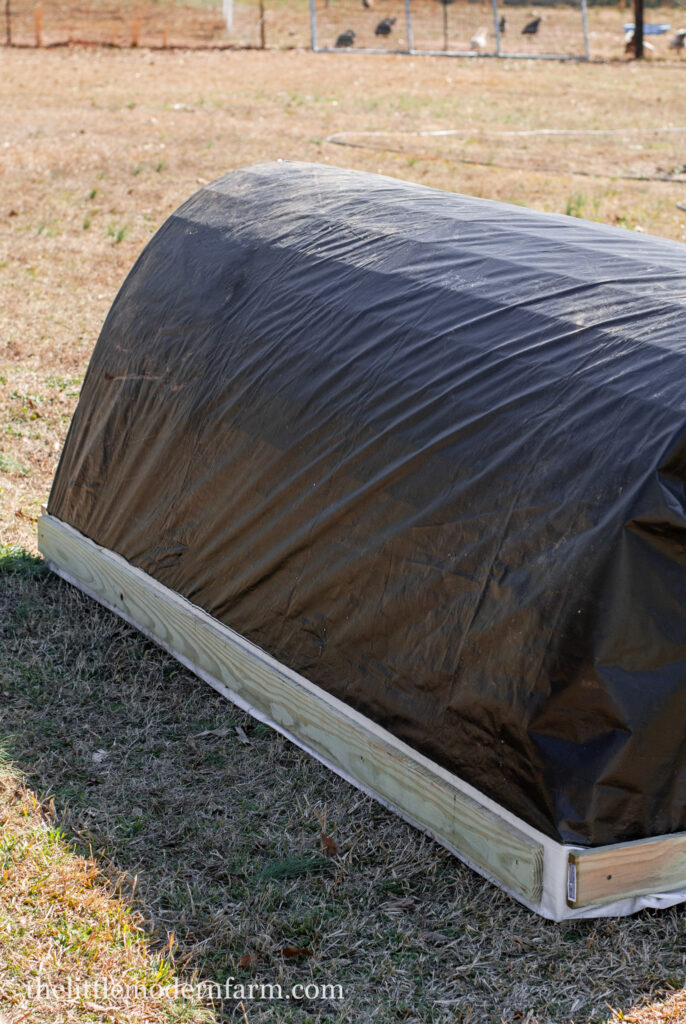
Once your frame is secure, it’s time to add a roof. Evenly drape the tarp over the frame. You want to leave enough overhang on the back section of the shelter to fold and cover the back. Secure the tarp material tightly using the zip ties.
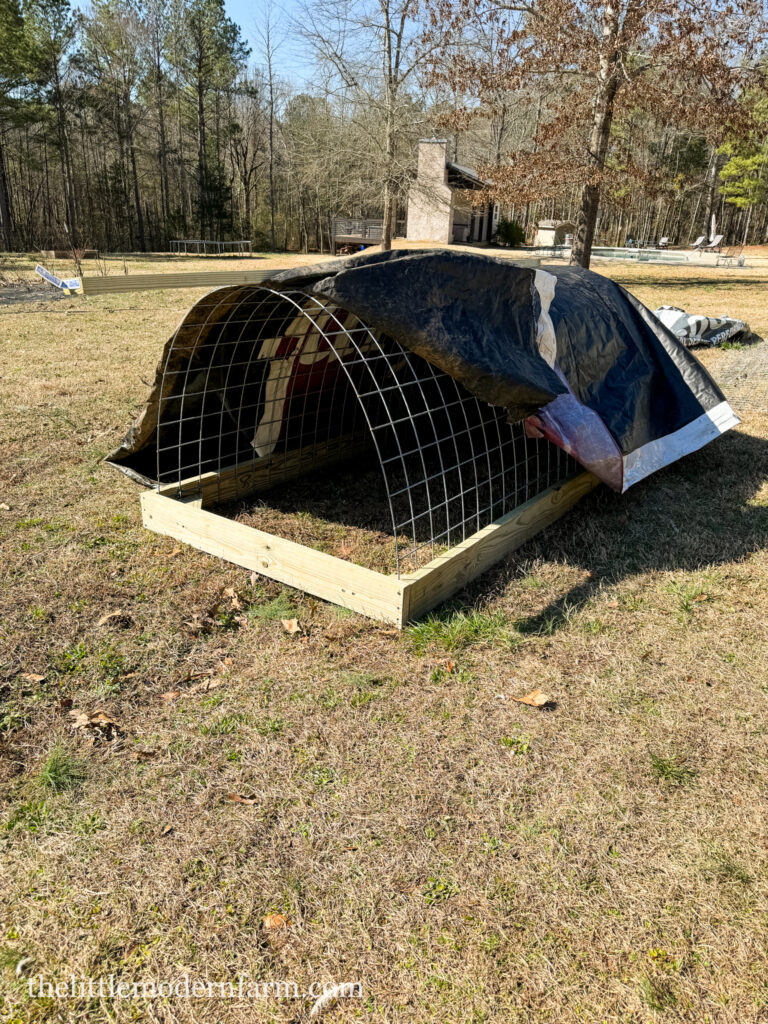
Attach the 2”x2” boards around the base of the shelter over the tarp to secure it in place.
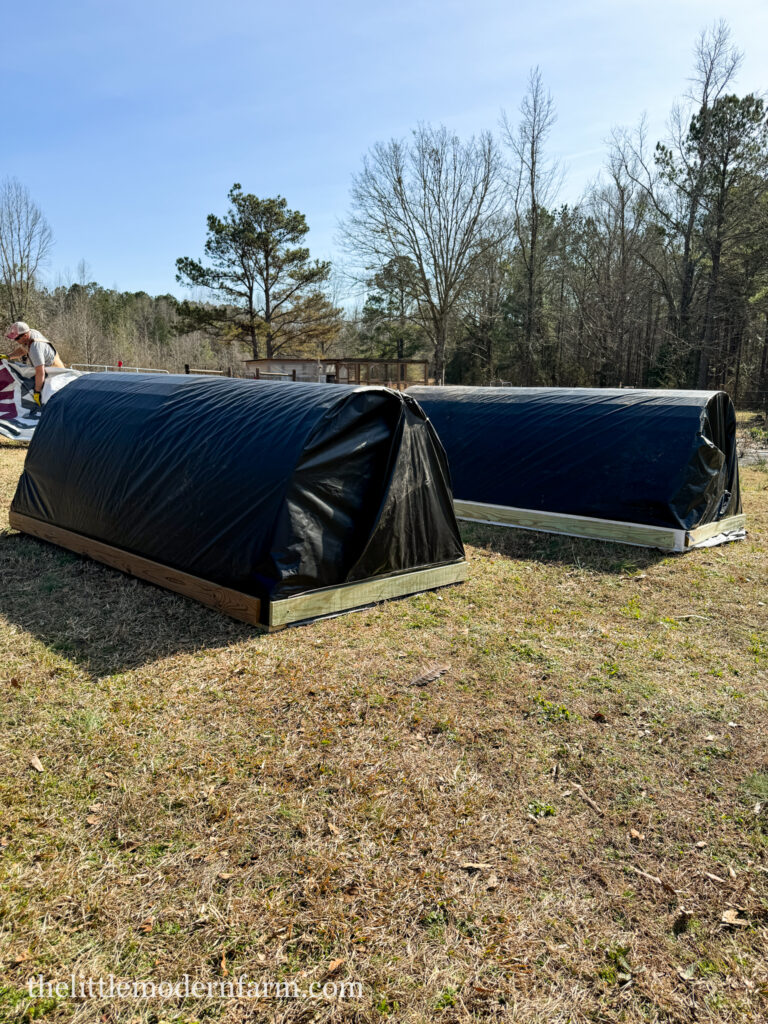
Step 5: Finishing Touches
Lastly, add finishing touches to make your pig shelter feel like home. Throw in some straw for bedding, hang up a water dispenser, and voila – you’re ready to welcome your pigs to their pig pen.
Helpful Tips
Building a pig shelter can be a rewarding project, but there are some helpful tips to keep in mind to ensure the process goes smoothly and your pigs end up with a comfortable and safe home. Here are some tips to consider:
Size Matters
Make sure your shelter is appropriately sized for the number and size of your pigs. Pigs like their space, so a cramped shelter can lead to stress and behavioral issues. This shelter isn’t large because I use them in my rotational grazing paddocks, and I have 2 to 3 pigs per paddock. You’ll need a larger shelter if you want to house more pigs.
Location, Location, Location
Choose a location for your shelter that offers good drainage and protection from the elements. Avoid low-lying areas that are prone to flooding, and position the shelter away from strong winds. This is a 3-sided shelter so be sure to face the open side of the shelter away from the draft.
- For example: The wind in Alabama blows from the Northwest during the winter. I face my shelter Southeast during this time. If possible, place it on higher ground to prevent water from pooling around the base.
Ventilation is Key
Proper ventilation is essential for maintaining good air quality inside the shelter and preventing respiratory issues.
Keep it Clean
Pigs can be messy creatures, so make sure your shelter is easy to clean and maintain. This portable pig shelter makes it easy to move and clean as needed.
Provide Adequate Bedding
Pigs love to nest and root, so provide plenty of clean, dry bedding for them to snuggle up in. Straw, hay, or wood shavings work well and help keep your pigs warm in cooler weather.
Safety First
Check your shelter regularly for any signs of damage or wear and tear, and make repairs as needed. Ensure there are no sharp edges or protruding nails that could injure your pigs, and always prioritize their safety and well-being.
FAQs
When building a pig shelter, you might encounter some common questions from fellow DIYers or pig owners. Here are a few frequently asked questions along with their answers:
How big should my pig shelter be?
The size of your pig shelter depends on the number and size of your pigs. As a general rule, provide at least 20 square feet of space per pig to ensure they have enough room to move around comfortably.
What materials should I use to build my pig shelter?
You can use a variety of materials to build a pig shelter, including wood, metal, and plastic. Choose materials that are durable, weather-resistant, and easy to clean. Plywood, corrugated metal, and recycled plastic panels are popular options for siding, while metal sheets or heavy-duty tarpaulin are commonly used for roofing.
Do I need to provide ventilation in my pig shelter?
Yes, proper ventilation is essential for maintaining good air quality and preventing respiratory issues in pigs. Incorporate windows, vents, or adjustable openings to allow for airflow while still protecting your pigs from drafts.
How do I keep my pig shelter clean?
To keep your pig shelter clean, use smooth, non-porous materials for the interior walls and floors to prevent dirt and waste from accumulating. Provide plenty of clean, dry bedding for your pigs to nest in, and regularly remove soiled bedding and waste.
Should I build a portable or permanent pig shelter?
The decision between a portable or permanent pig shelter depends on your specific needs and preferences. A portable shelter offers the flexibility to move your pigs to different areas for grazing or to avoid muddy conditions, while a permanent shelter provides a more stable and secure option for long-term housing.
Final Thoughts
Overall, incorporating a DIY portable pig shelter into a rotational grazing system offers a lot of benefits for both the pigs and the land. It’s part of sustainable land management, improves overall soil health, and improves animal welfare, making it a win-win for farmers, pigs, and the environment.
Equipment
- Circular saw
- drill
- Hammer
- pliers
Ingredients
- 3 2"x6"x8' Boards
- 1 2"x4"x8' Board
- 1 2"x2'X8' board
- 1 4'X16' Cattle Panel
- 12'x16' Heavy duty tarp
- Metal Pipe Hanger Straps
- #10 x 4" Screws for the base
- 1 1/2" screws for attaching the panels
- Heavy duty zip ties
Instructions
- Start cutting your 16’ cattle panel into two 8’ sections. You can do this with large bolt cutters or a saw.
- Next, attach the cattle panels to 2 of the 2x6x8 boards using the metal pipe hanger and the 1 ½” screws. The newly cut 8-foot section of the cattle panels should align with the 8-foot boards.
- Next, Cut the third 2x6x8 board in half using a saw. These will be the front and back of the frame.
- Bend the frame with the attached cattle panels into a dome-like shape. You may need two people to make this process easier. Once it’s bent into the dome, attach the front and back boards that you previously cut into 4-foot sections. Attach the boards using the #10×4” screws.
- After you’ve built the frame, cut the 2x4x8 board down to 16” with a 45° angle at each end. This will be your bracing boards. Attach the bracing boards on each corner of the shelter using the #10x 4” screws.
- Once your frame is secure, it's time to add a roof. Evenly drape the tarp over the frame. You want to leave enough overhang on the back of the shelter to fold and cover the back. Secure the tarp material tightly using the zip ties.
- Attach the 2”x2” boards around the base of the shelter over the tarp to secure it in place.
- Lastly, add finishing touches to make your pig shelter feel like home. Throw in some straw for bedding, hang up a water dispenser, and voila – you're ready to welcome your pigs to their new digs!
If you enjoyed this post, please share it! Thanks for visiting my farm.


[…] pigs need a dry, draft-free shelter to protect them from the elements. It should be spacious enough for an adult pig to move around comfortably and have bedding to keep them warm like this portable pig shelter. […]