This Old fashioned cream style corn recipe is easy to make, and a delicious side dish to accompany any meal. It’s warm, creamy, and slightly sweet making it a recipe your family will love.
Jump to Recipe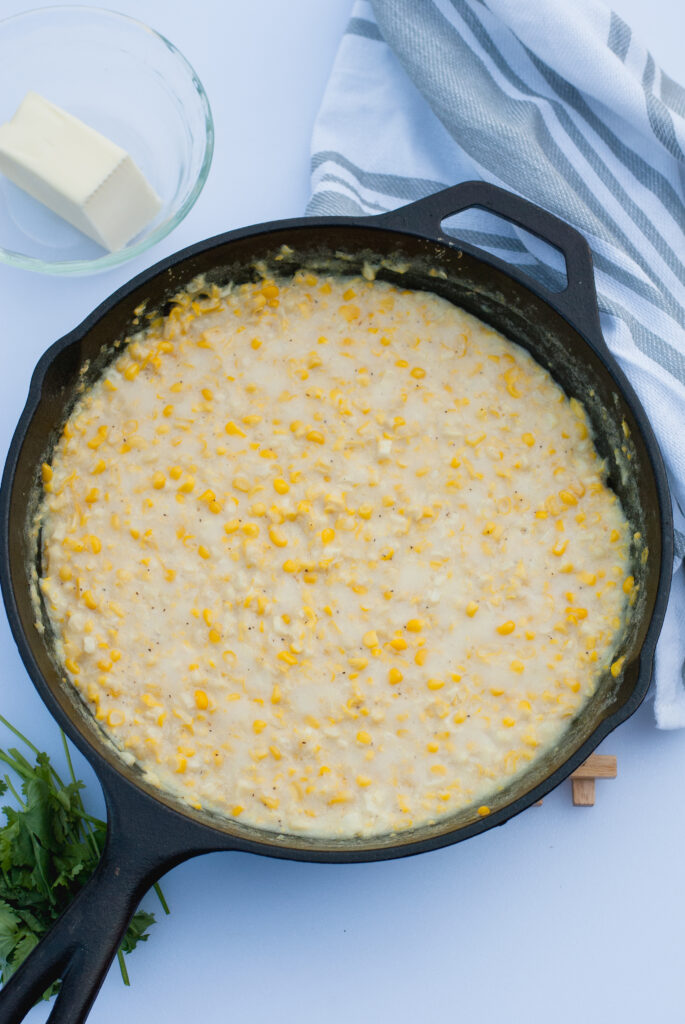
**This post may contain affiliate links which means I make a small commission at no extra cost to you. Read my full disclosure here.*
Old Fashioned Cream Style Corn
Cream style corn is a common find on the southern table. Corn is commonly grown to help cut down on the cost of raising livestock with an added bonus of food for the family. It grows well in the south’s hot, humid summers, and is fairly inexpensive.
I grew up eating cream-style corn. It’s typically served as a side dish, but it wasn’t uncommon for us to have purple hull peas, okra, cream style corn, and cornbread as a meal in the summer. Corn also freezes very well, so you can grow a lot of it to eat over the winter too.
This old-fashioned cream-style corn recipe comes from my grandmother. She made it using very starchy field corn. Sweet corn doesn’t tend to be as starchy, so you have to add a little extra starch to make it creamy.
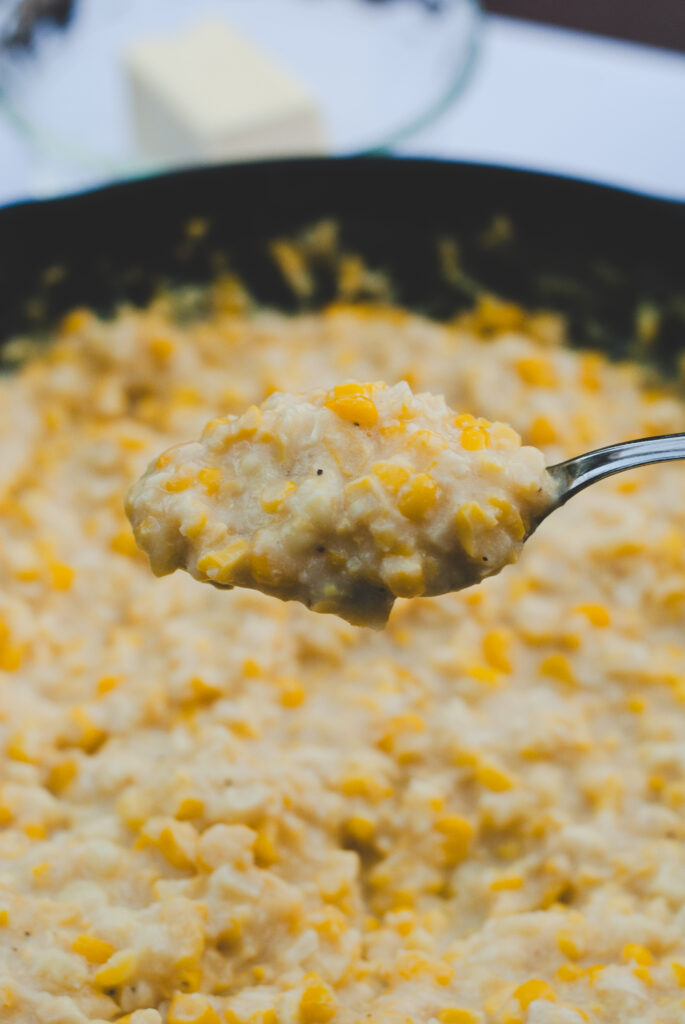
Why You’ll Love Fresh Creamed Corn
- It’s easy and quick. This recipe can be made with very few ingredients, and is on the table in around 20 minutes.
- Simple Clean Up. Cream style corn is made in one cast iron skillet making clean up quick and easy.
- It feeds a crowd. A few ingredients go a long way with cream style corn. It’s also inexpensive to make. This is important to me with a large family.
Old Fashioned Creamed Corn with Milk recipe
- What you’ll need:
- 5-6 cobs of sweet corn, or around 24 ounces.
- 1 ½ cups water
- ½ tsp salt
- ½ tsp pepper
- ¼ cup butter
- 2 tablespoons corn starch
- ½ cup whole milk
Start by removing your corn from the cob. To do this you’ll need a sharp knife.
For cream-style corn, place the cob upright in a bowl or dish. Run the knife down the cob slightly removing the top layer of the kernels. This will reveal the liquid in the corn. Repeat the process over 2 or 3 passes until the corn is removed from the cob. You don’t want whole kernels intact.
Once the corn is removed from the cob, transfer it to a skillet. I use pre-heated cast iron.
Add enough water to just cover the corn.
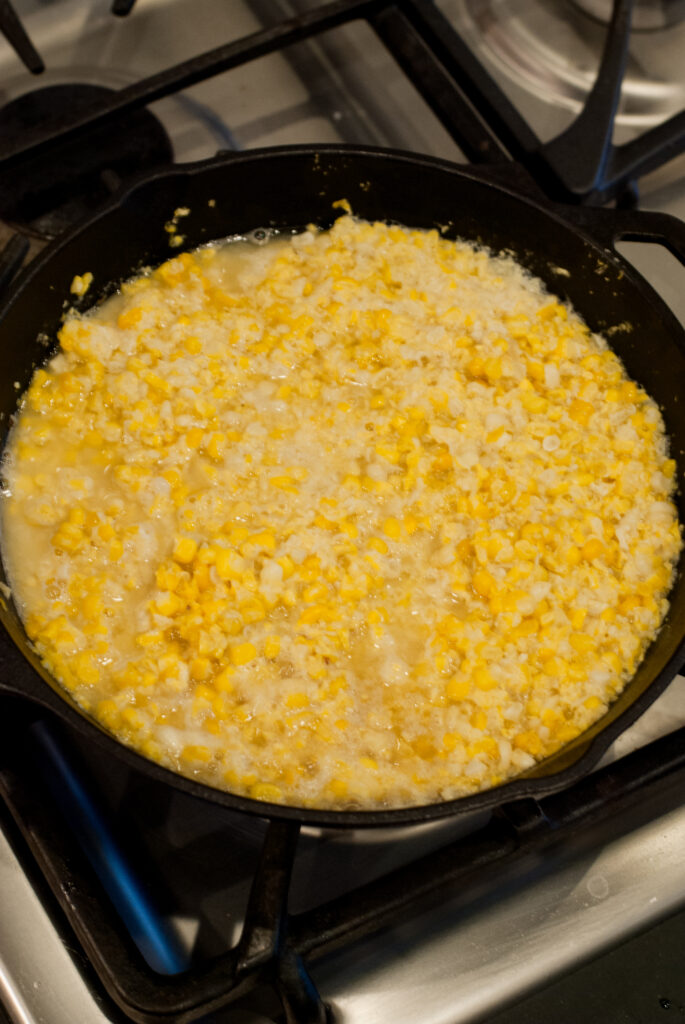
Heat the corn over medium heat until it starts to boil around the edges.
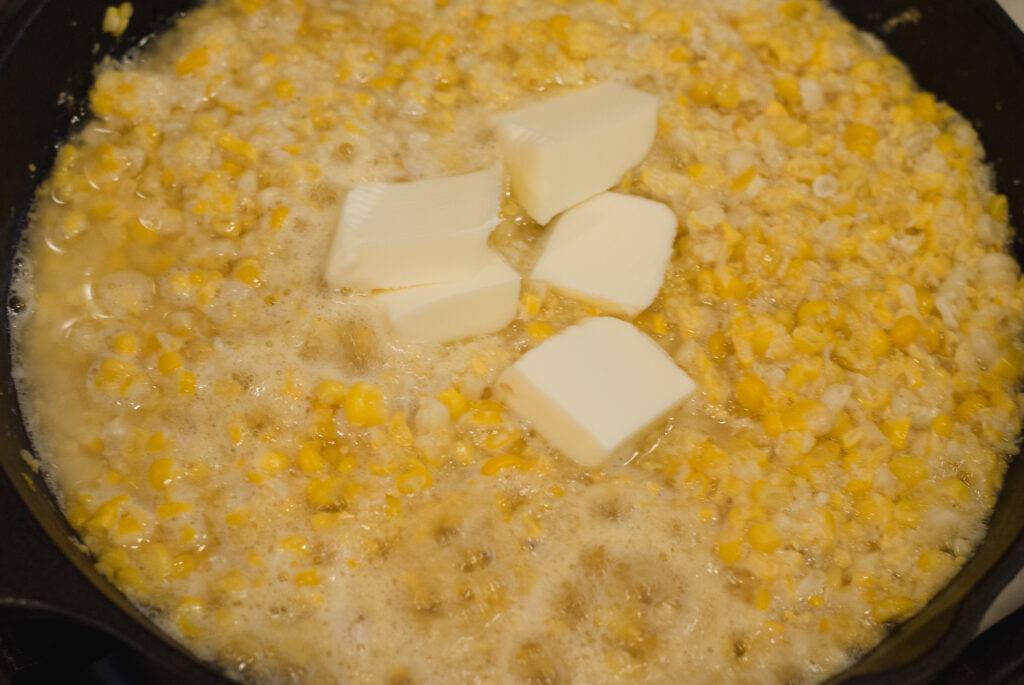
Once it starts to boil, add the salt, pepper, and butter to the skillet. Stir the corn frequently to ensure it’s all incorporated. Allow the corn to boil for around 5 minutes.
Meanwhile, mix the cold milk with the cornstarch in a separate bowl. Whisk the mixture vigorously until it is incorporated and frothy.
(it’s very important to use cold milk so the corn starch will dissolve.)
Pour the cornstarch mixture into the simmering corn.
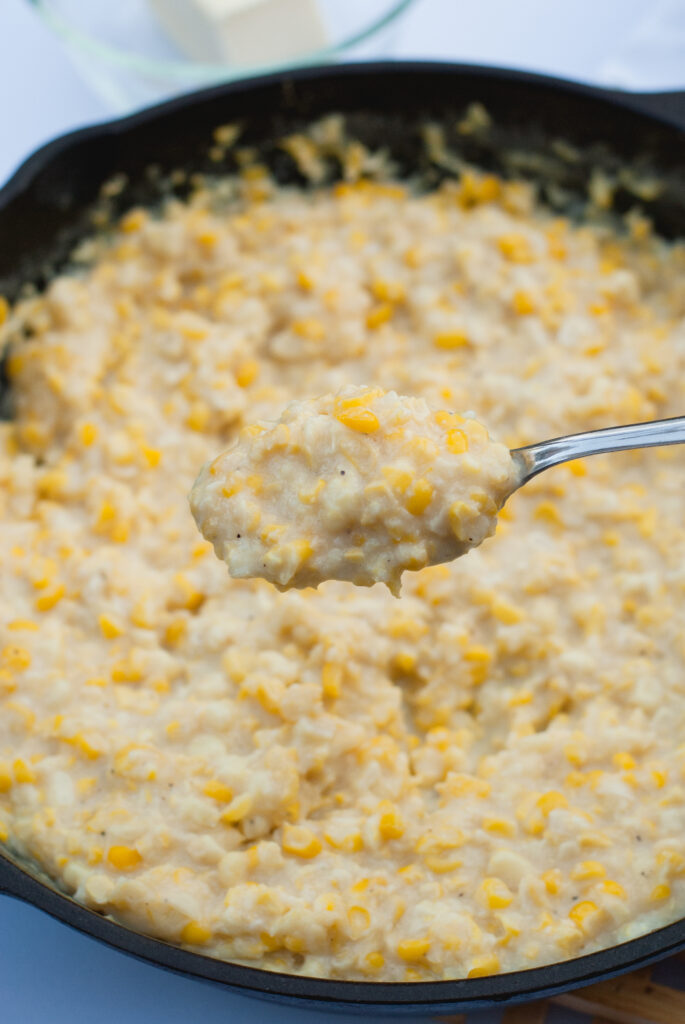
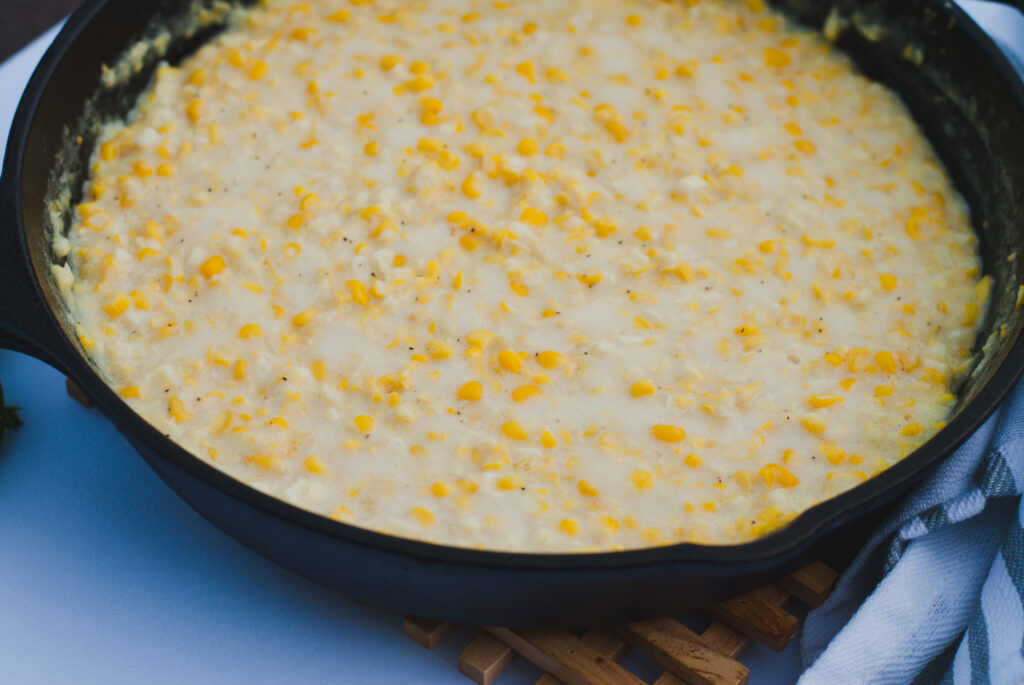
Continue to heat the corn over medium heat and stir continuously until the corn is thick and creamy.
Cream Style Corn Tips
-Always allow your cast iron skillet to pre-heat. This will prevent the corn from sticking to the pan. I cook with lodge cast iron. It’s high quality, and will last you if you take care of it.
-If you’re cooking with field corn instead of sweet corn, you may not need to add any cornstarch. Field corn has more starch in it. You could also decrease the amount of cornstarch you add to 1 tbsp.
-I prefer a lot of pepper in my old-fashioned cream-style corn. Decrease the amount of pepper to ¼ tsp if you prefer less.
-Remove your corn from the cob in the sink, using the bowl method I mentioned above. This will make clean up much easier. Removing corn from the cob makes a big mess!
-If you’re making the cream-style corn recipe from frozen corn, allow it to thaw a little first. This will ensure it cooks evenly.
Storing Cream Style Corn
Store your corn in an air tight container for up to 3 days in the refrigerator. Reheat the corn in the microwave or in a cast iron skillet.
FAQs
What is the difference between corn and cream-style corn?
The term corn usually refers to the entire kernel. You can do this by running a knife down the corn, flush with the cob and removing an intact kernel.
The term cream-style corn refers to removing part of the kernel, releasing the starch and liquid. This creates a creamy corn instead of a solid whole kernel.
What can be used in place of cornstarch?
All Purpose Flour can be used in place of cornstarch. Substitute 4 tablespoons of flour for the 2 tablespoons of corn starch in the recipe. Add the flour to 1/4 cup of cold water and stir until a paste is formed. Add the mixture to the corn.
Is cream style corn runny?
The corn should not be runny, however it will continue to thicken as it stands. Allow the corn to cook down and sit for around 3 minutes. If it’s still runny, add 1 tsp cornstarch to 1 tablespoon of cold milk and incorporate into the corn. You can repeat this process until the corn is thick enough for your preference.
More Recipes From The Farm
Purple Hull Peas
The Best Okra Recipes
If you enjoyed this post please share! Thanks for visiting my farm.
Old fashioned Cream Style Corn Recipe
Equipment
- 1 Cast Iron Skillet
Ingredients
- 24 ounces Sweet Corn (5-6 cobs)
- 1 1/2 cups Water Enough to cover the corn.
- 1/2 tsp Salt
- 1/2 tsp Pepper
- 1/4 cup Butter
- 2 tbsp Corn Starch
- 1/2 cup Whole milk
Instructions
- Start by removing your corn from the cob.
- Once the corn is removed from the cob, transfer it to a skillet.
- Add enough water to just cover the corn.
- Heat the corn over medium heat until it starts to boil around the edges.
- Once it starts to boil, add your salt, pepper, and butter to the skillet. Stir the corn frequently to ensure it’s all incorporated.
- Allow the corn to continue simmer over medium heat for around 5 minutes.
- Meanwhile, mix the cold milk with the cornstarch in a separate bowl. Whisk the mixture vigorously until it is incorporated and frothy.
- Pour the cornstarch mixture into the corn.
- Stir continuously until the corn is thick and creamy.
- Serve warm.
Hi! I’m assuming the corn is uncooked when you remove the corn from the cob, right?? Or do I need to boil the corn on the cob first? I’m sure this is a silly question but I want to make sure I’m doing it right! 🤦🏼♀️
Hello! Yes,it’s uncooked. No need to pre-cook first.